Showing posts with label sewing. Show all posts

6/07/2013

Sweethearts, circle skirts and florals aka another summer dress

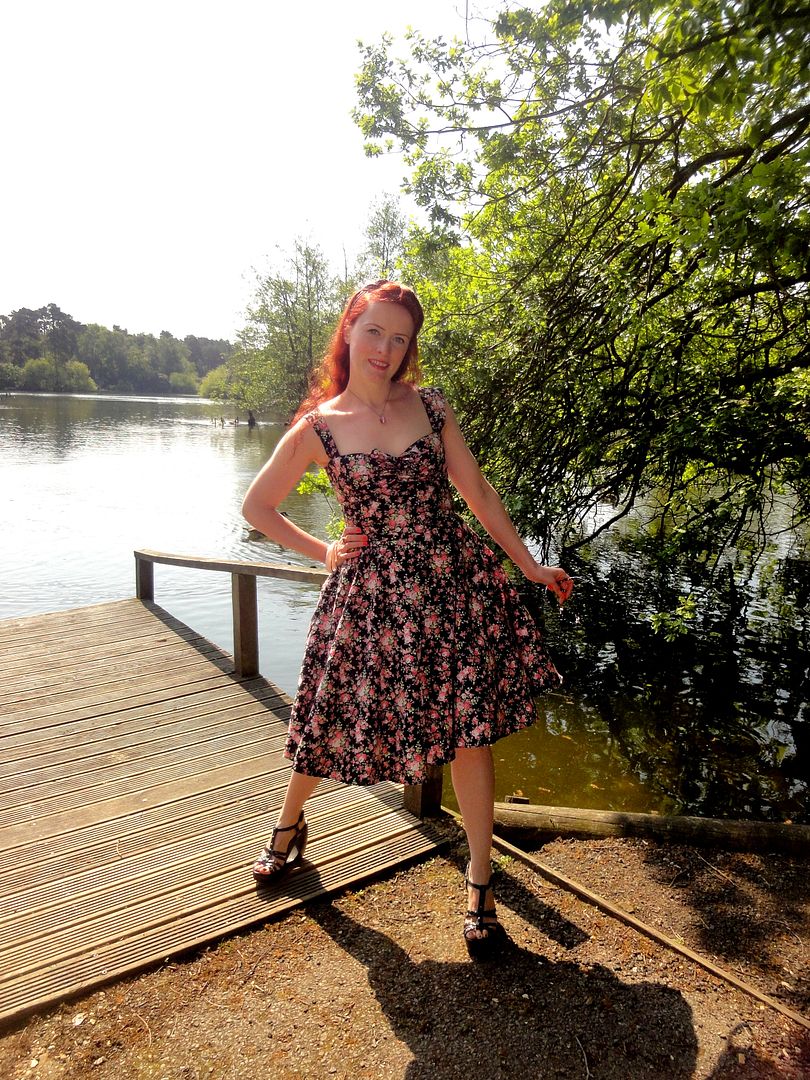
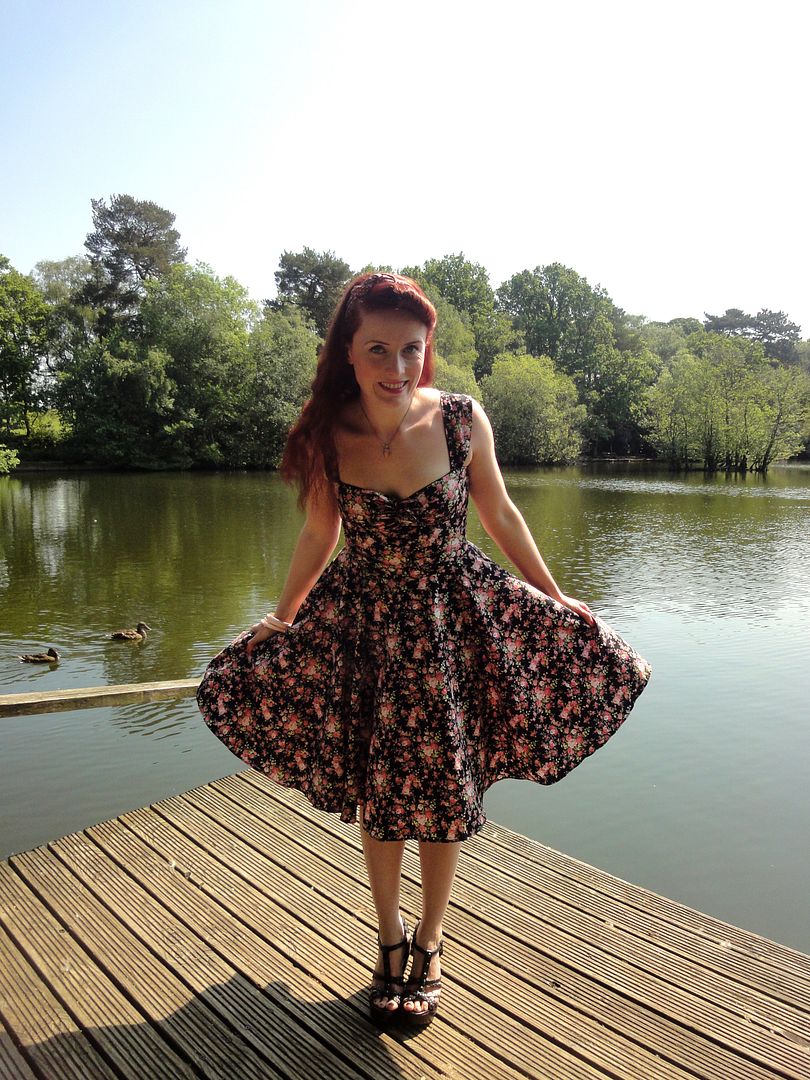
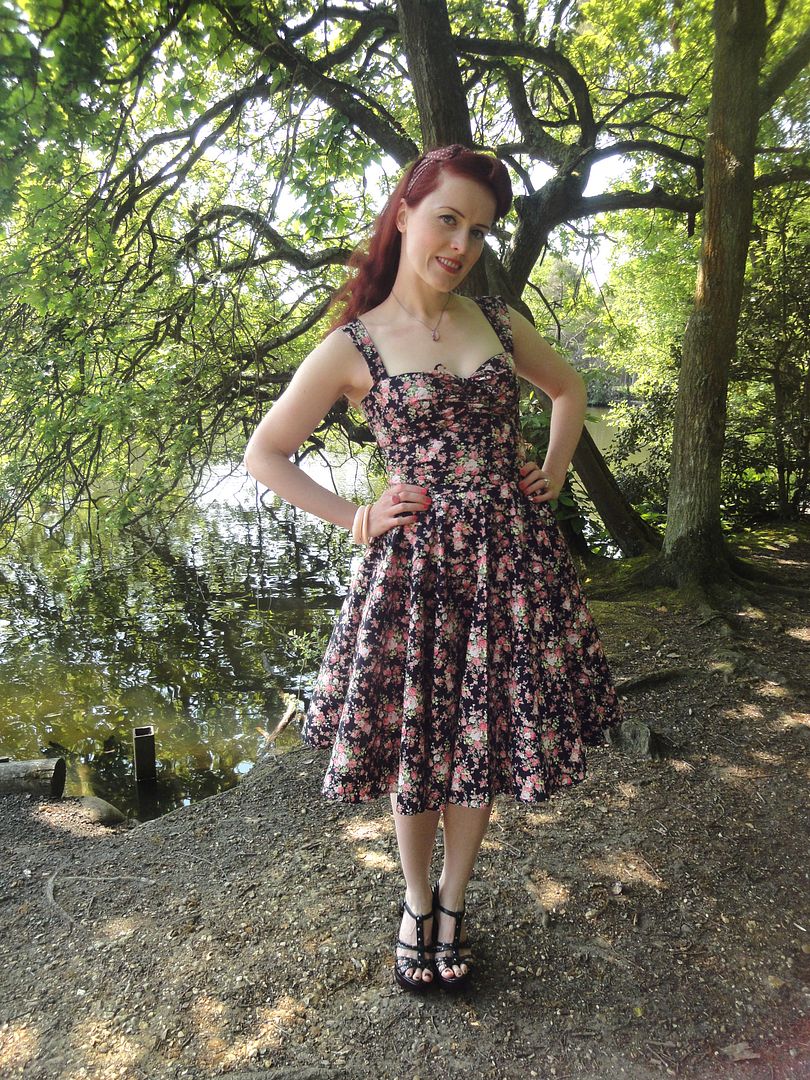
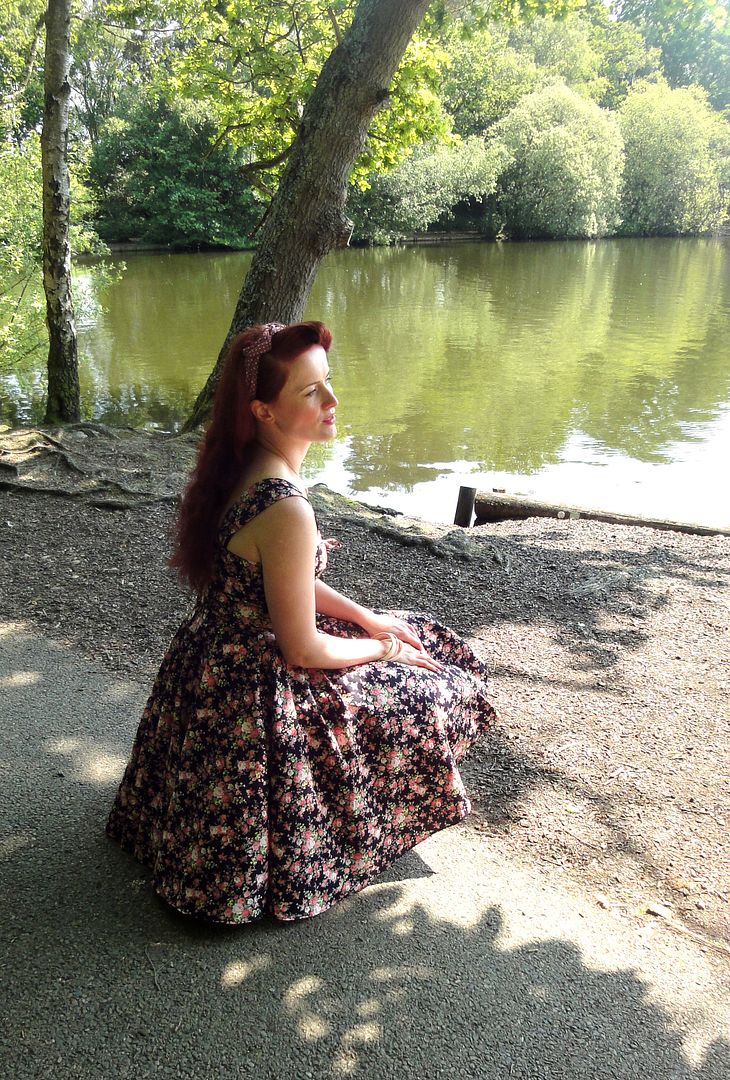
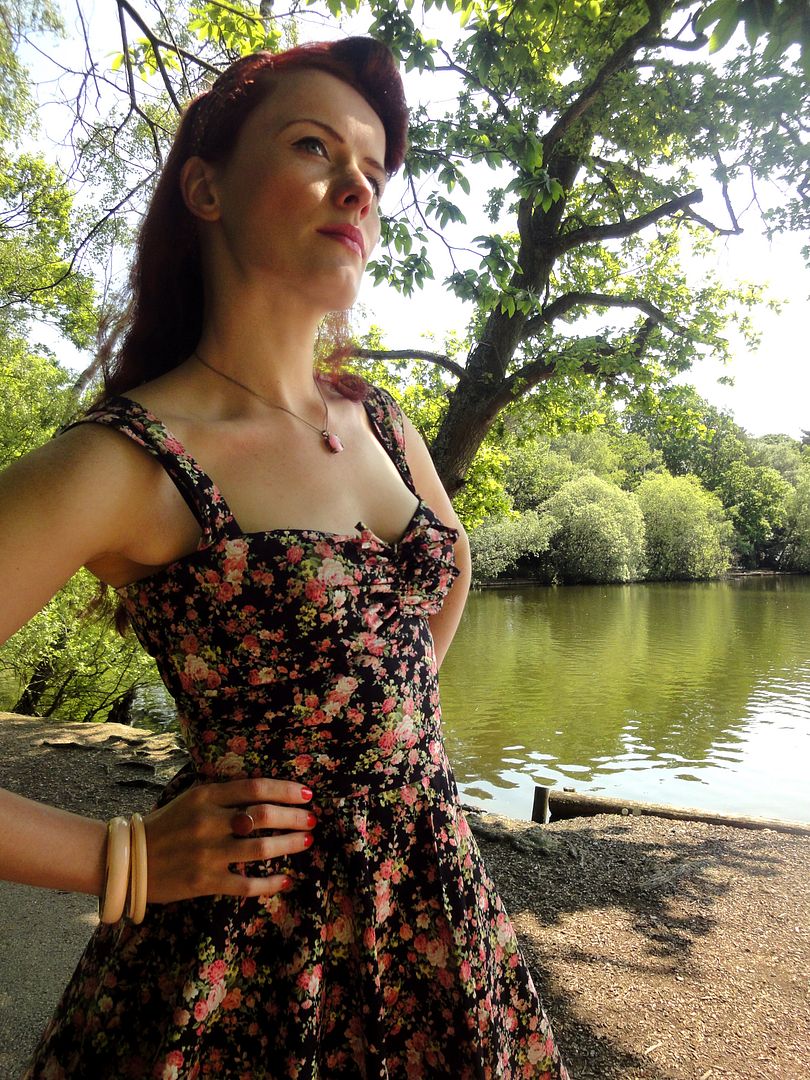
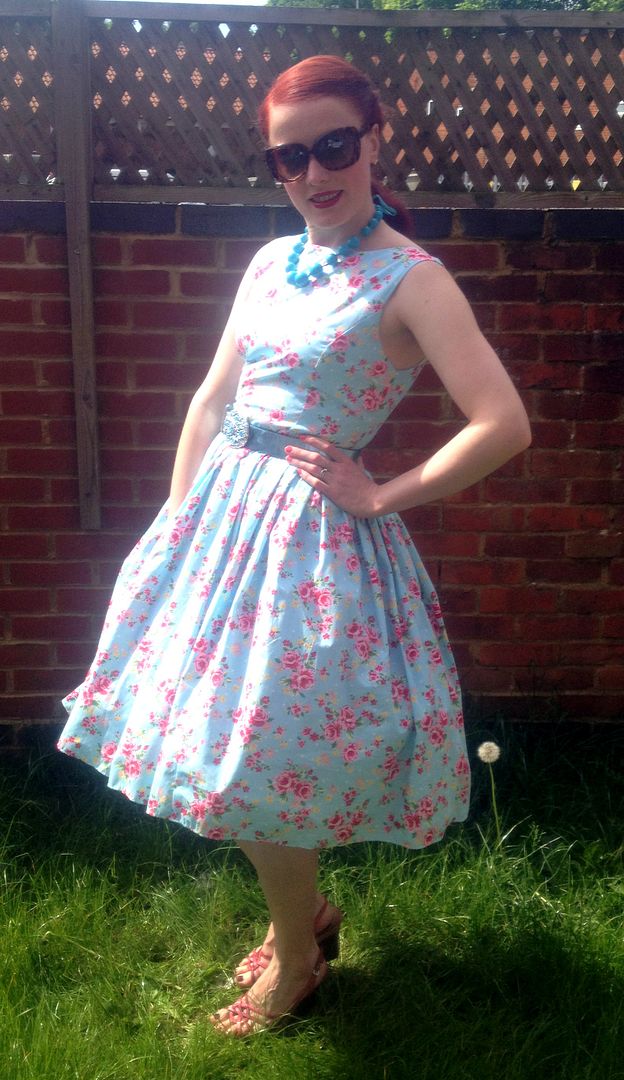
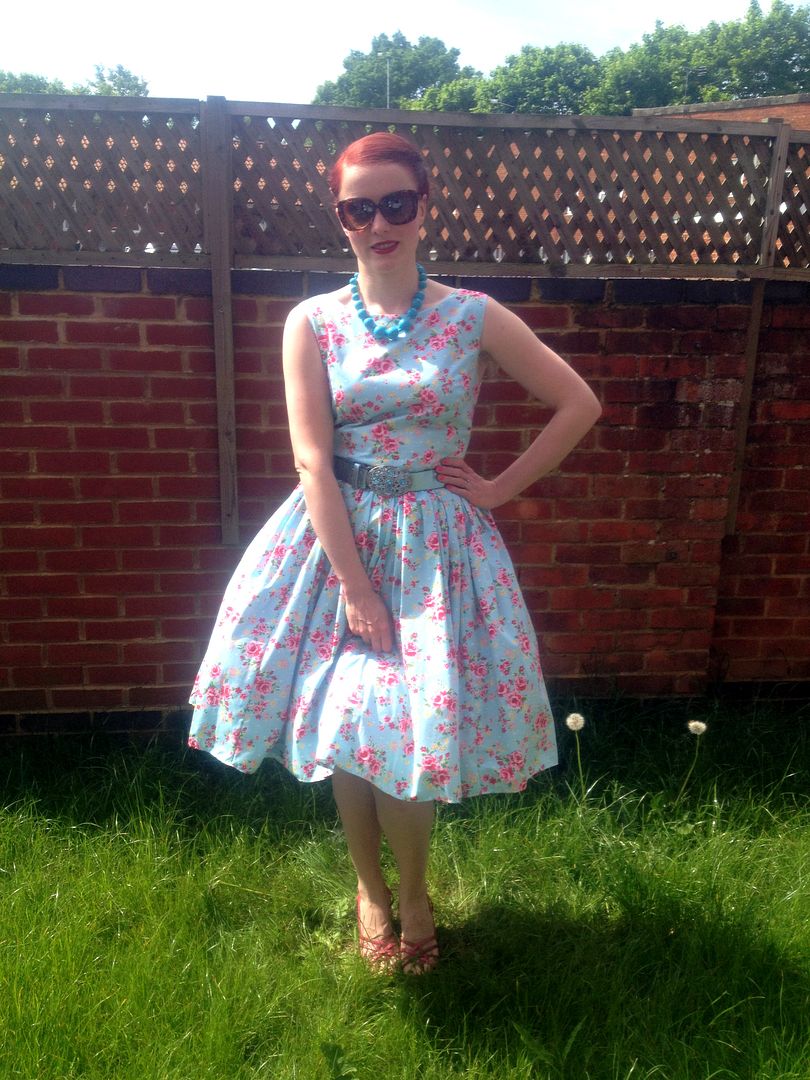
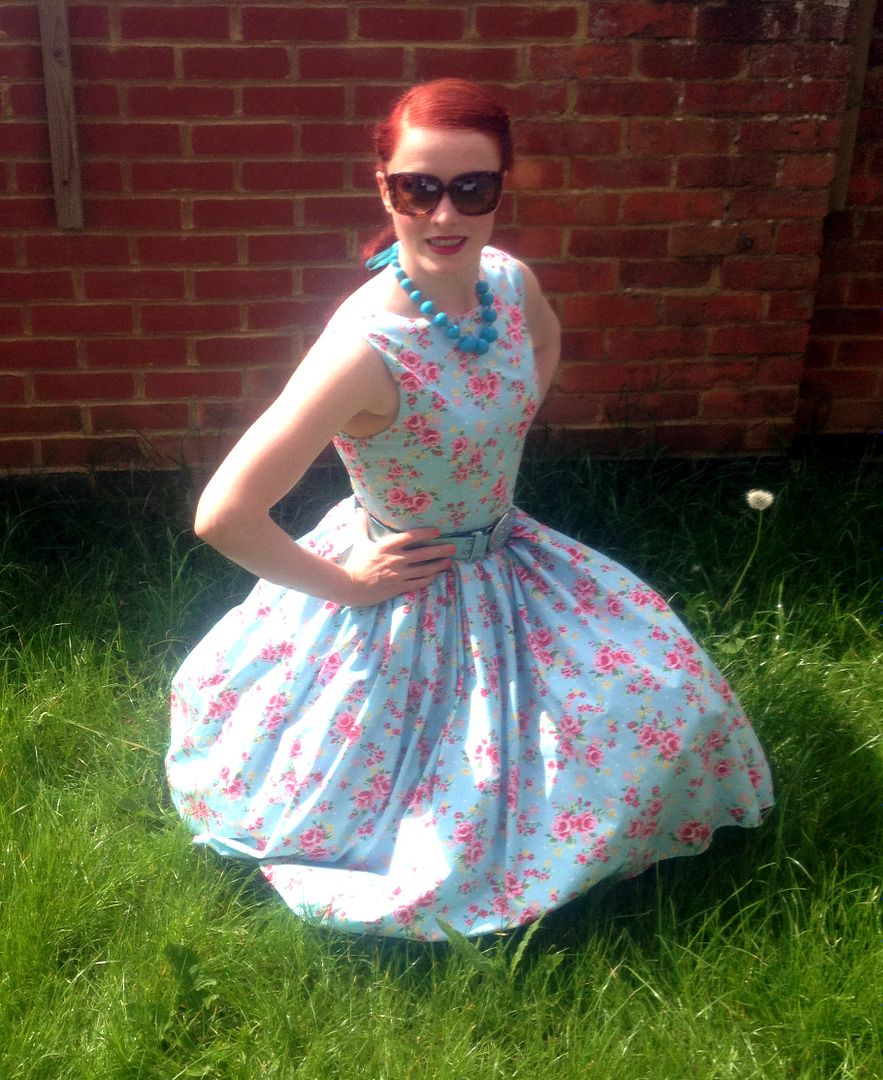
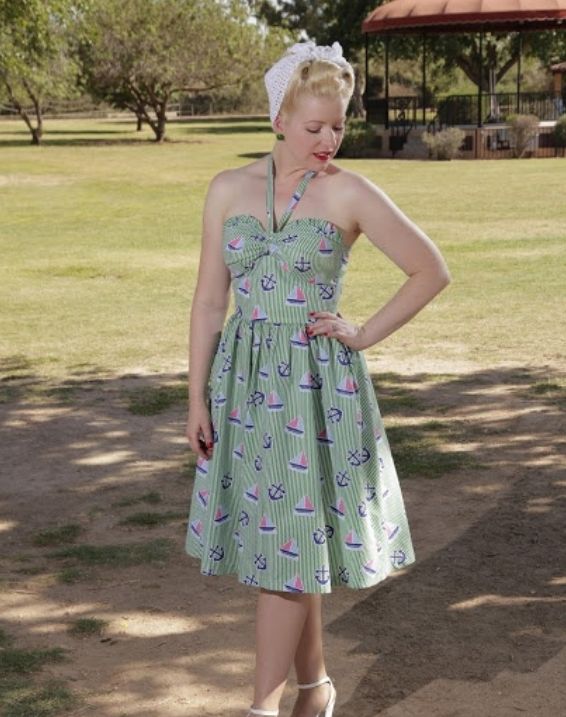
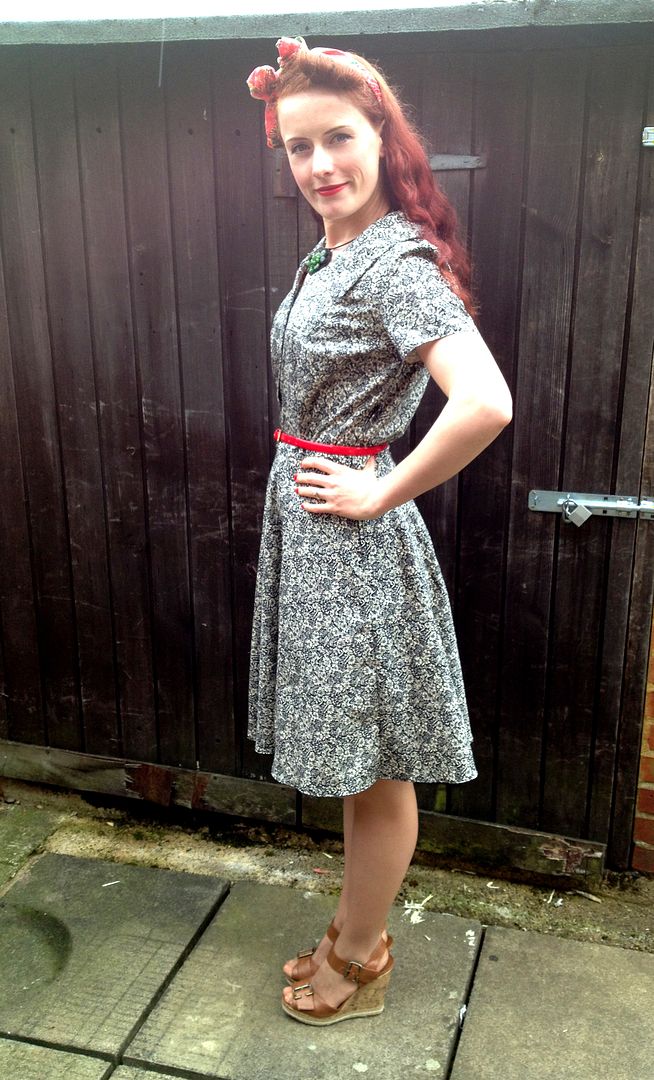
And for those who are not bored of floral dresses yet, here is another one. I'm messing around with the pattern of my "Liverpool dress" at the moment and see what variations I can come up with. If I draft or frankenstein a successful pattern that I like very much, I try and make the most of it. I really like sweetheart necklines so I had to make another dress with that feature. I also like straps or sleeves as they keep the dress up nicely. As much as I like this style, I feel like I want to pull it up all the time. I mainly get this with strapless dresses, whether they fit or not.


bodice detail


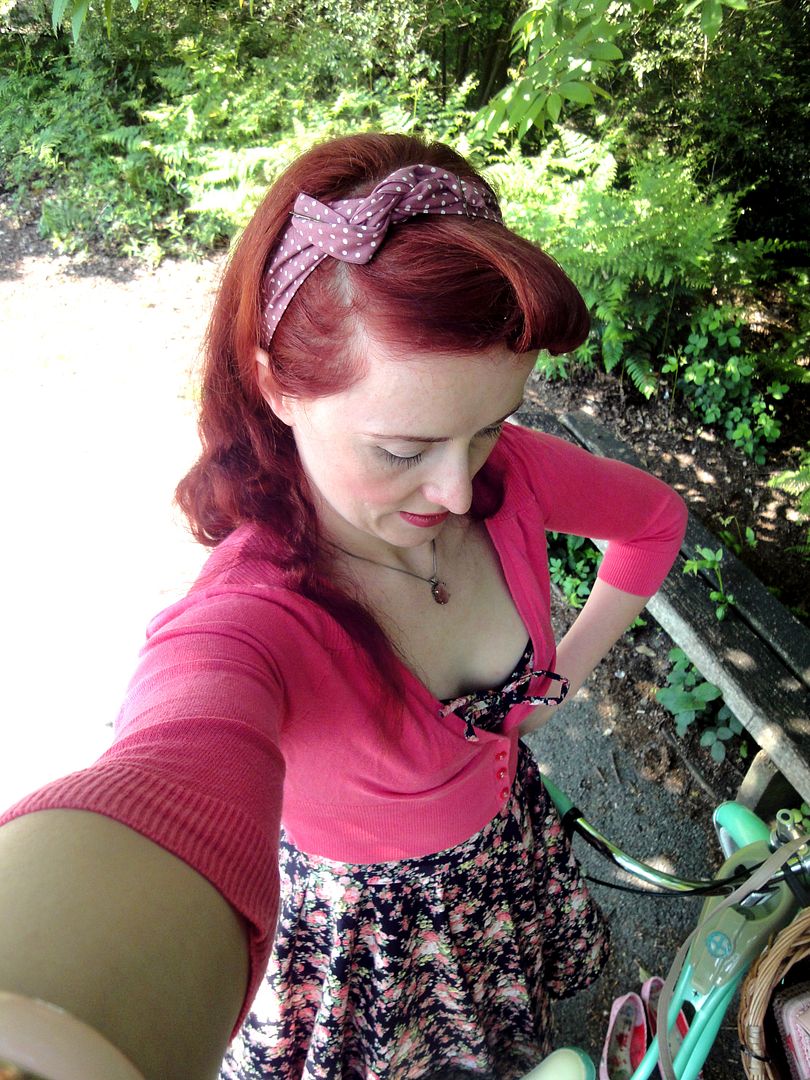
And this is how I was wearing the dress today. I paired it with a little cropped cardi.


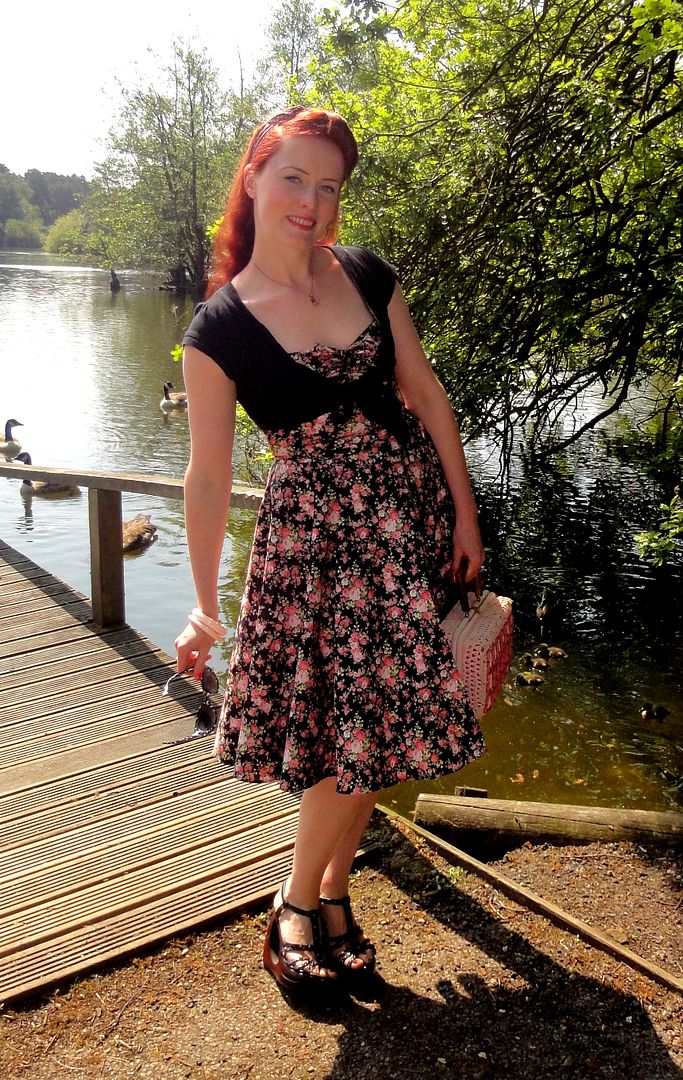
I also like it with this black cropped cardi.


Now I need to think of another way to use this bodice. Maybe cap sleeves? Or a pencil skirt?
What do you think, any other suggestions?

6/05/2013

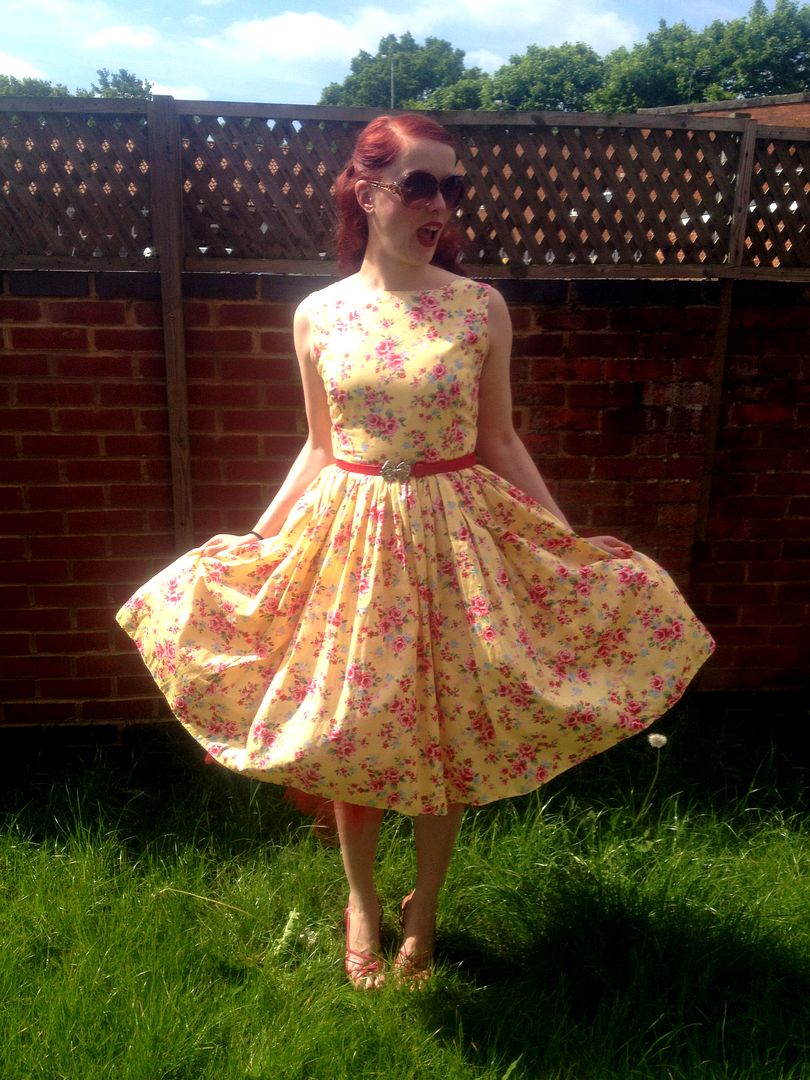
Garden party dresses now available in yellow and sky blue

I have added some new colour options to my garden party dresses in the shop 
in sky blue


and yellow


Which one is your favourite?
 

6/03/2013

New sun dress for a bank holiday adventure in Liverpool

It's been quiet here last week. I wasn't feeling too well after spending the bank holiday weekend in Liverpool with my husband and his colleagues (plus partners) for their annual get together. So here's the cach up.
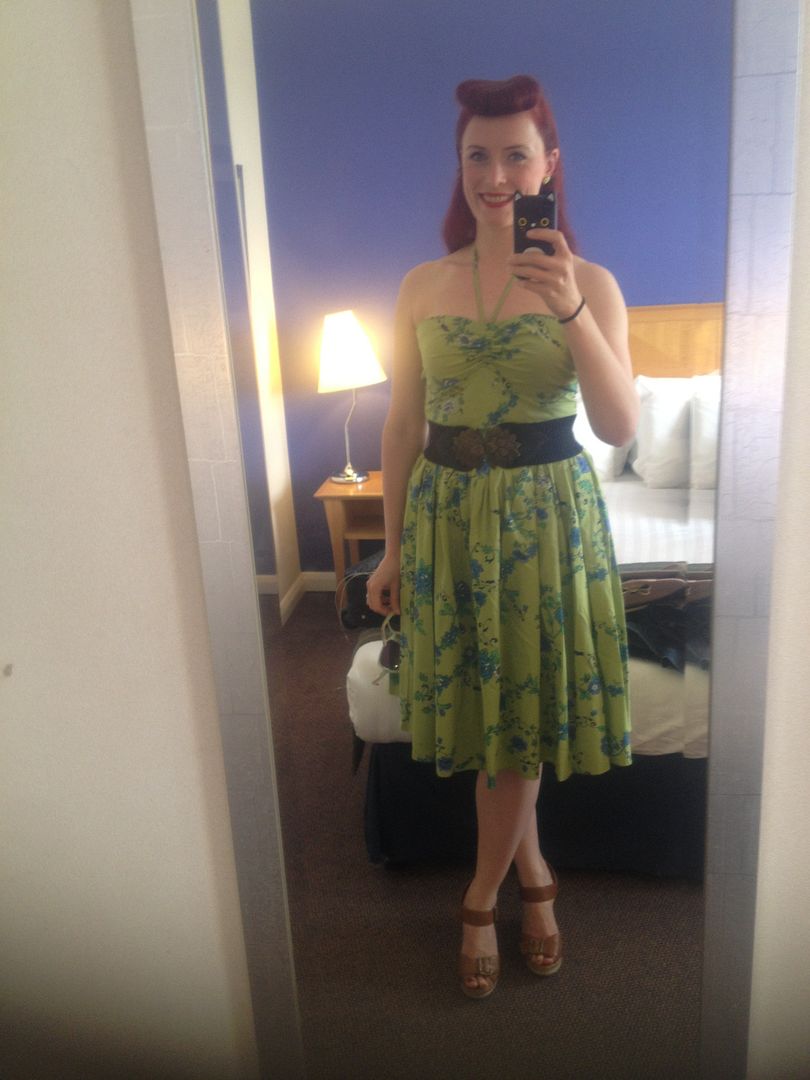
We meet once a year somewhere in the UK as all his colleagues he went to Afghanistan with a few years back are now posted all over the place. This is always a fun weekend catching up with everyone. I didn't really take any pictures for the blog but this is what I wore going out the first night.
The inspiration came from this dress I found on pinterest

the fabric


my version

I'm sorry I have only crappy phone pictures at the moment but I will definitely wear this again and take some nice ones. I also have this fabric in blue with green florals and might make the same dress in blue as well. I hope the sun is here to aty now and i can wear a dress like that without a cardigan hiding most of its detail.


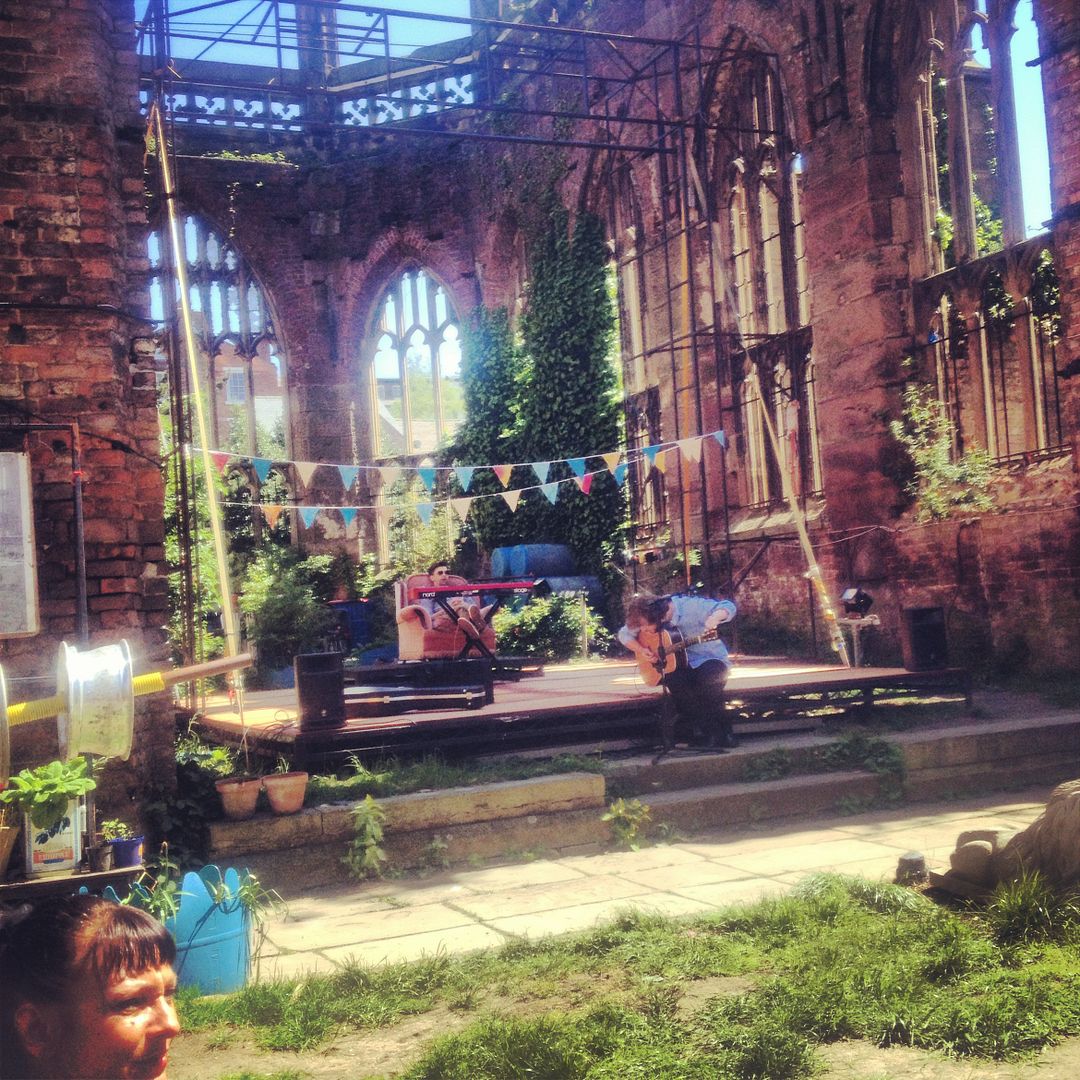
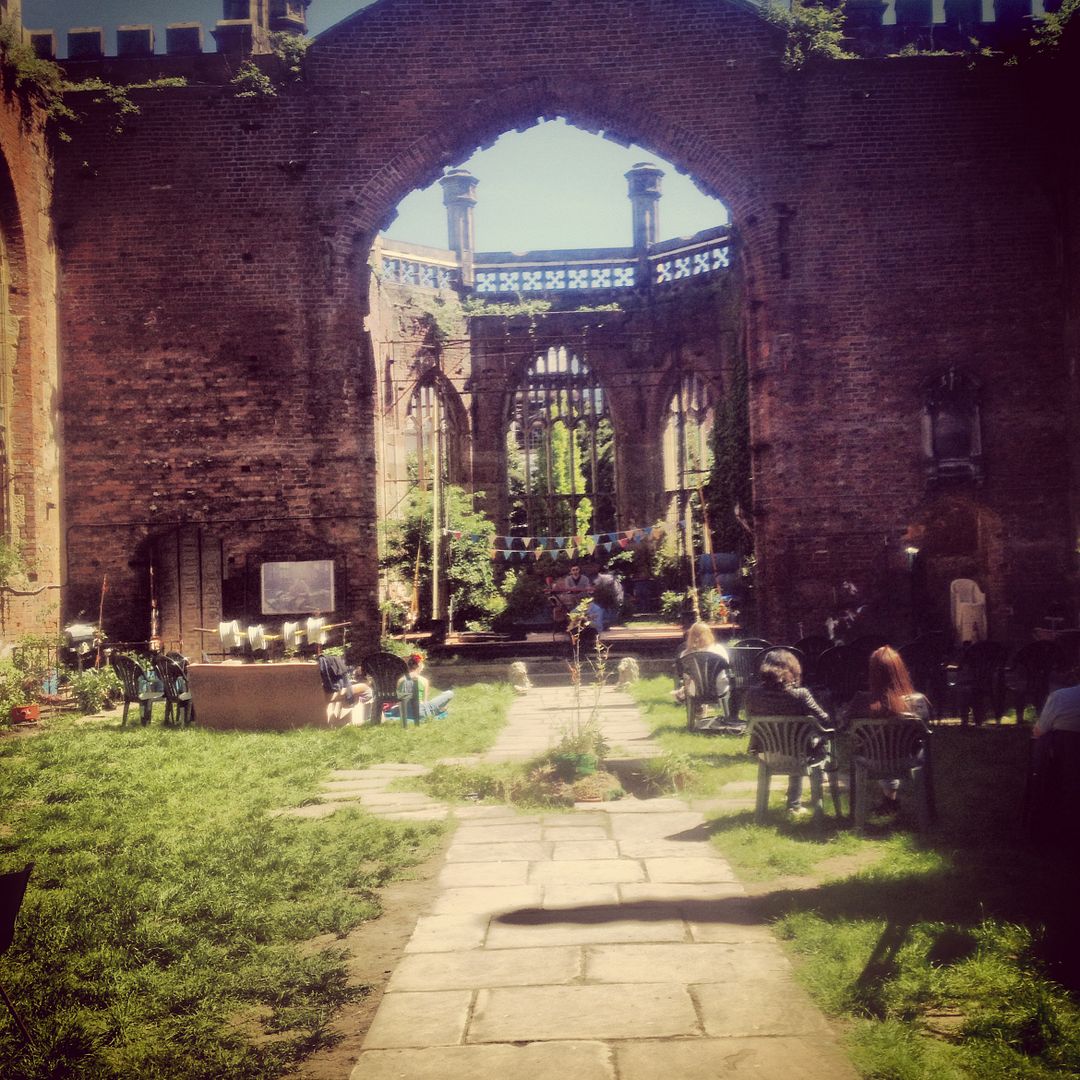
We spend Sunday afternoon in St Lukes church, which is just a shell now as it was bombed and burned out in the 2nd world war I believe. The church is now used for art exhibitions and as a music venue. Its the most beautiful place to hang out. We kind of stumbled upon this student organised music festival by accident and steyed the whole afternoon, it was that good.


I hope you've all had a wonderful bank holiday weekend (I know it's 2 weeks late but who cares)


5/23/2013

Mailorder 8111 a slightly different shirt dress

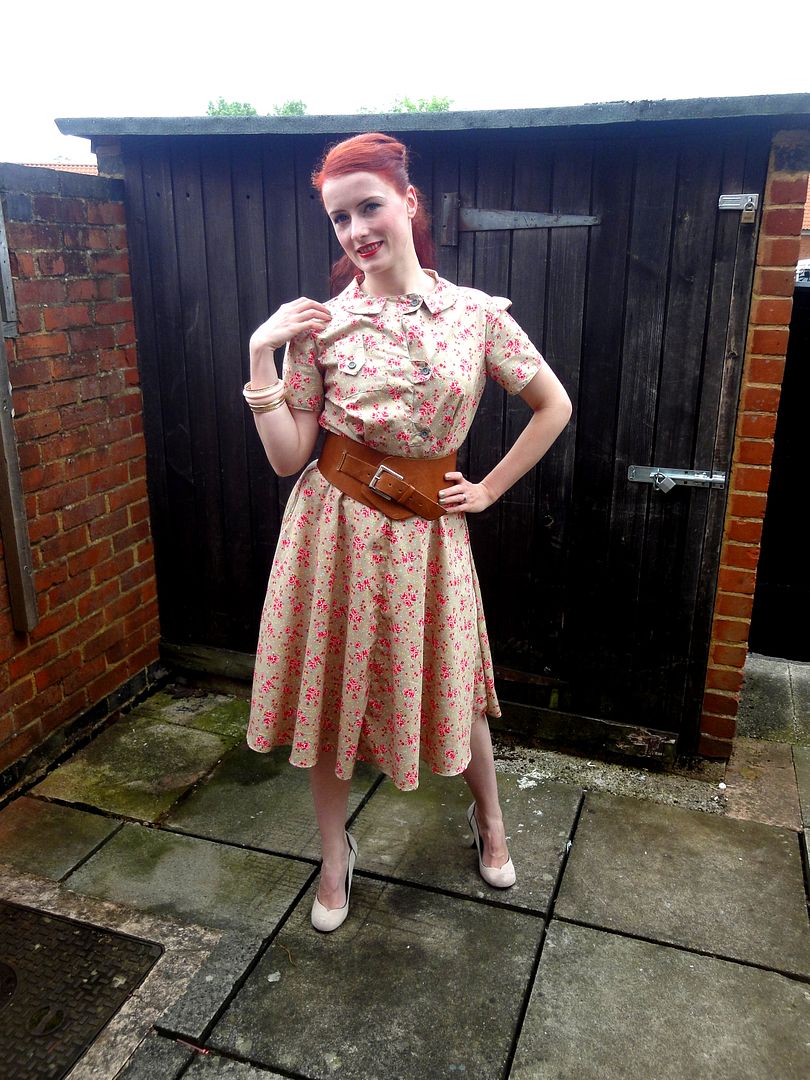
As I mentioned in my previous post, I have been sewing and a new shirt dress to present.
The pattern is another mailorder pattern number 8111 and I am again unsure which pattern company this is. The design is a bit unusual and not something I have made before.
 
 
I wasn't too sure about the big front button flaps as these details often look quirky in the drawing but then not that great in real life.
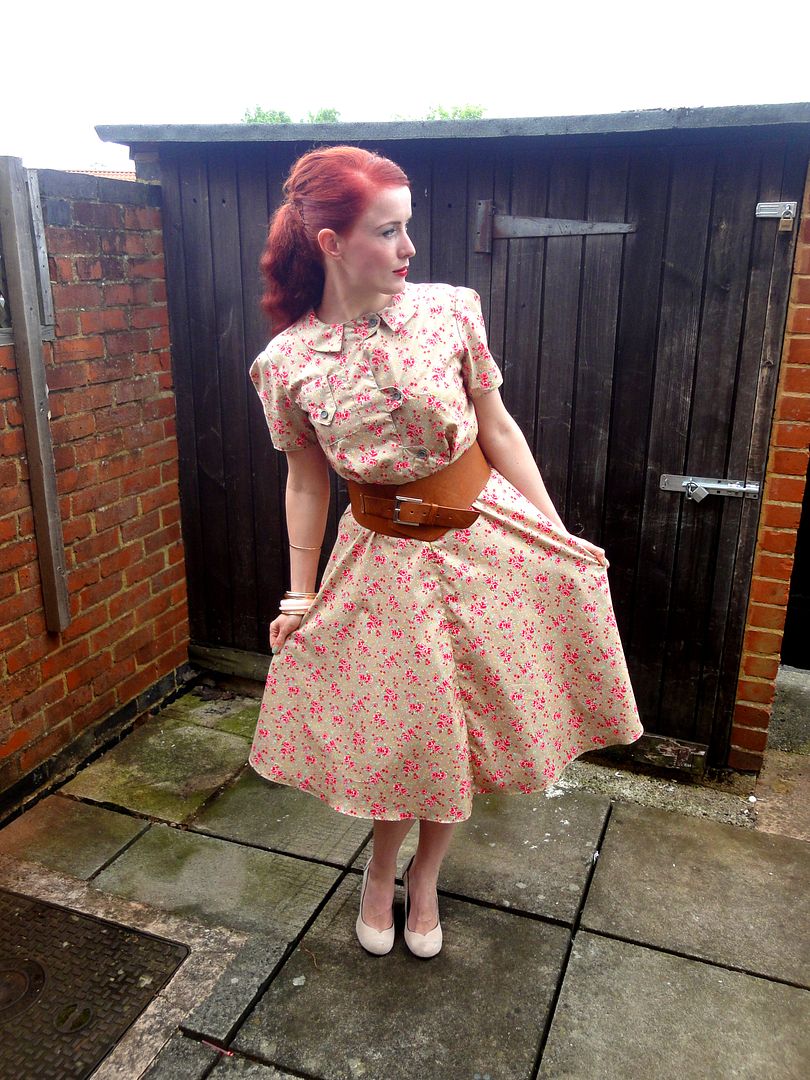
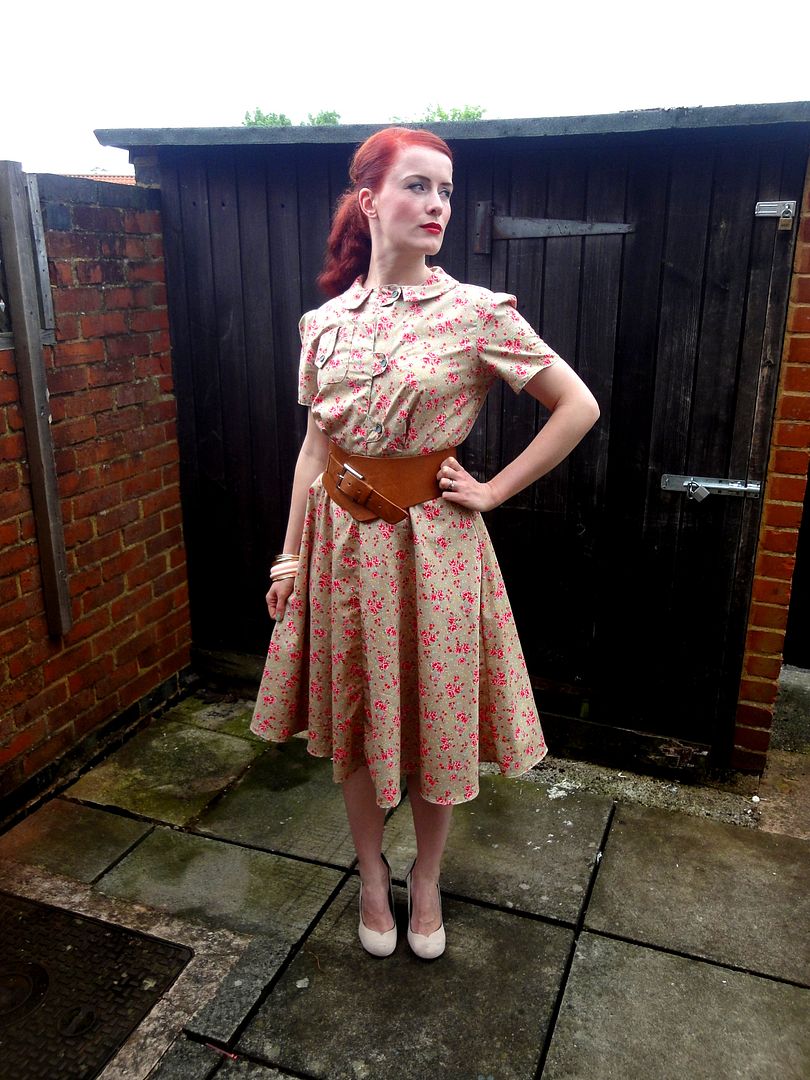
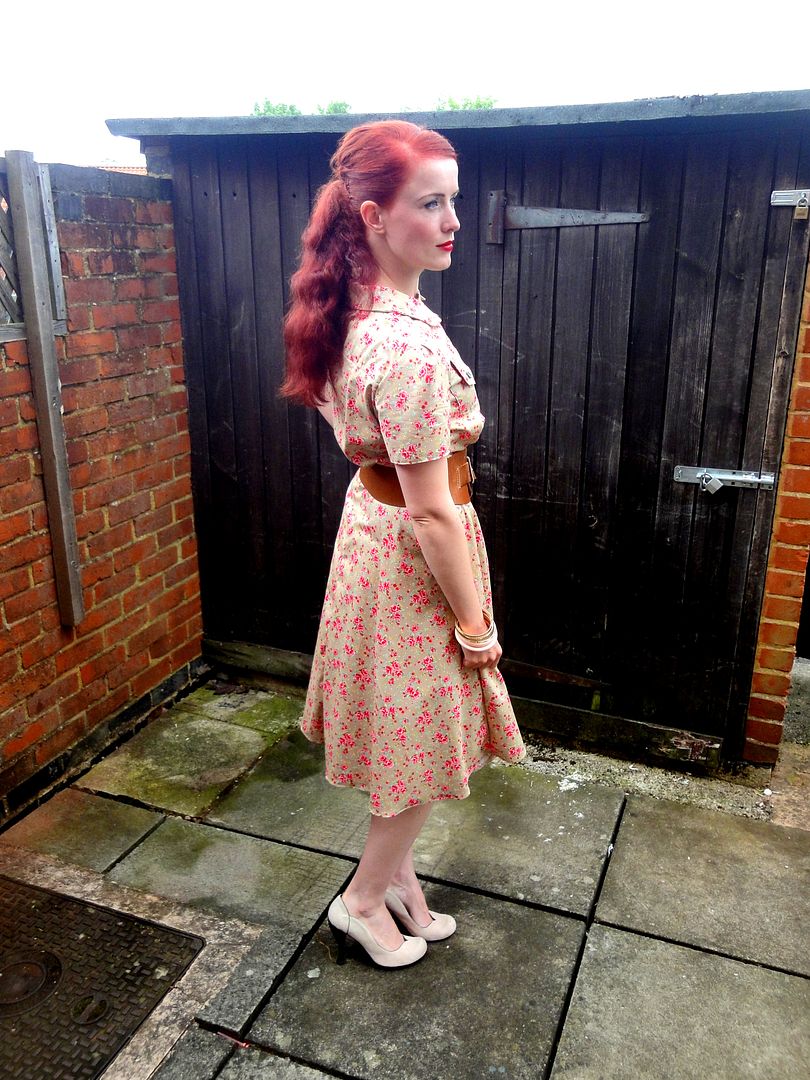
I made the version in the big picture but forgot the belt loop.Oh well, the belt I ended up wearing with it would have covered it up anyways. It's not the perfect belt to go with it but it's the best I could find in my collection. It's vintage from the1970s.
I also shortened the hem by about 5". Not as much as I took off on this dress but I kind of like it that length.


The skirt is a four piece skirt again. I do like how they drape but I'm still not a fan of the center seam. I also could have done a better job pressing that seam, looking at this picture.


details: the "flappy bits" (that's the technical term for them, trust me) are a bit tricky to get right when you turn them out. Lots of very careful, very close clipping necessary.......
 
 
I love the pocket. I think I will stick some pockets like that on future sewing projects. Maybe on the skirt?
 
 
Thanks everyone, I hope you likey.
What do you think: Flappy button details yey or nay? Also what are they really called?
I think I need to make something that is not a shirt dress next.


5/12/2013

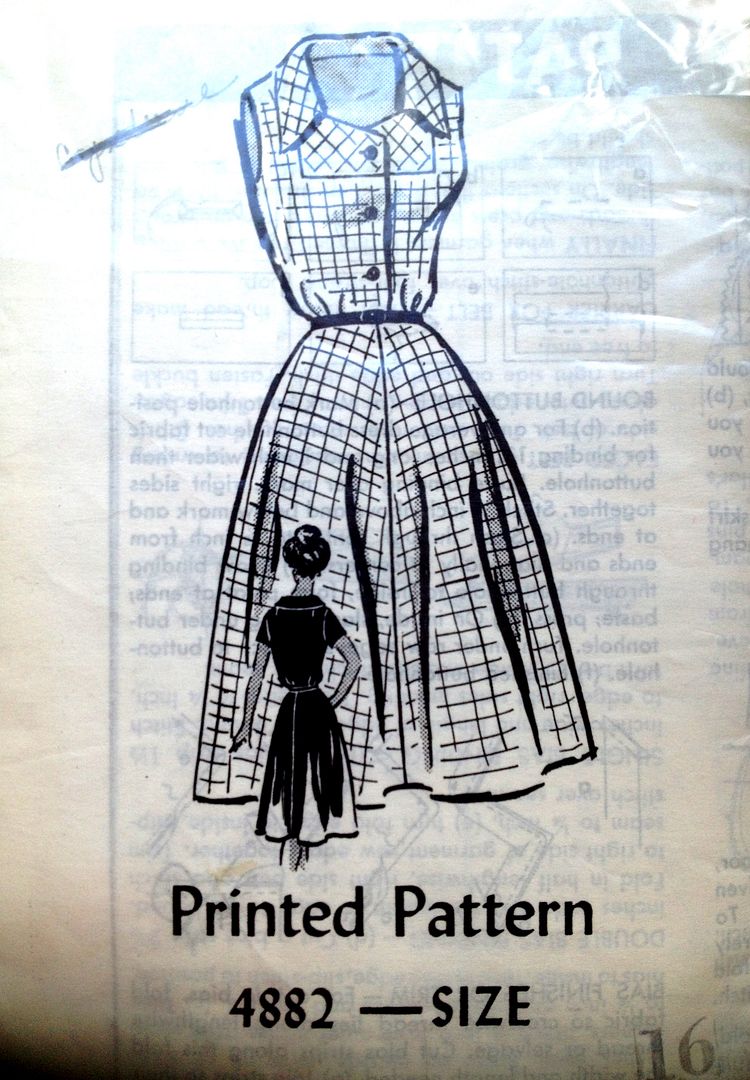
New shirt dress Mailorder? pattern 4882

I indulged in some me-sewing again last week. When we last went to visit my in-laws I purchased some fabric in a local shop and wasn't quite sure what to actually make from it.
 

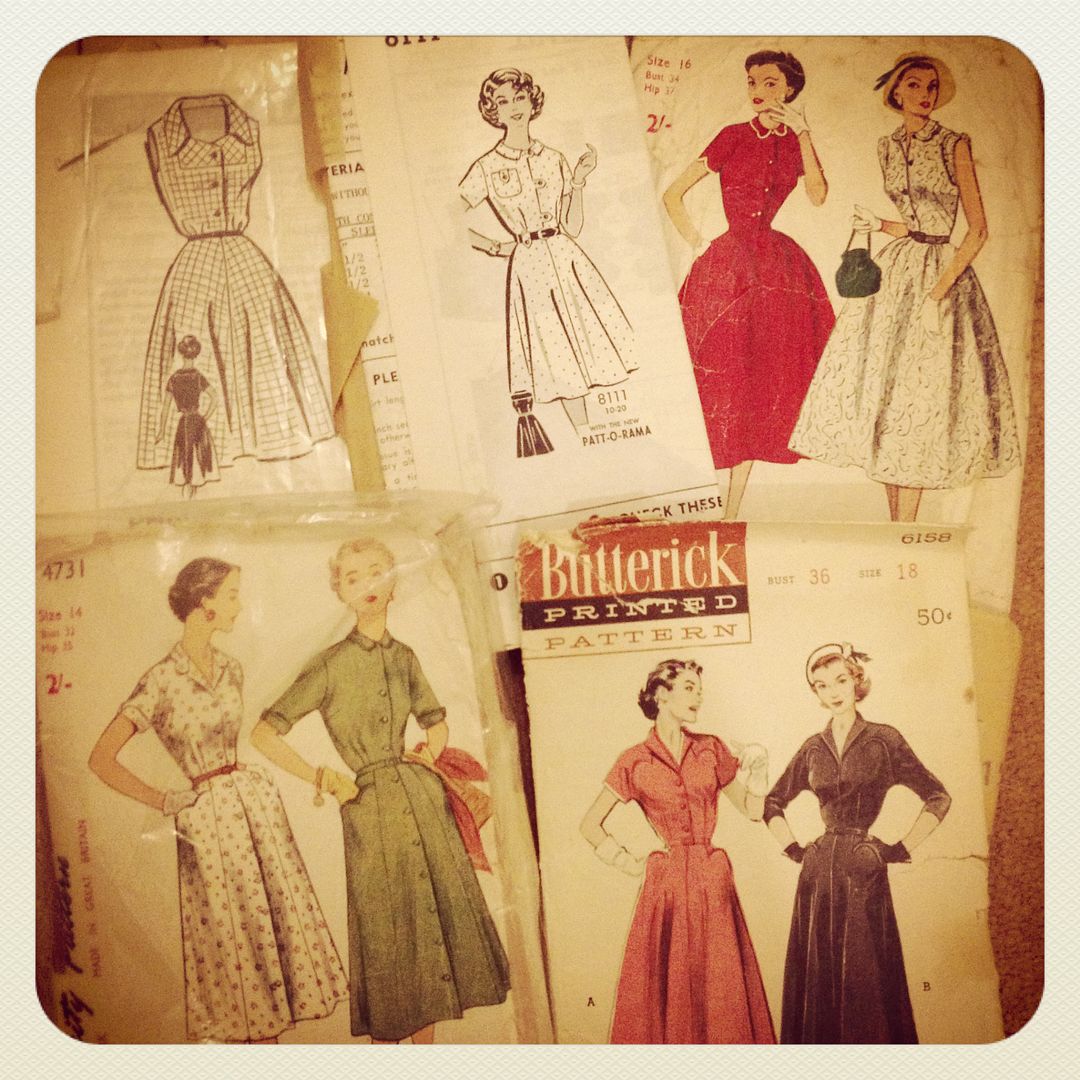
I had a selection of vintage shirt dress patterns to choose from and asked on twitter, and Instagram (@beatricewinter) as well as my personal Facebook which one to use.
 

The majority went for the top left pattern.
 
 
The envelope is missing. I believe it's a mail order pattern but I can't seem to be able to find it on Vintage Pattern Wiki or anywhere else. If anyone knows what pattern company it is and from what year, please let me know. I got the pattern a few years ago from Andrea who was so generous to send me a bunch of vintage patterns from her stash. Thanks again Andrea. This is the first time I have made this particular design.
 
 
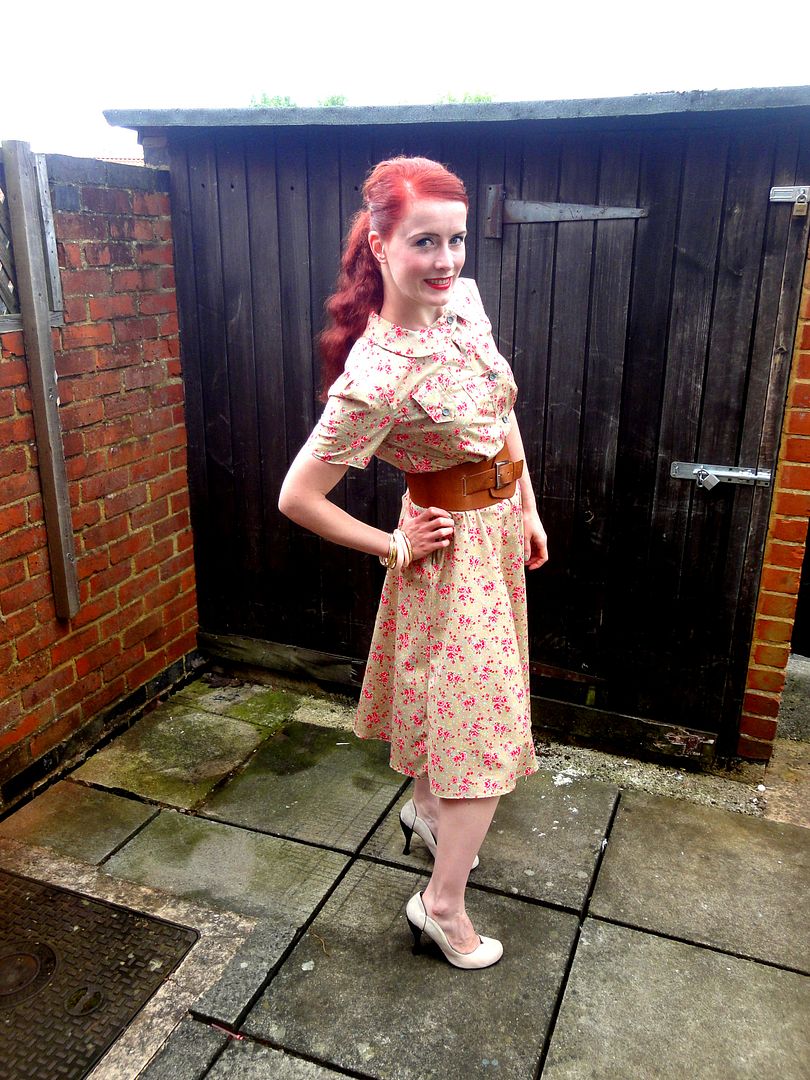
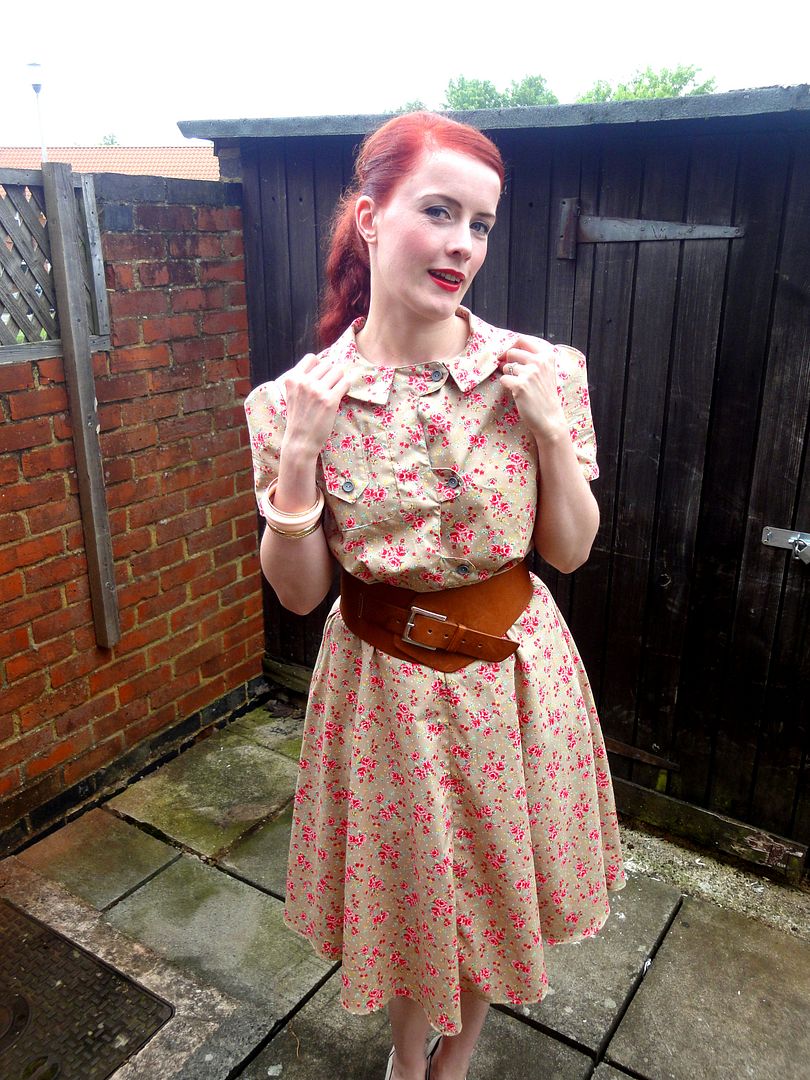
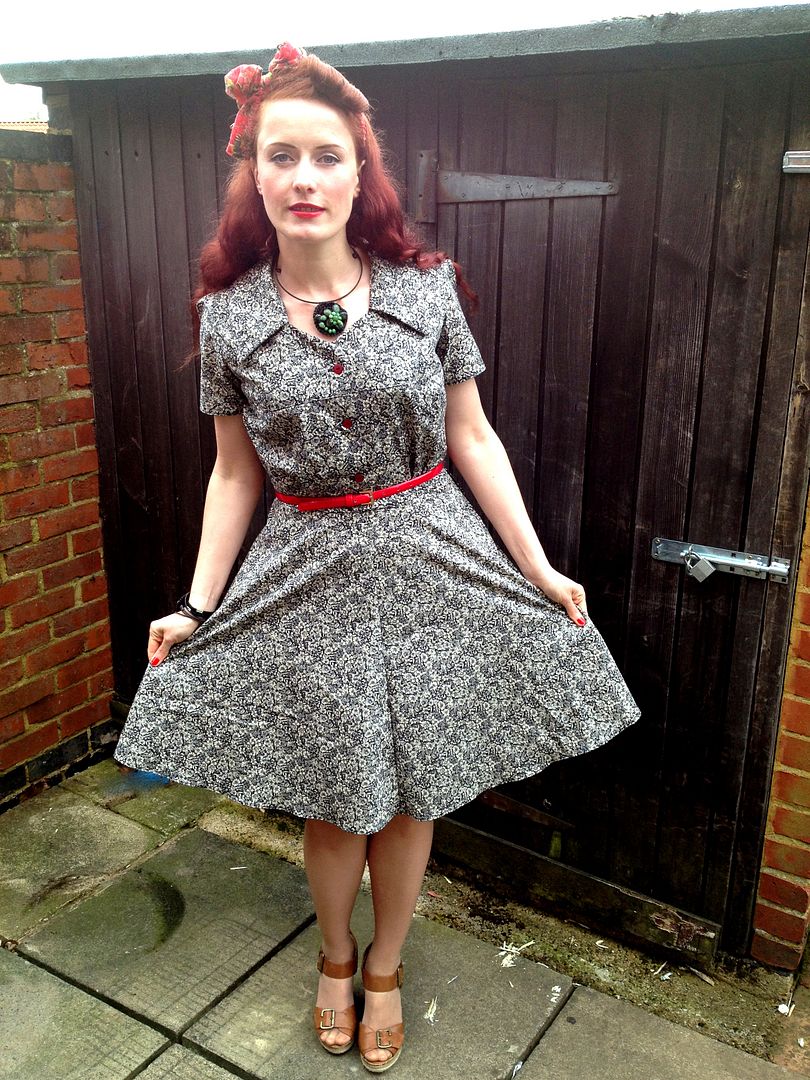
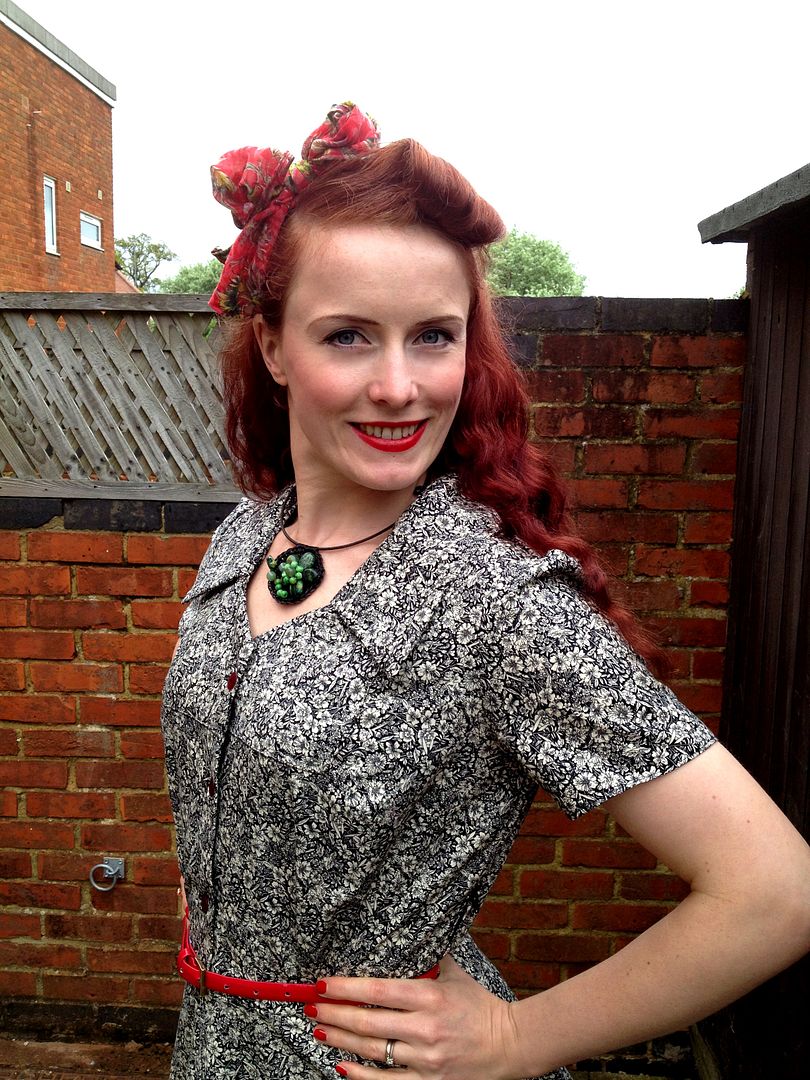
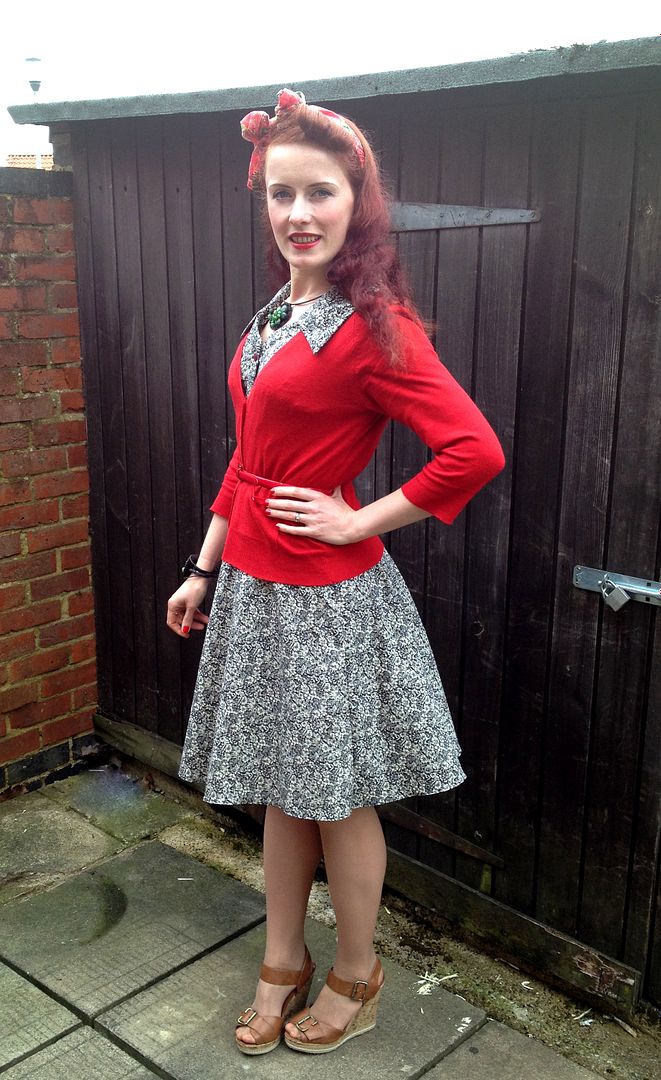
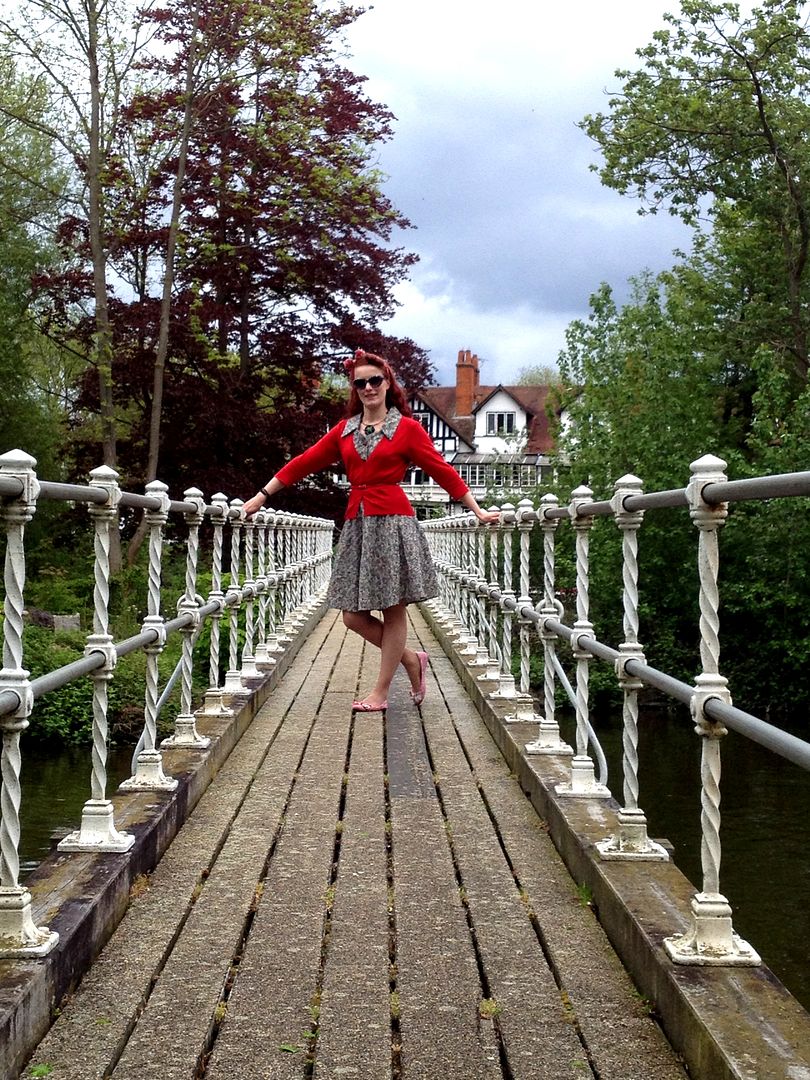
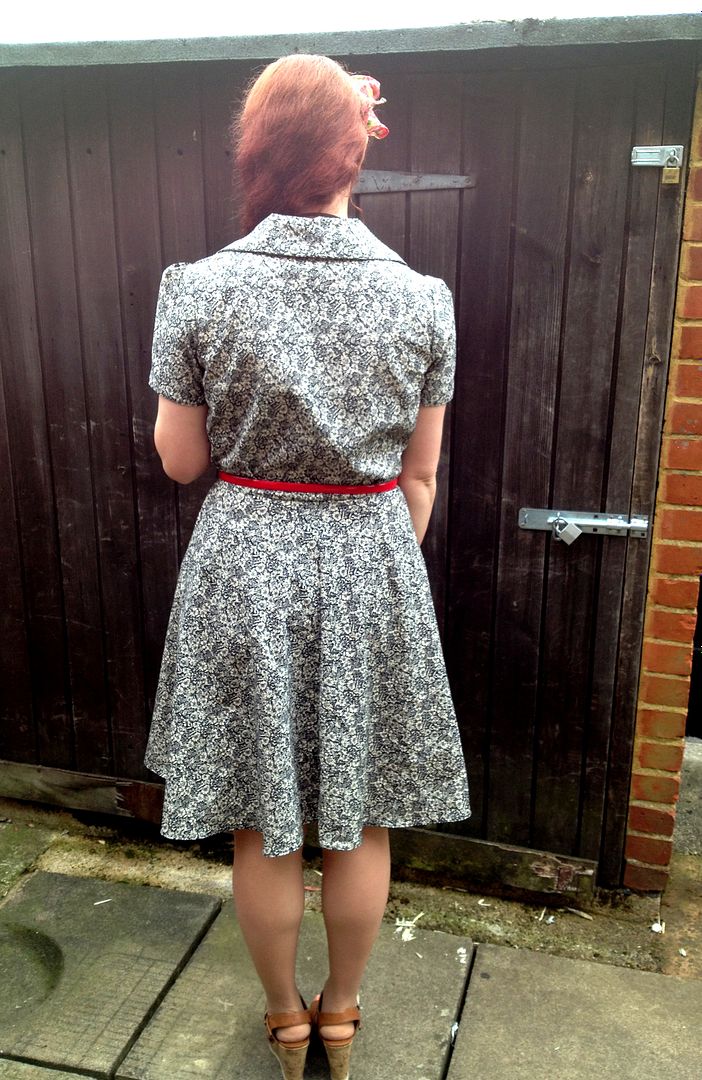
And here it is. I decided to opt for the sleeves instead of the sleeveless version so I can wear it on bike rides without getting burned on my shoulders. This is a perfect dress for cycling  as it's a bit blousy and I won't get too hot in it. At first I wasn't too sure about the big collar but it has grown on me and now I rather like it. Maybe some pipeing along the yoke would be nice to show that detail off would be nice. Next time I would also cut the skirt differently to avoid the center front seam (not too keen on seams all the way down the front) and maybe make a full circle skirt. This four piece skirt also takes a lot of fabric due to the odd cutting layout. It hangs nicely though and the center front seam doesn't show too much. I also shortened the skirt by about 9". I need my skirts to hit just above the knee or slightly below. Any longer and they make my calves look even bigger than they are. Hello running muscles!!!


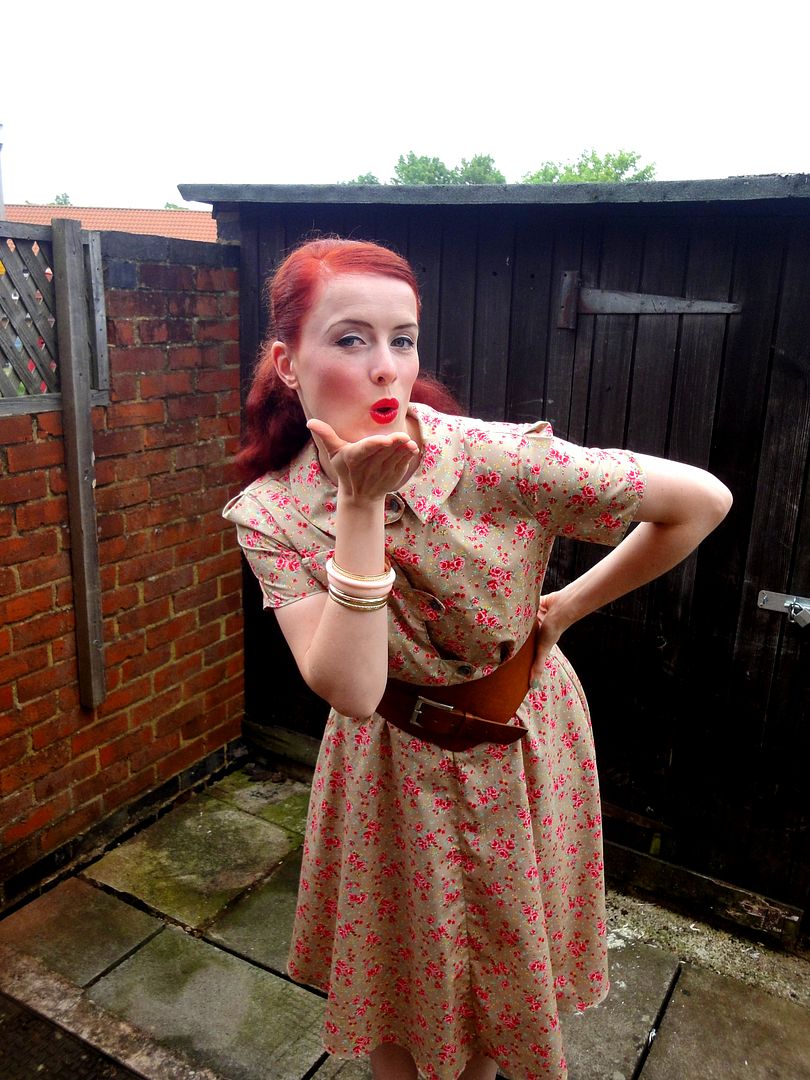
And because I like red and went for red buttons, I accessorised with more red today.


And then hubby and I spend the afternoon in Maidenhead, walking along the Thames
 
 
eating cake
 
 
and taking in some scenery and charity shop hunting but no pictures of that part, sorry.


I hope everyone else has had a nice Saturday. I'm off to bed now (at 9:30 pm on a Saturday night!!!) because I have to get up early to go and spectate at a Sprint triathlon tomorrow. I have never been to watch one live but I want to see what it's like, what to expect and so on so I'm not a complete idiot when I am doing mine in June. I hope I get to learn some tips.
Anyways, have a great weekend everyone.
 
Any suggestions what pattern from the selection above to try next?

4/04/2013

Making the most of your fabric. A quick scrap project.

 
This is a great project for everyone, who hoards all their fabric scraps like me in case that one project comes around where you can use them. This is one of those projects to literally use every last snippet.

 
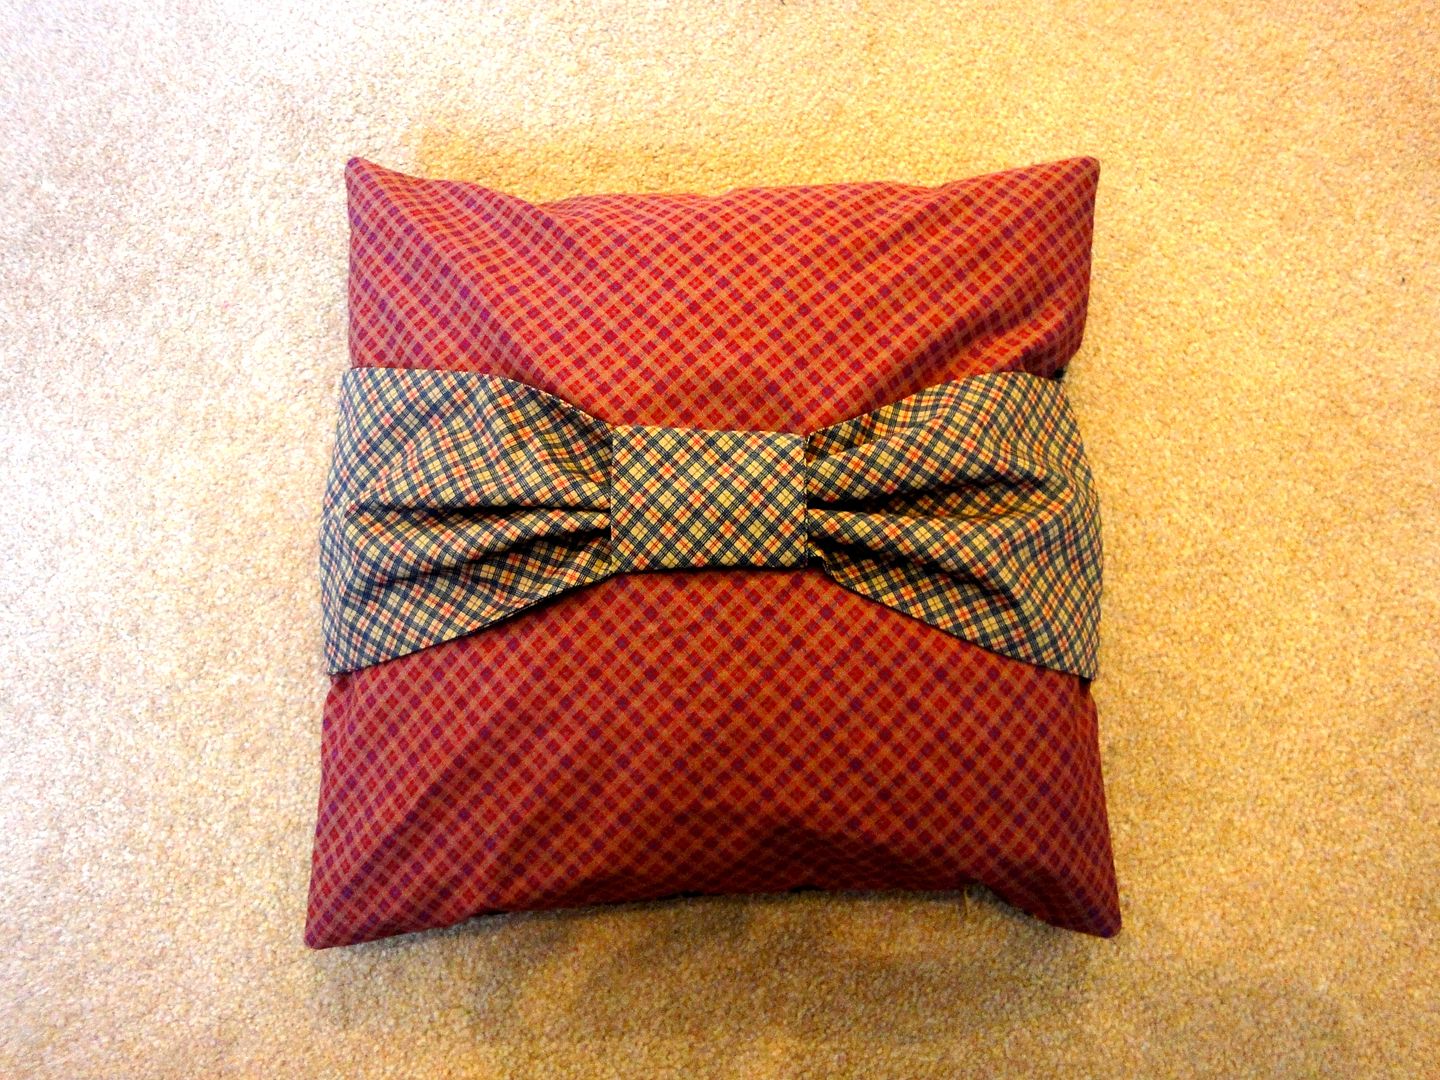
I recently bought 2 packs of fat quarters at my local Fabricland (Reading branch) because I liked the patterns so much and because I'm impulsive like that (I'm not a quilter). The prints in the pack came in two different colour options each so I decided to use one print for the main cushion cover part and the other to make a bow detail. I reversed the colours on the other side. You can use bigger scrap fabric pieces instead of fat quarters for this project if you like.

 
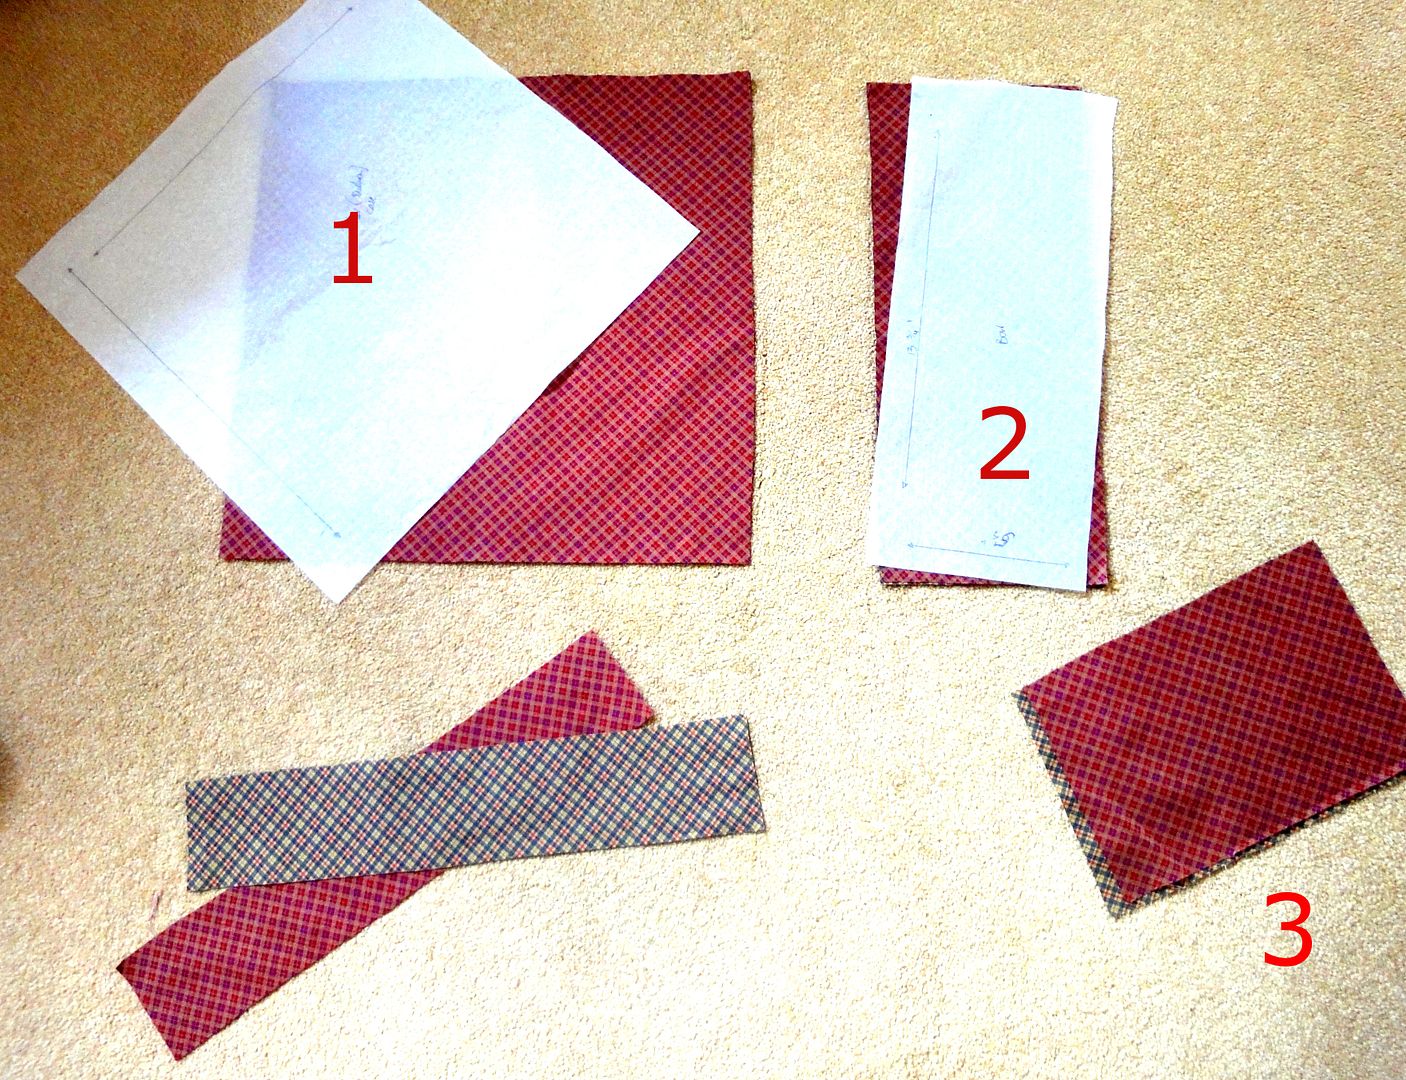
The pattern is super simple and can be made in any size. Since I had fat quarters I wanted to make the most of the fabric and cut the following pieces.
1. The main cushion piece is 13 1/2x13 1/2" (cut 2 one in each fabric)
2. The bow part is 13 1/2"x 5 1/2" (cut 4, two in each fabric)
3. This is a bit of the scraps left for the middle bit of the bow that cinches it together (one in each print). You can make that as wide or narrow as you like or whatever your scraps leave you with. Mine was about 7"x 9" or close to that. You will also need a zip that fits your cushion size. Mine is a 9" zip.


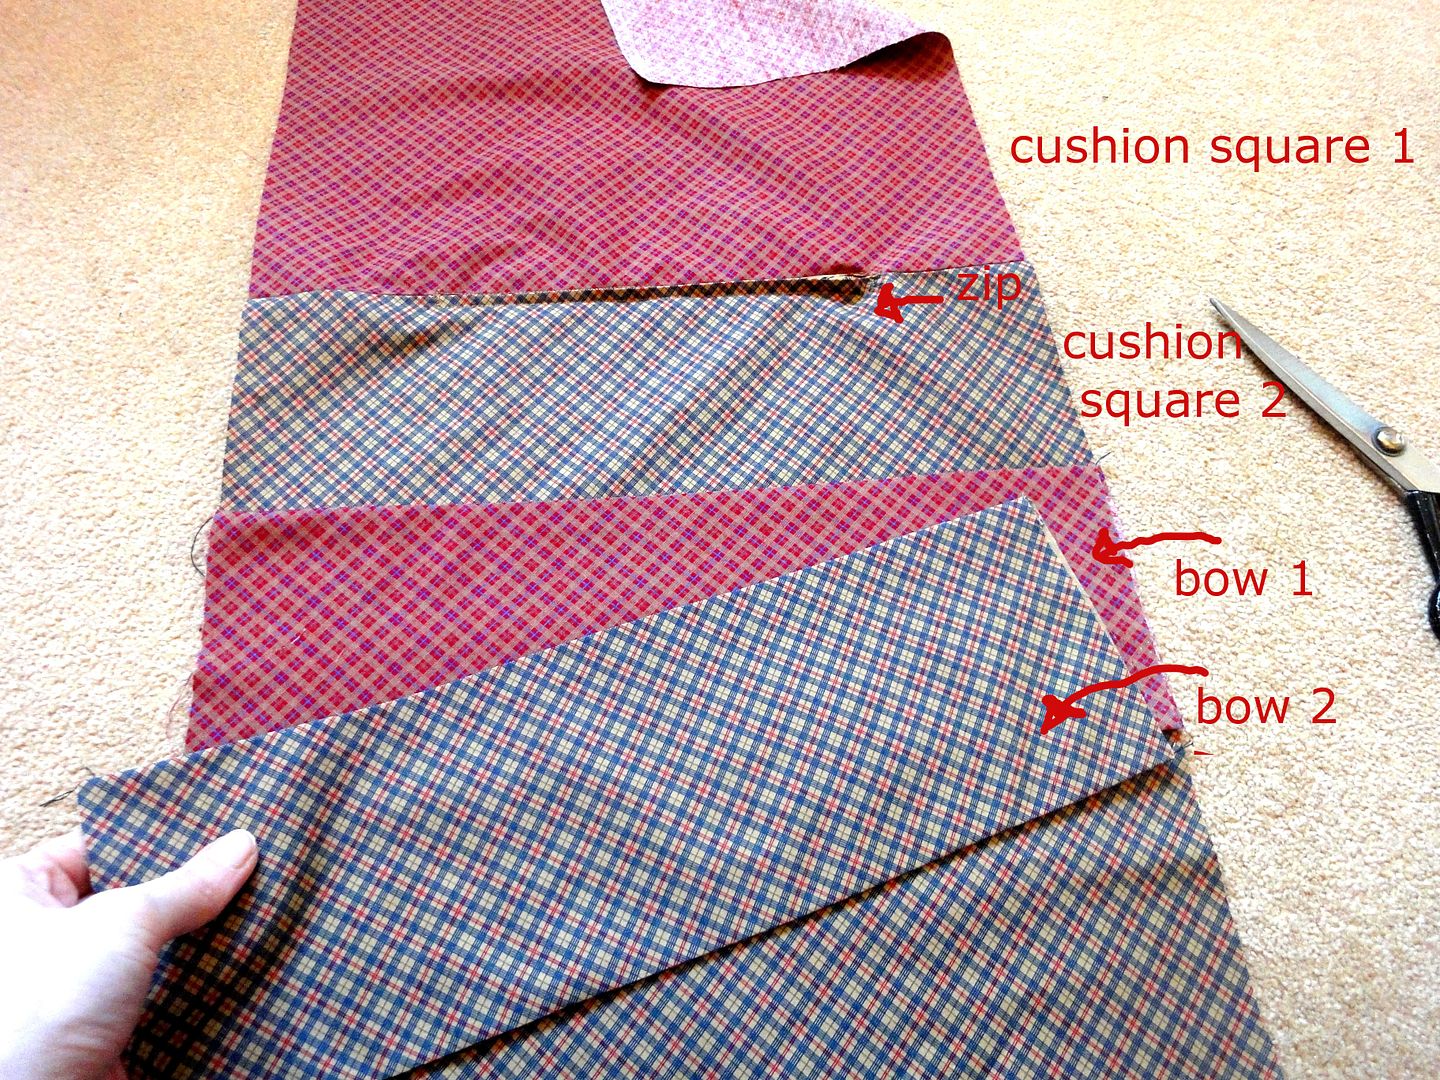
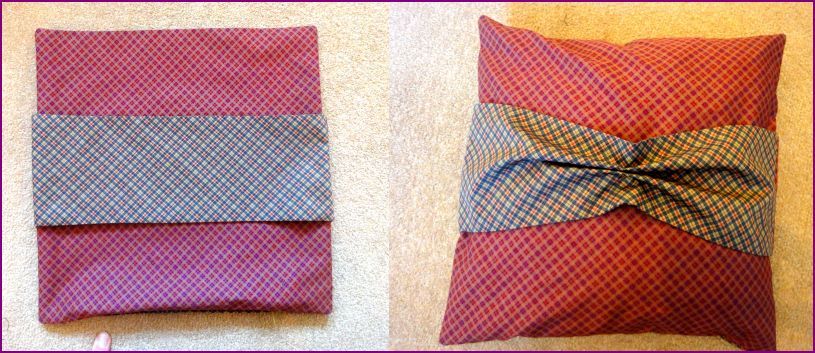
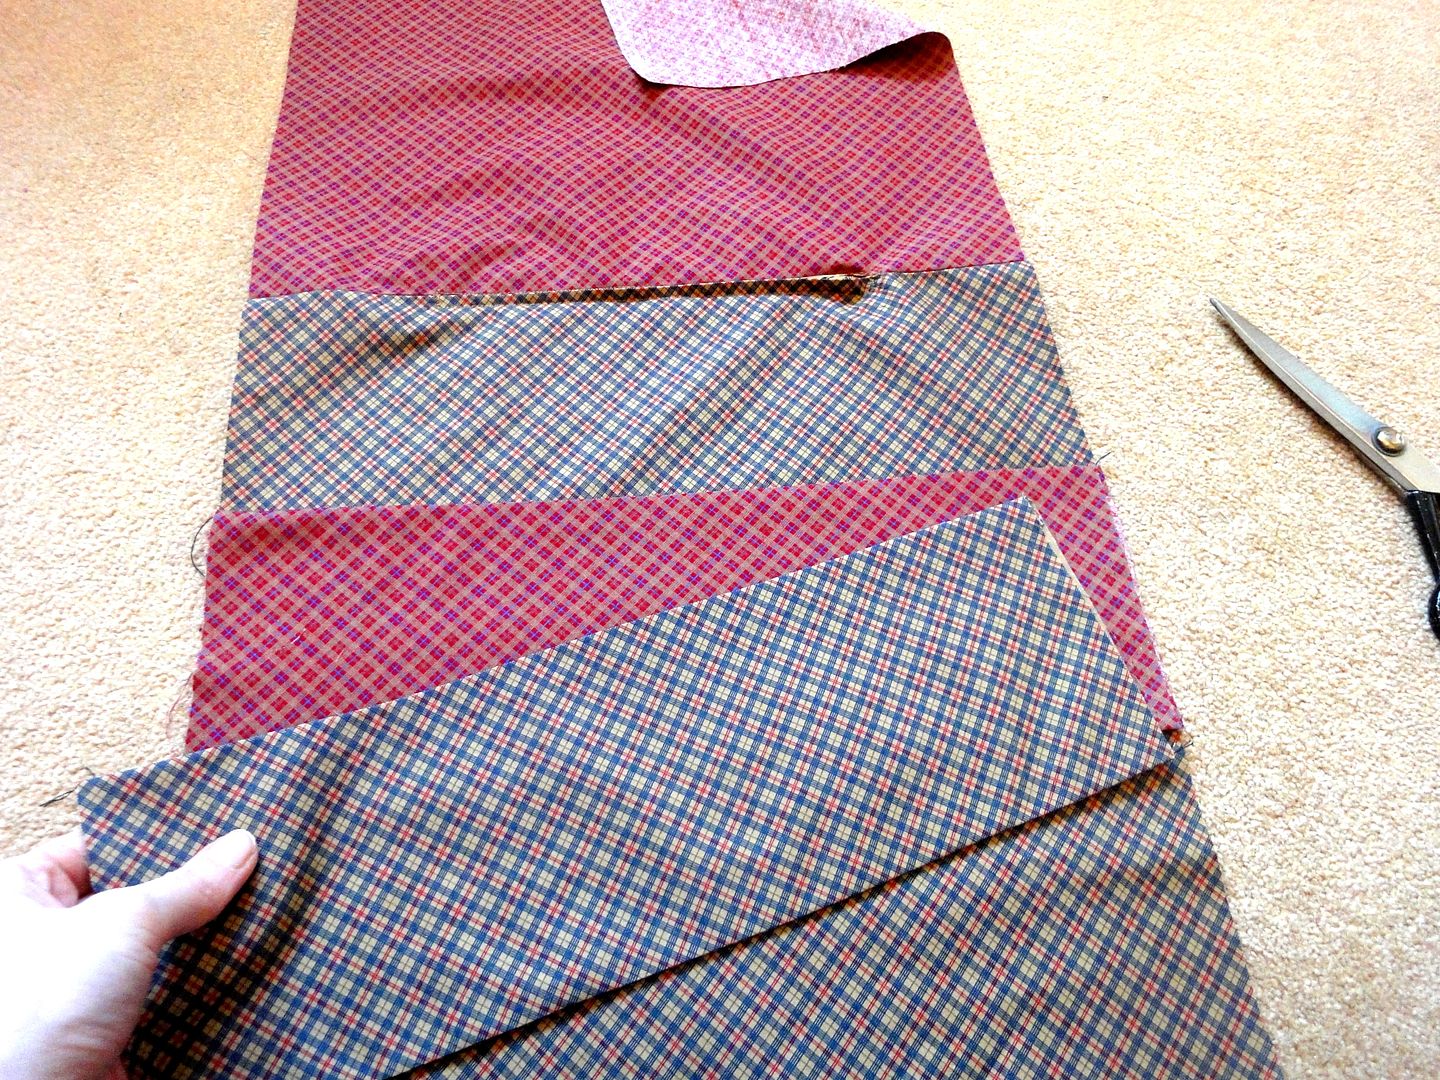
I insert the zip before sewing up the main cushion part as I find it easiest that way. Also sew your bow pieces by putting right sides of the same print together and sew along the long edges. Turn inside out and press. Then lay both bow pieces on top of each other and place them in the center of one of the main cushion pieces (see picture above) Make sure to put down the contrasting fabric first, then the other one. Top with the other cushion piece, right sides of the cushion pieces facing each other, sandwiching the bow pieces in between.
Sew all along the sides, finish seam edges if you want, clip corners and turn inside out through the zip opening and press.
You should end up with a cushion cover with 2contrasting stripes across either side of it. Cinch each stripe in the center and secure with a few stitches.

 
Fold your center bow piece (right sides facing) and sew along the edges, leaving a bit open to turn it inside out and press. Fold the piece around the chinched middle of you bow and stitch the ends together, hiding the seam on the back side of you bow. I also stiches the loop to the main cusion in a few places to secure in in place.

 
This is where your scraps come in handy now. You can either stuff the cushion cover directly or make a separate one which can also be made from larger scraps as it doesn't matter what it looks like. It'll be hidden inside your cushion cover. I made mine just 1/2" smaller (13"x13") than the cover to make sure it's not too squished in. Fill your cushion cover and you're done. Display your cushions wherever you like and if you get bored flip them around for a little change.
 
I hope you liked this little quick project. I hate throwing scraps away and think this is a nice "recycling" idea. The cushions turn out less fluffy this way and make better display cushions than functional pillows.