Showing posts with label DIY. Show all posts

8/13/2013

Machine embroider a textile necklace and win a sewing machine worth GB£300!

Remember the vintage inspired hair styling class I took with The Amazings a few weeks back? 


Well, they have just released a brand new fun class on how to machine embroider a textile necklace and make yourself a unique fashion accessory. And the best part is, not only do you get to make a statement piece of jewellery (or two or 20?.....) you can also win a sewing machine worth £300.


 So go and head over to their page and check out this amazing new class here. And then visit their blogpost including all the details on how to enter and win this amazing and very generous prize. The competion startes today, 13th August 2013 and closes at 11:59 on Sunday 15th September, 2013. Also, the competition is open worldwide, not just the UK. 
Good luck everyone. 


7/02/2013

Tutorial: make your own hair flowers


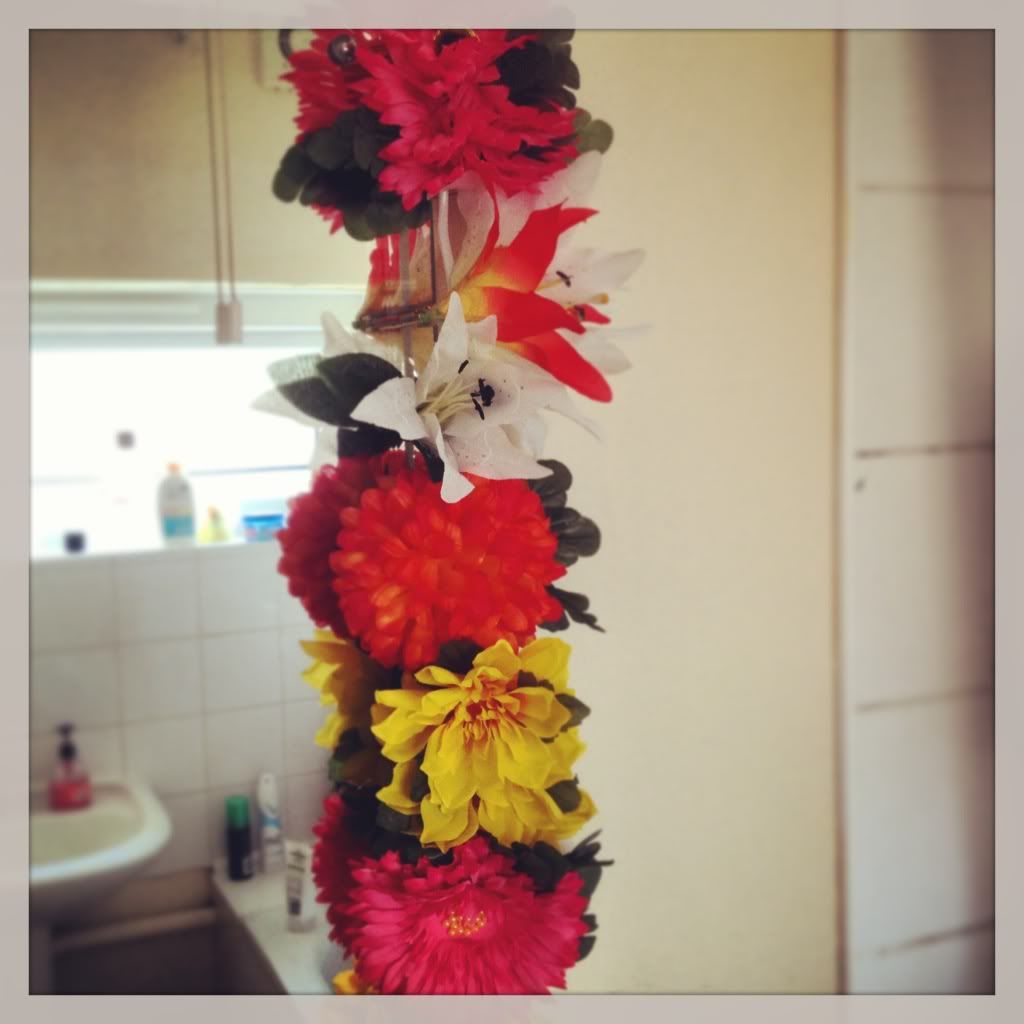
I love hair flowers, especially in the summer. They instantly make me happy as they add another splash of colour to an outfit and glamourise any hairstyle in an instant. So I decided to make myself a whole bunch of them in different colours to go with some of my dresses. Its a fun, quick and easy projects and also makes great gifts. Since the UK summer is a total hit and miss, I would recommend this as a rainy day project. If you live in the UK you should have about 9465723920 by the end of this summer.


What you need:  
As a selection of fake flowers of your choice. I got most of mine from Wilkinsons. They were between £1.50 and £2.50 a bunch.
pin curl clips (preferably the ones with little holes in them), plain hair combs I got both at Wilkinsons as well but I'm sure any drugstore or beauty supply place will stock them.
and some matching thread.

How to: Dahlia haircomb

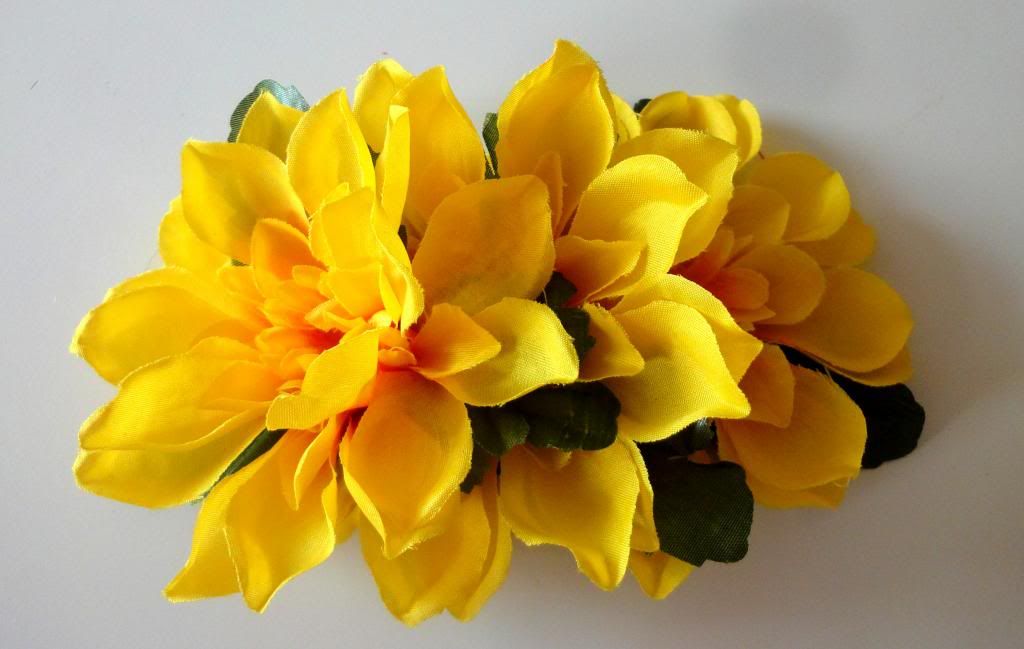
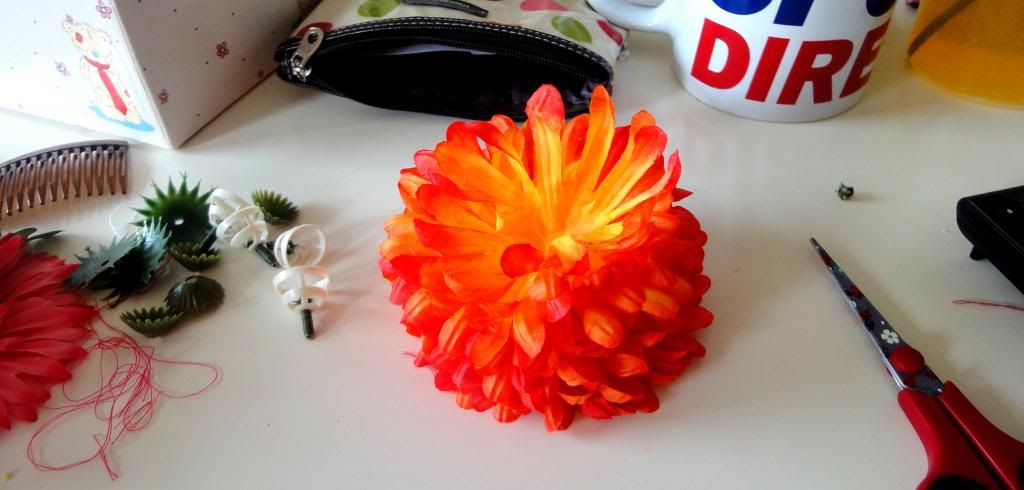
Take three flowers and the leaves of the bunch and take out the plastic pollen center that holds the flower together, also take out the plastic from the leaves so you are left with the softer pedals and leaves.
Arrange them to your liking and carefully stitch them together using matching threads
Attach to the comb and you are done.
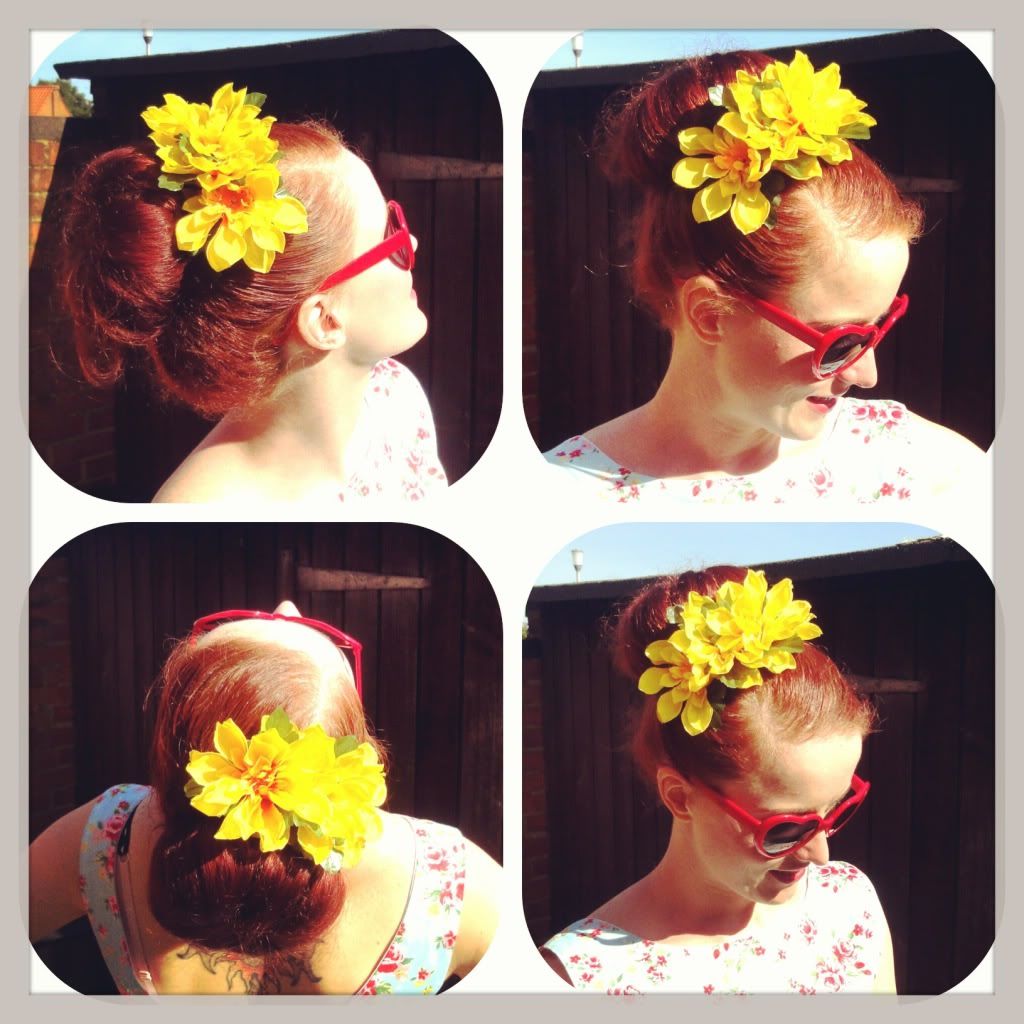
I was wearing this flower piece on Saturday's charity shopping adventure.

How to: Chrysanthemum clip

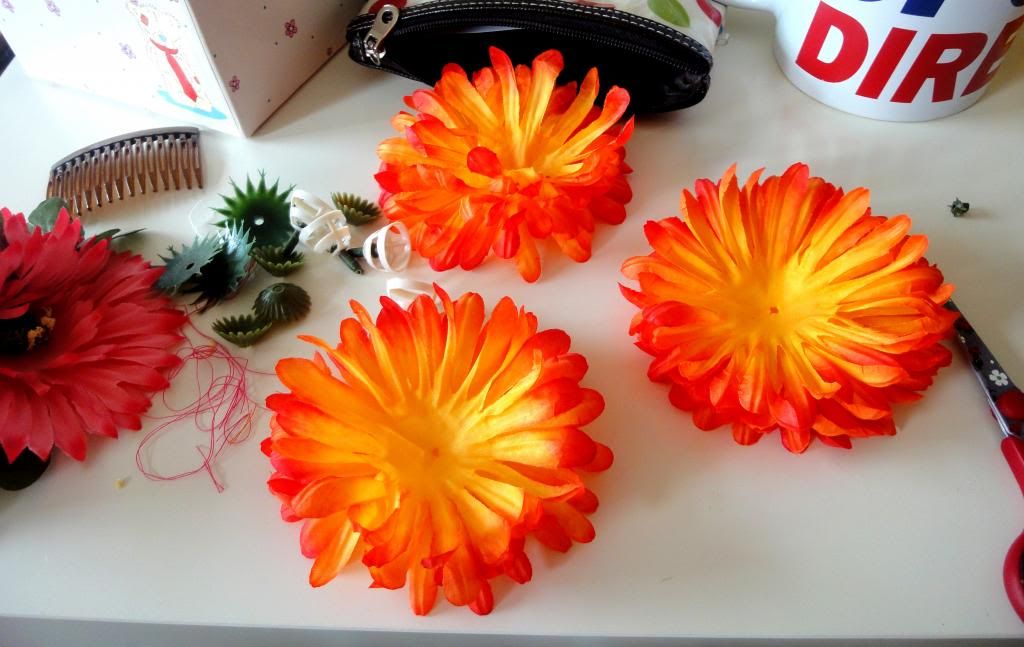
I used three flowers for this and some of the leaves and removed all plastic centers.
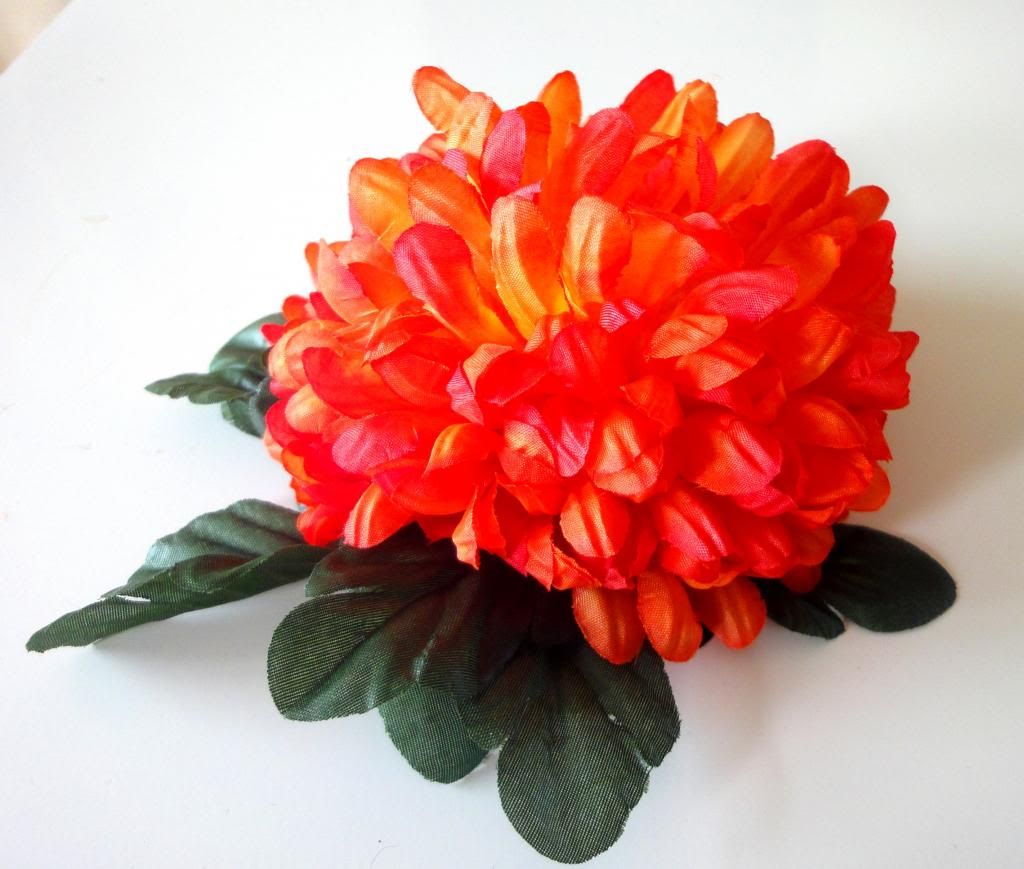
Layer all pedals on top of another for a nice full blossom and stitch in place
and add the green underneath. I placed the leaves a little towards one side so the would peak out a little.
sew onto the clip


And you have a pretty, full blossom hair clip
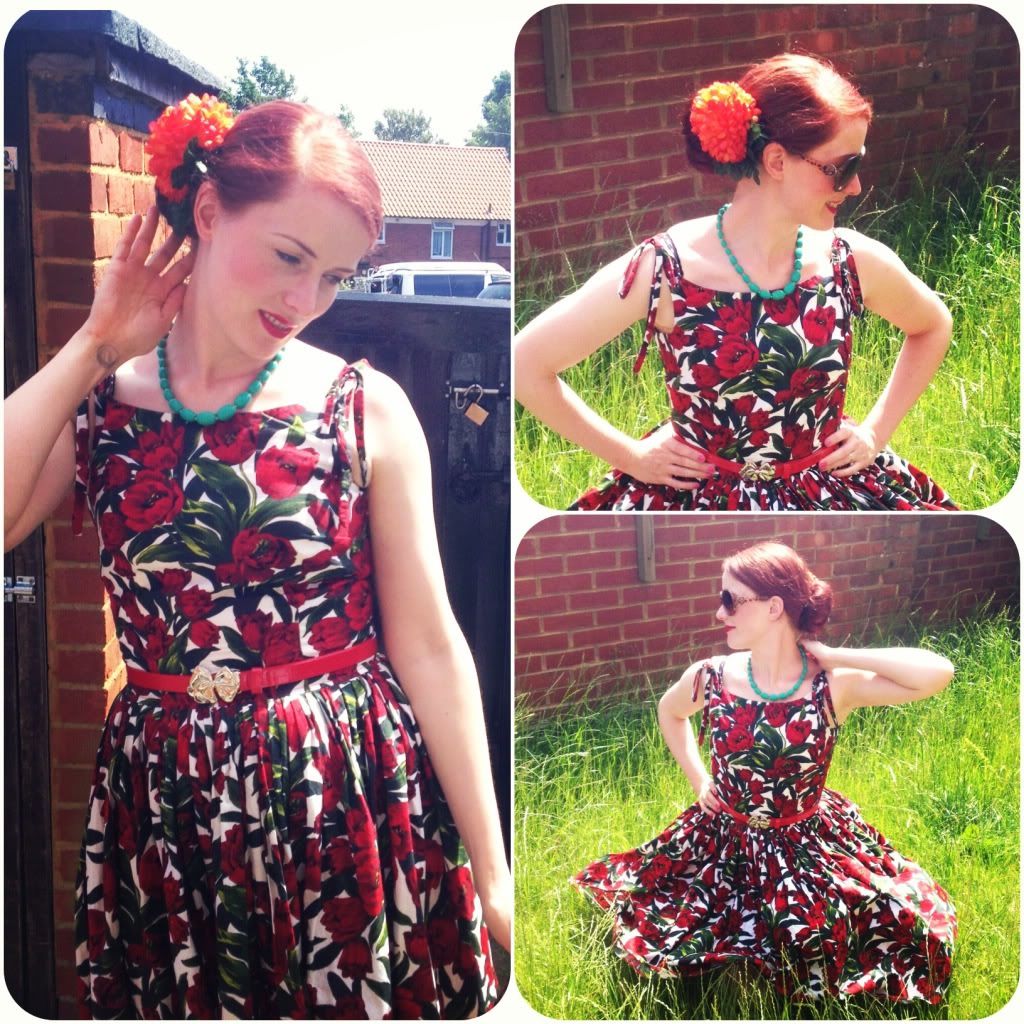
I was wearing that with a low bun on Sunday to go with my Betty Draper tulip dress.

I hope you enjoyed this little tutorial. If you give it a try, please let me know and show me a picture of your new hair accessory. Happy flowermaking!!

5/25/2013

Another ottoman upcycling project

Remember my recent ottoman upcycling project? Well, I have four ottomans dotted around the house and they are all in need for some TLC and DIY.
 
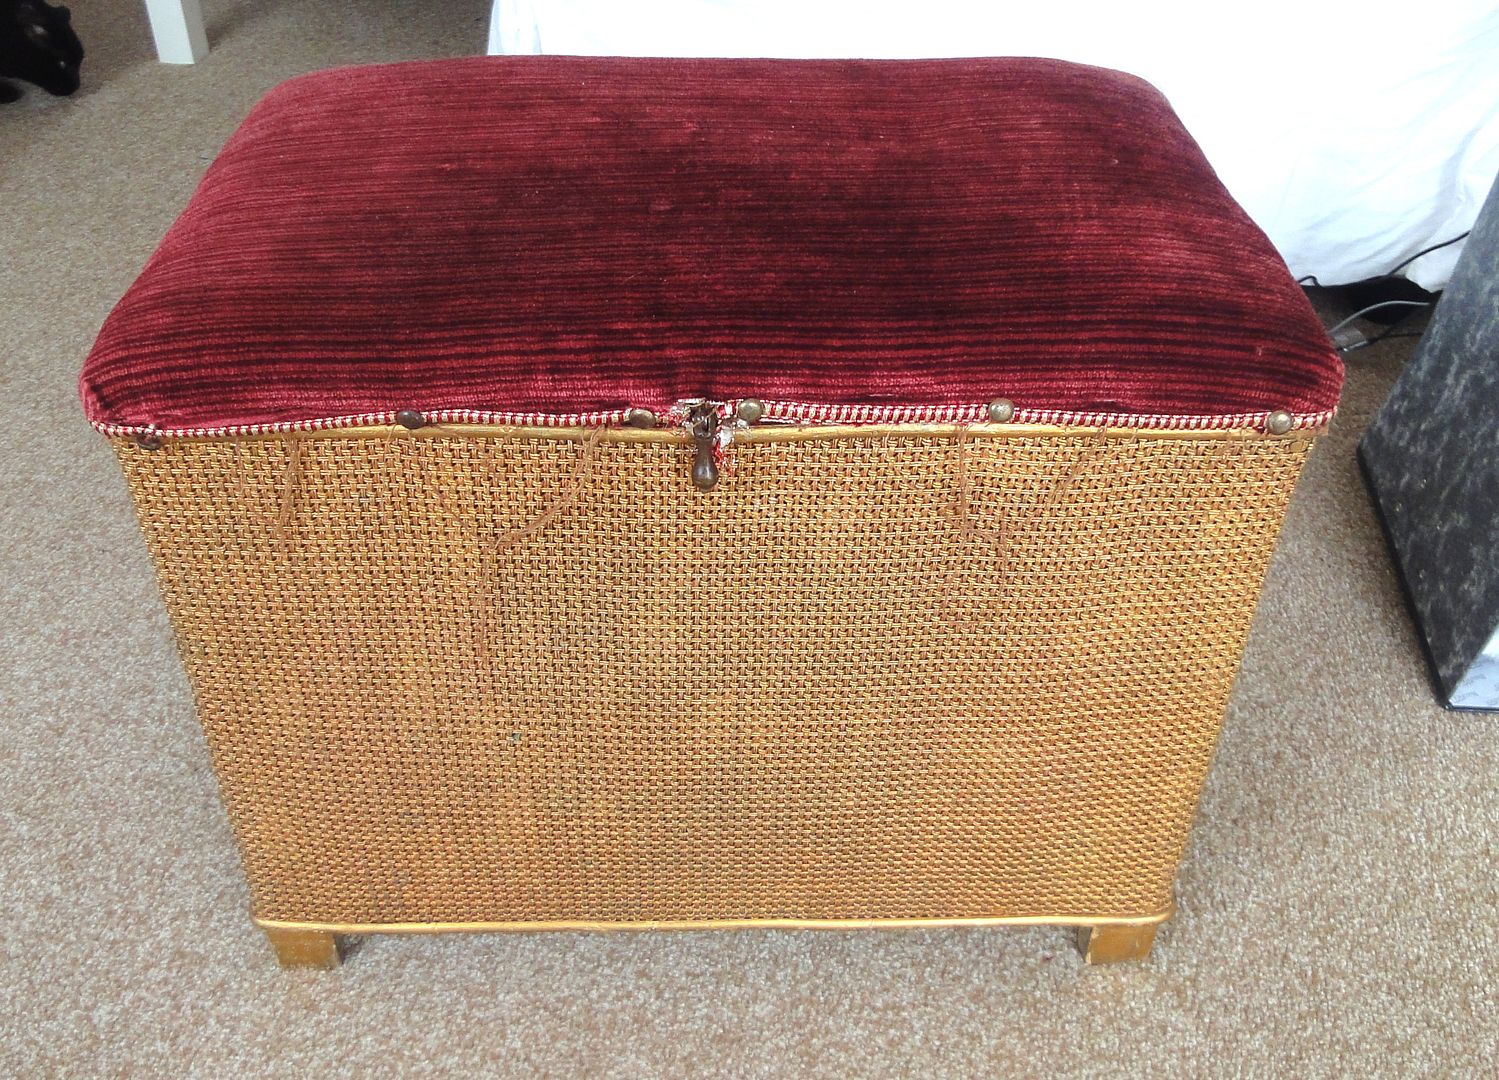
before
 
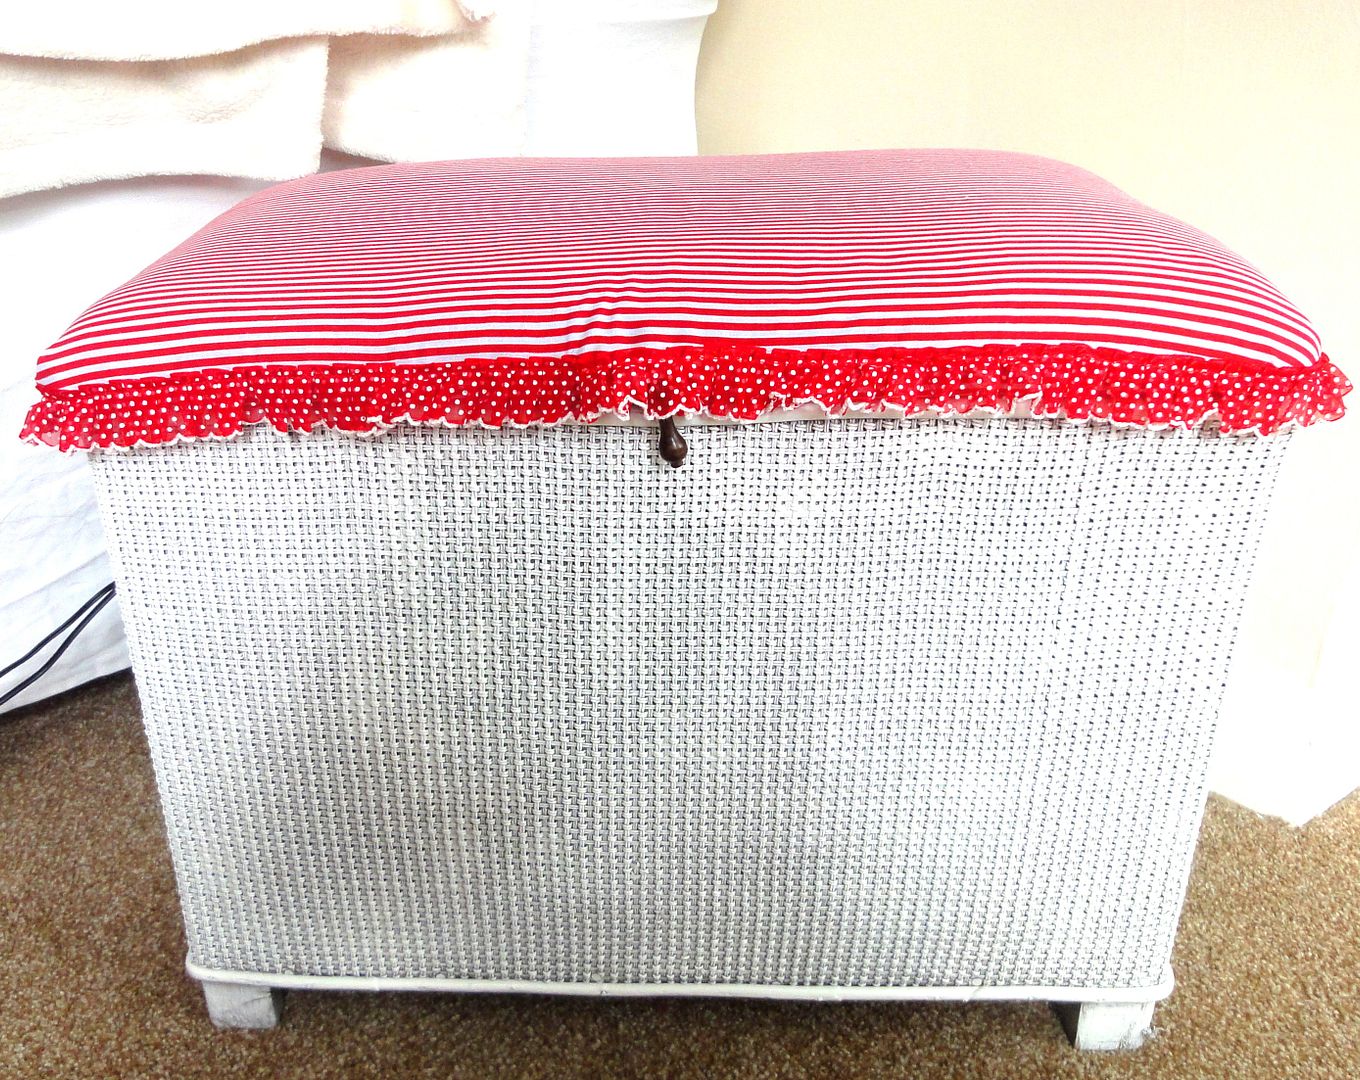
This one is in the same room as the first one I did up. I kept within the colour scheme and went for a stripey cover this time. I think I almost like it better that the polka dots. The trim is the same. That's two of them done, two more to go. One in my sewing room and one in the bathroom. I haven't decided on fabrics and paint yet.
 
after
 
 
I like quick and easy projects like that. Very satisfying.

5/04/2013

A little wardrobe organisation DIY

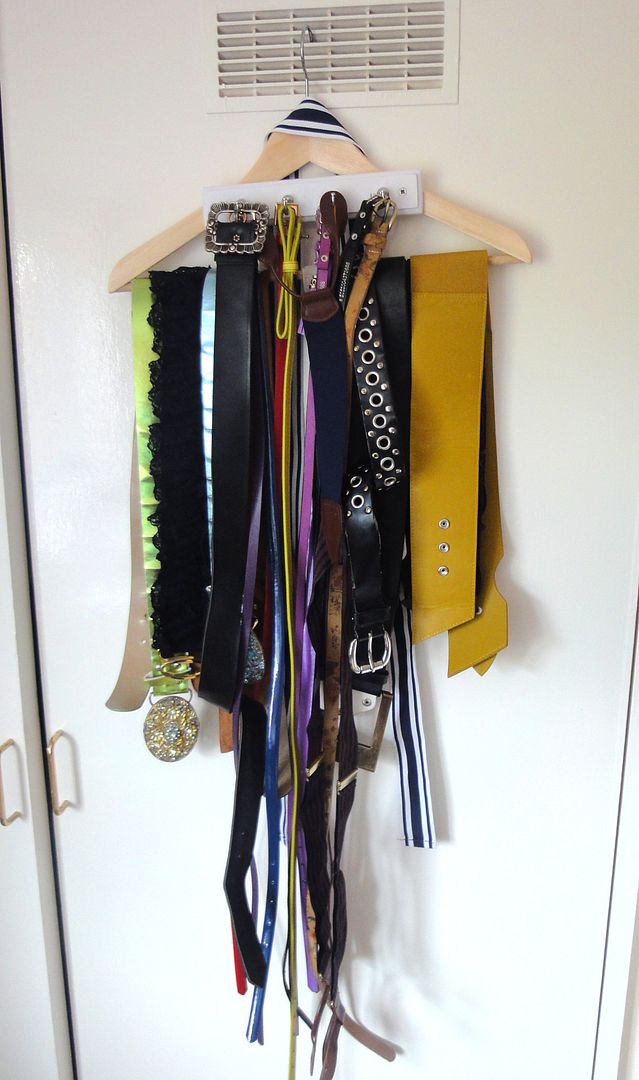
I have a very quick and easy DIY project today to help organise a small wardrobe space.
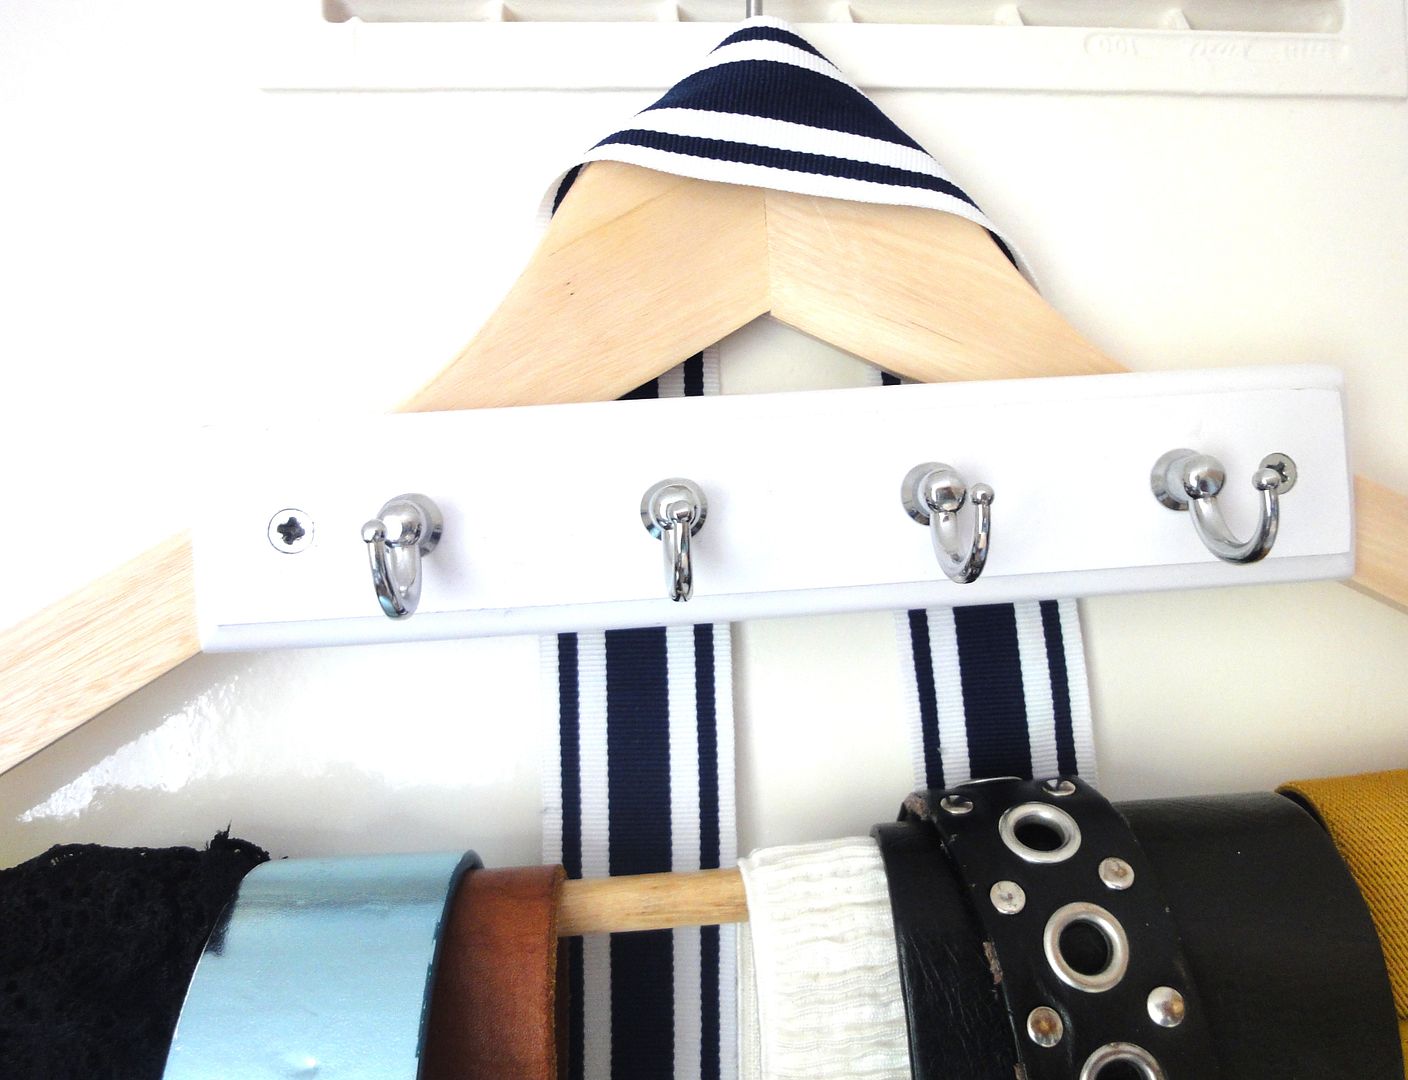
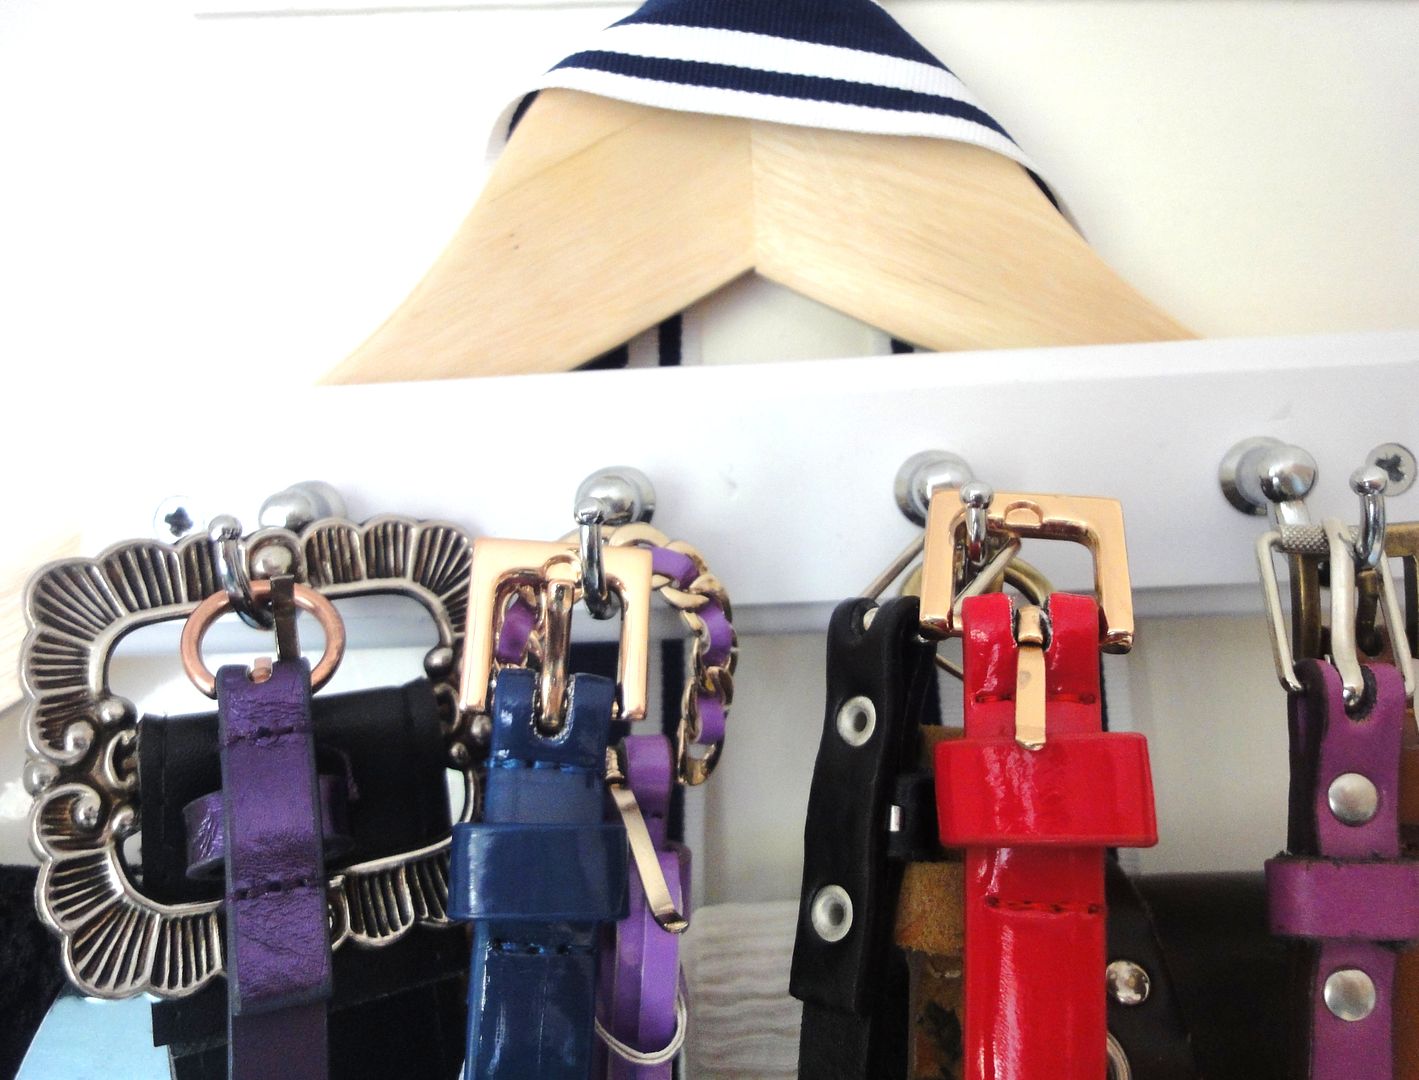
I have quite a few belts and never seem to be able to find the one I want to accessorise and outfit because they end up all over the place. So I decided I need a place for them all to be together. I bought a small rack of coat hooks and screwed them onto a wooden hanger and boom all belts in one place. I think I might screw another rack of hooks to the other side as well since this one is already full.


4/11/2013

Retro shabby chic ottoman upcycle


I am really into little home decor projects at the moment. I think this has to do with us (the husband and me) anticipating to find out where our next posting is going to be. Yep, we will be moving again in July but we haven't found out where we are moving to yet. The posting here in Berkshire was only for the duration of an 18months course my husband is on. I must say I am not sad to leave. I will miss the Berkshire and Hampshire country side but I am however not going to miss the concrete hell that is Reading and our neighbourhood here in Arborfield.
 
Since we have moved here in January last year I haven't really done much to make this house a home. I didn't feel like it was worth it, we were doing up a buy to let house in Nottingham at the time we moved here and spend most of our freetime up in Nottingham. And after that we spend most of our free time outside running, hiking and cycling and again not much time at home. But now I really want to find out where our next home is going to be. We are hoping Germany before we wont have the chance anymore.....
 
Anyways I am itching to finally have a more permanent home again, one I can decorate and make my (our) own. With this in mind I have started on a few upcycling projects that I can take with us and will fit into any new space.
 
 
I bought this ottoman a couple of years ago and hid it underneath some blankets and throw pillows. It looked very worn and tatty and was is very much need of some tlc.
 
 
 I spray painted the main body white


got some red candy stripe, red gingham and red with white pin dot fabric as well as some spotty ruffled trim and some wadding to upholster the top of the ottoman.


I laid the wadding on top of the ottoman lid, then wrapped the spotty fabric around and secured the edges with a staple gun.


Next, I stitched the trim by hand around the sides.


I also made a bunch of cushions from the other fabrics to decorate. I used this tutorial for some of them. They are all stuffed with scraps and left over wadding.


And the finished project. Even matching my husbands guitar (wasn't planned but doesn't hurt either hahaha) A little shabby chic ottoman upcycle. I hope you enjoyed this project. I have another smaller ottoman in the same room that I might work over to look similar and then one in my bathroom that could do with a make over.