Showing posts with label tutorial. Show all posts

7/02/2013

Tutorial: make your own hair flowers


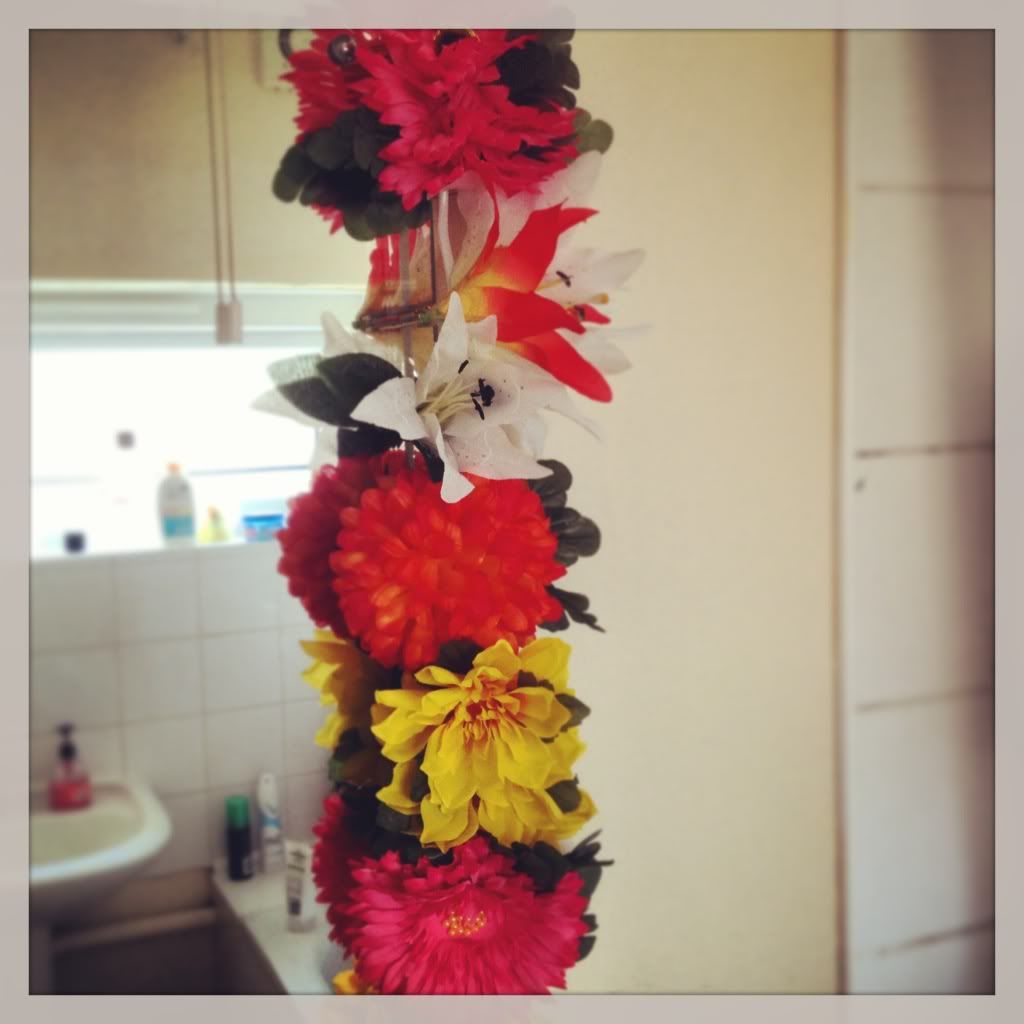
I love hair flowers, especially in the summer. They instantly make me happy as they add another splash of colour to an outfit and glamourise any hairstyle in an instant. So I decided to make myself a whole bunch of them in different colours to go with some of my dresses. Its a fun, quick and easy projects and also makes great gifts. Since the UK summer is a total hit and miss, I would recommend this as a rainy day project. If you live in the UK you should have about 9465723920 by the end of this summer.


What you need:  
As a selection of fake flowers of your choice. I got most of mine from Wilkinsons. They were between £1.50 and £2.50 a bunch.
pin curl clips (preferably the ones with little holes in them), plain hair combs I got both at Wilkinsons as well but I'm sure any drugstore or beauty supply place will stock them.
and some matching thread.

How to: Dahlia haircomb

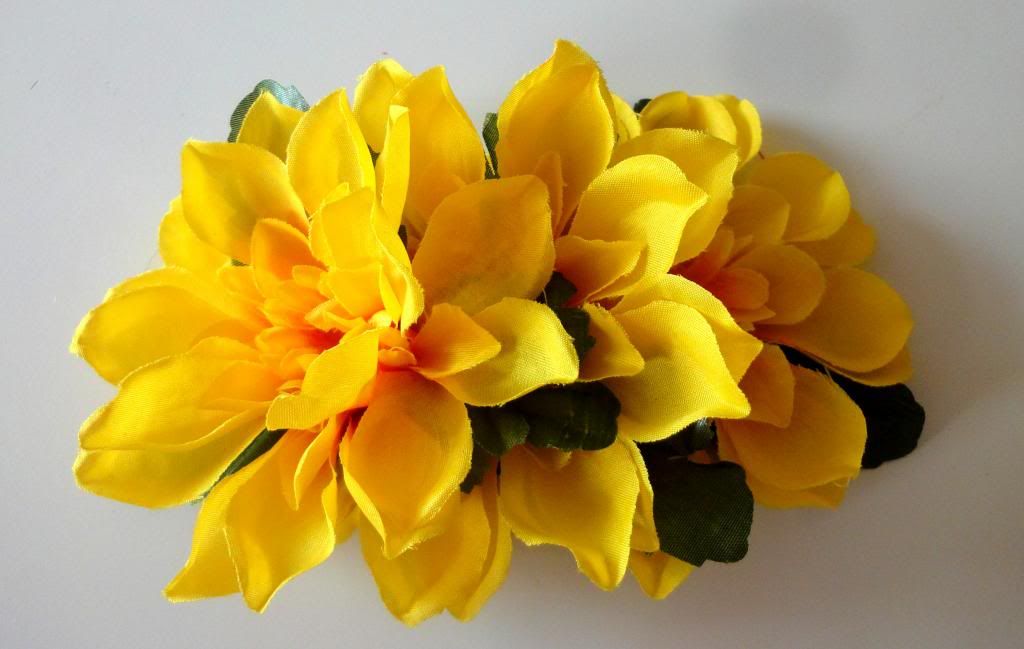
Take three flowers and the leaves of the bunch and take out the plastic pollen center that holds the flower together, also take out the plastic from the leaves so you are left with the softer pedals and leaves.
Arrange them to your liking and carefully stitch them together using matching threads
Attach to the comb and you are done.
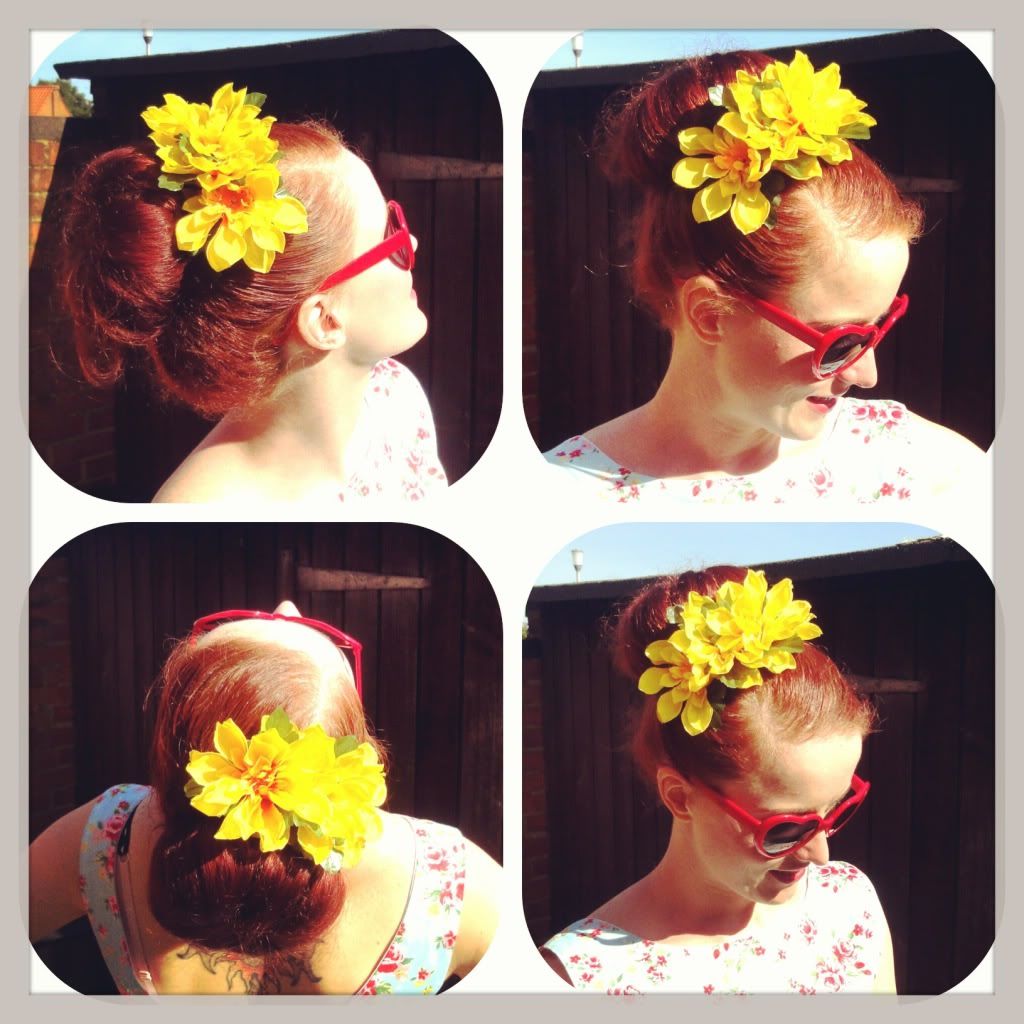
I was wearing this flower piece on Saturday's charity shopping adventure.

How to: Chrysanthemum clip

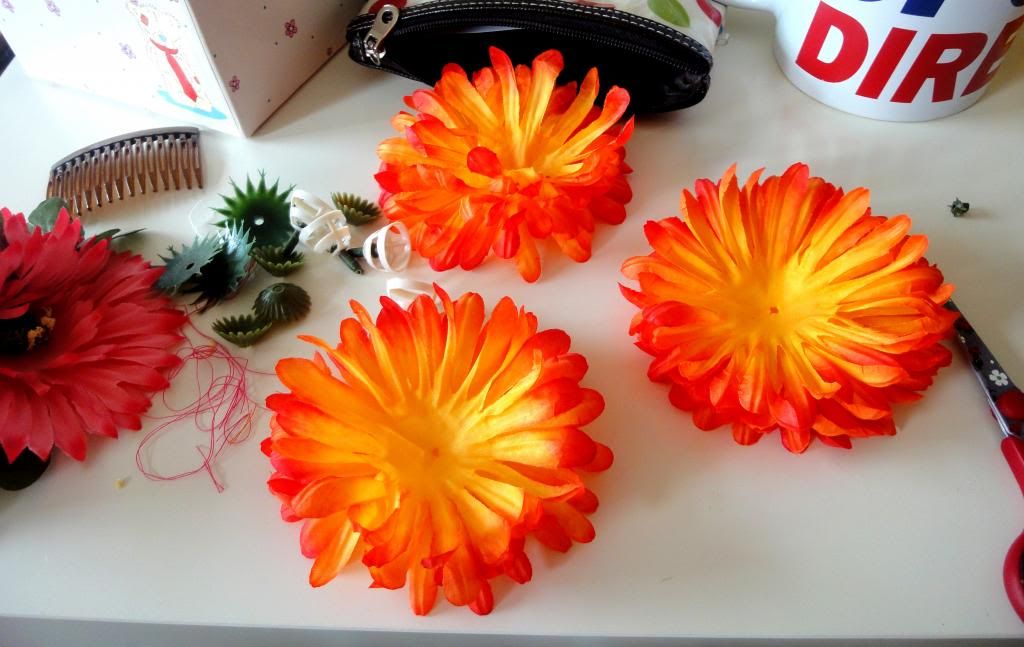
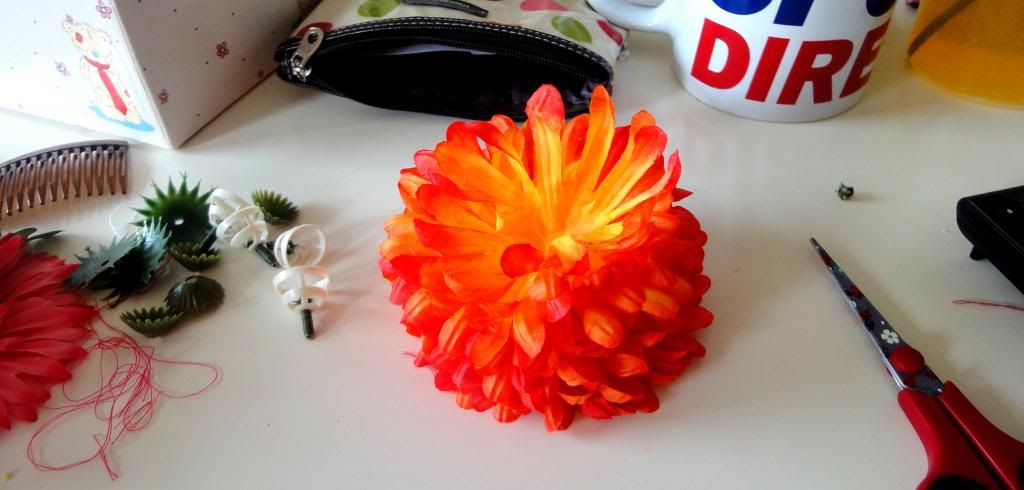
I used three flowers for this and some of the leaves and removed all plastic centers.
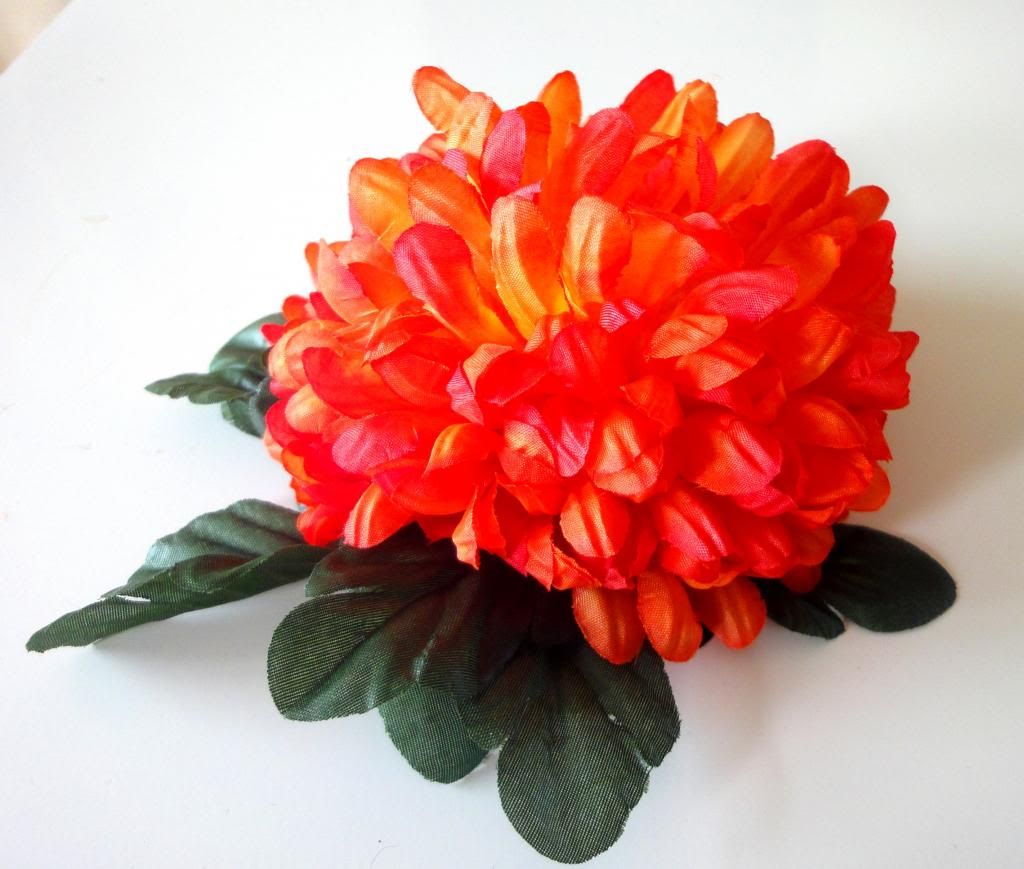
Layer all pedals on top of another for a nice full blossom and stitch in place
and add the green underneath. I placed the leaves a little towards one side so the would peak out a little.
sew onto the clip


And you have a pretty, full blossom hair clip
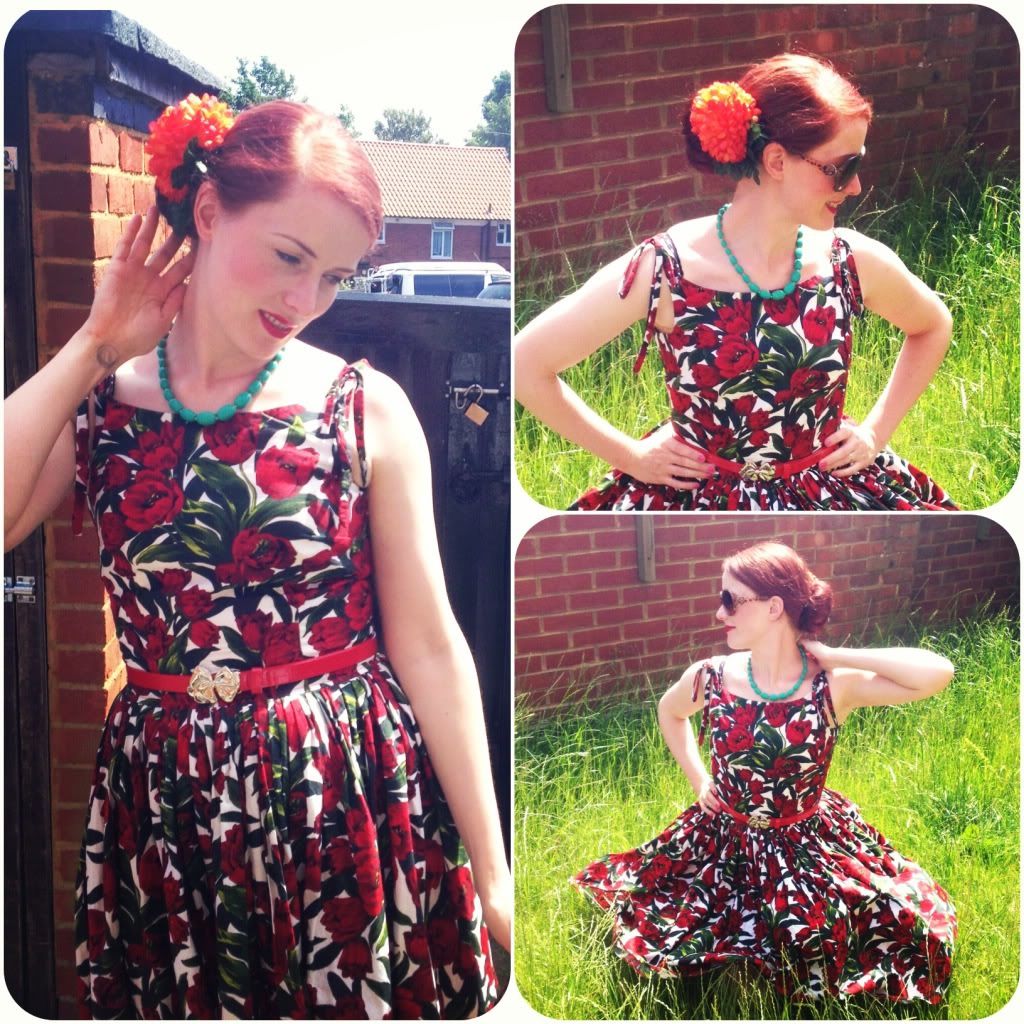
I was wearing that with a low bun on Sunday to go with my Betty Draper tulip dress.

I hope you enjoyed this little tutorial. If you give it a try, please let me know and show me a picture of your new hair accessory. Happy flowermaking!!

6/15/2013

Want to learn a new skill like how to do vintage hair? Check out The Amazings.......

A few weeks ago I was contacted by The Amazings, an organisation where retiring or retired people pass on their skills and knowledge in workshops and classes and currently offer about 200 real life courses.

Because their classes have been so successful, The Amazings are now branching out into online classes everyone can take part in, in their own time, revisit and retake as often as they like.
I was asked if I was interested in checking out their website and trying a class currently available. Since I am always interested in learning new things, I jumped at the chance. 

There are currently 8 online classes available with more being added every week. There is no charge to join the site but the classes themselves range in price from £8 to £20.

I decided to try out the retro hair do class as this is a subject I am always experimenting with and want to learn more about. The retro hair do course is £12 and for that you receive 
video tutorials for three vintage hairstyles with a modern twist. They are not authentic vintage but rather vintage inspired. A very charming and wonderful teacher Michael, who is a hairdresser and knows his craft, explains step by step how to recreate each style and provides tips and tricks alongside the videos like little "hand-me-outs" You can also communicate with fellow classmates and Michael, in case you feel like you need more information and help.


Michael is very sweet and seems to love his profession as a hair stylist. You can tell he is very enthusiastic and very knowledgeable about what he is doing. I recommend watching all three videos first before getting started on your own hair. The setting of the hair is very similar for all three styles and is shown in each individual video. Michael explains a few extra bits in each video which will be useful, especially for people new to vintage hair styling. If you only watch one video at a time, trying to recreate a style you might miss a few bits of information for a successful finish. What I like is that Michael gives a few tips on what products to use and how. I also liked his little stories very much. 

Now, how did I do?

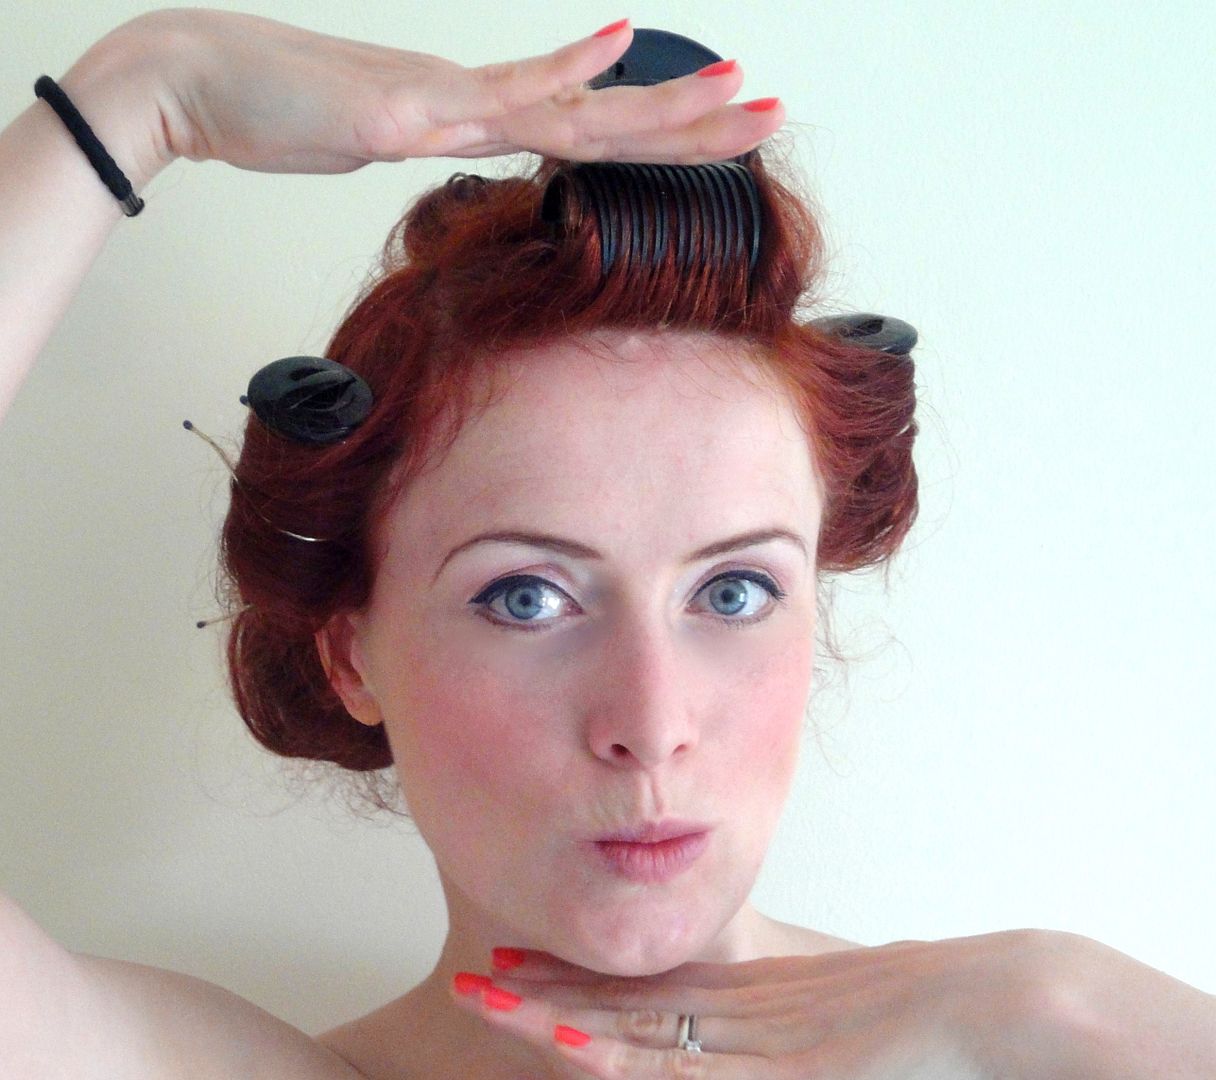
setting my hair, it pretty much looked the same for all three styles

I decided to have a go at all three hairstyles to see if you really can recreate them all by yourself with the help of this course. You will need a set of hot rollers for all three hair dos. Michael explains and shows how to roll and set your hair.


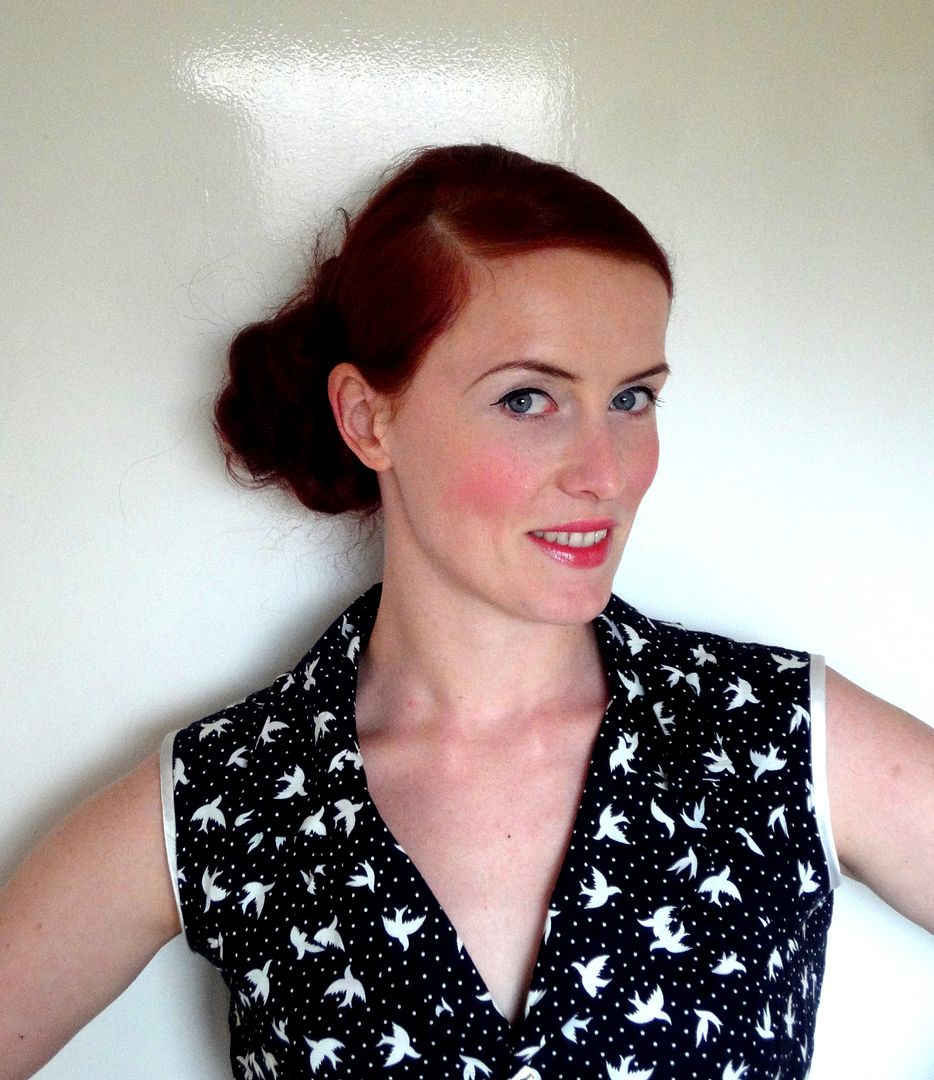
The first style is a 1930s inspired chignon to one side of the head. I really liked that style on the model and hers is a hair do I have not previously tried. (sorry I don't have a picture of her) 

Style number two, rockabilly.

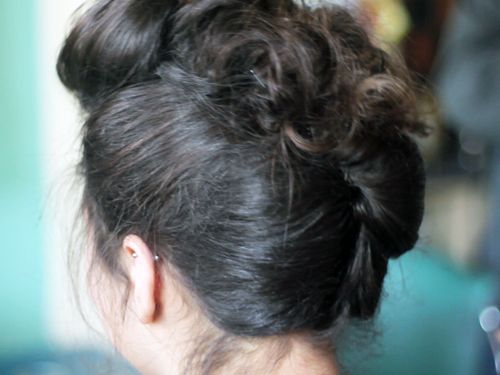
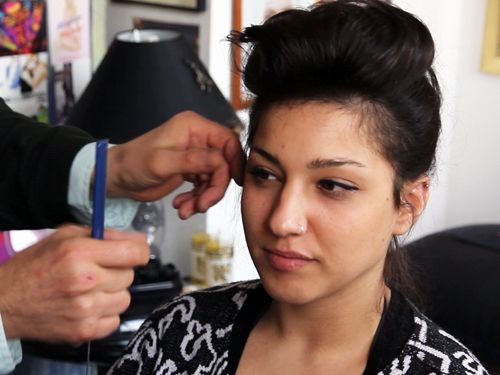
The Amazings version (pictures The Amazings)

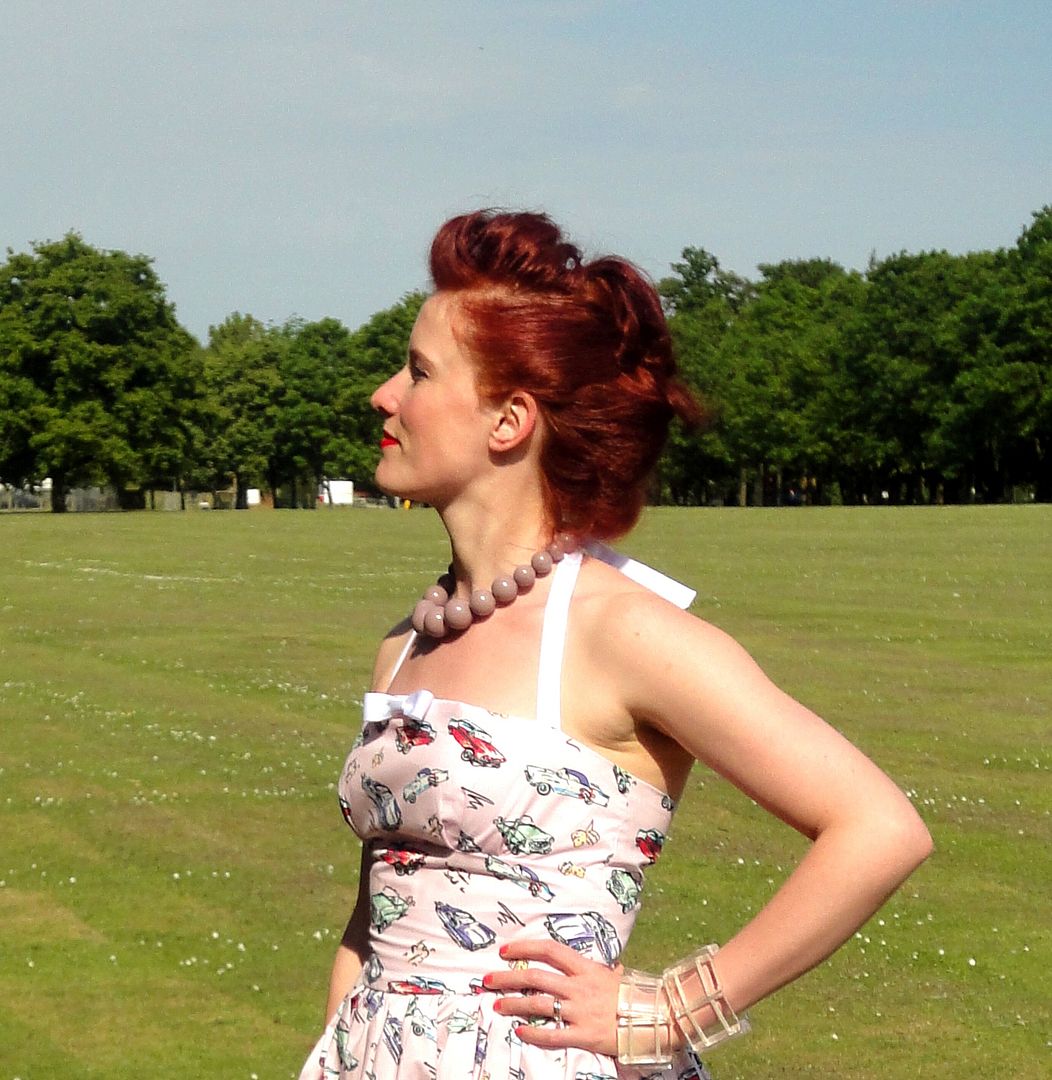
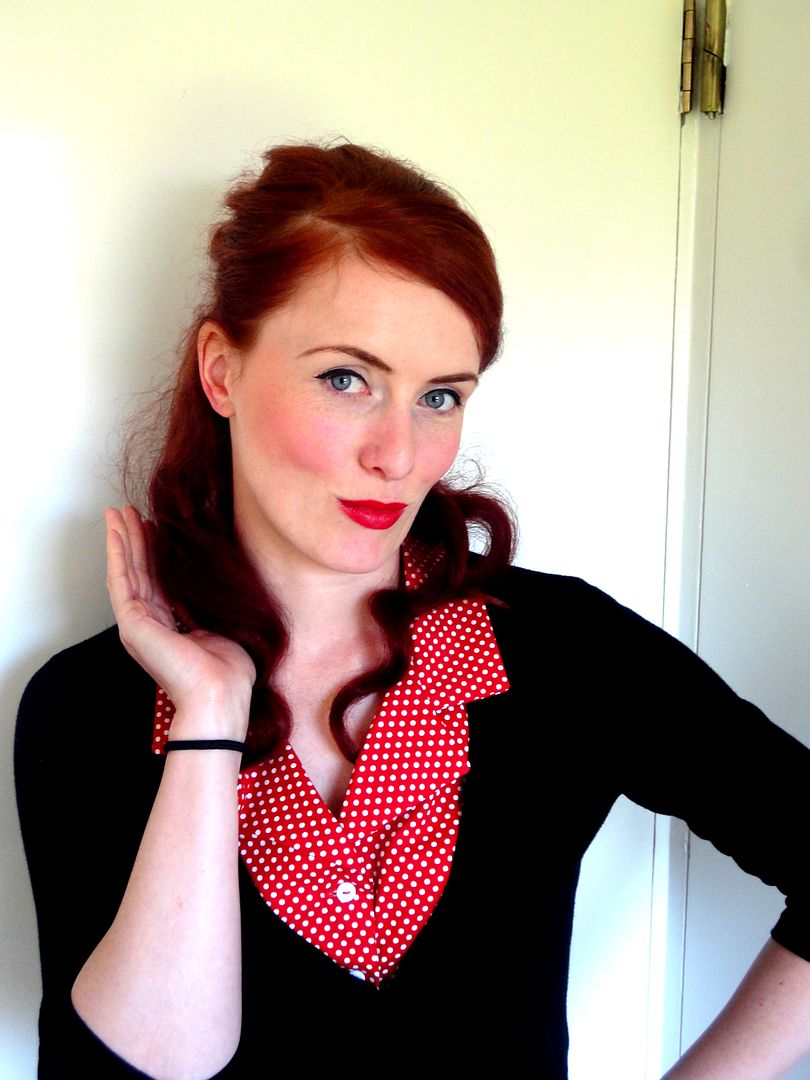
my version


The rockabilly inspired style. I'm not 100% into this do. It's a more messy take on the quiff and I prefer more sleek looks for myself. It did however turn out pretty much like the hair style on the model.

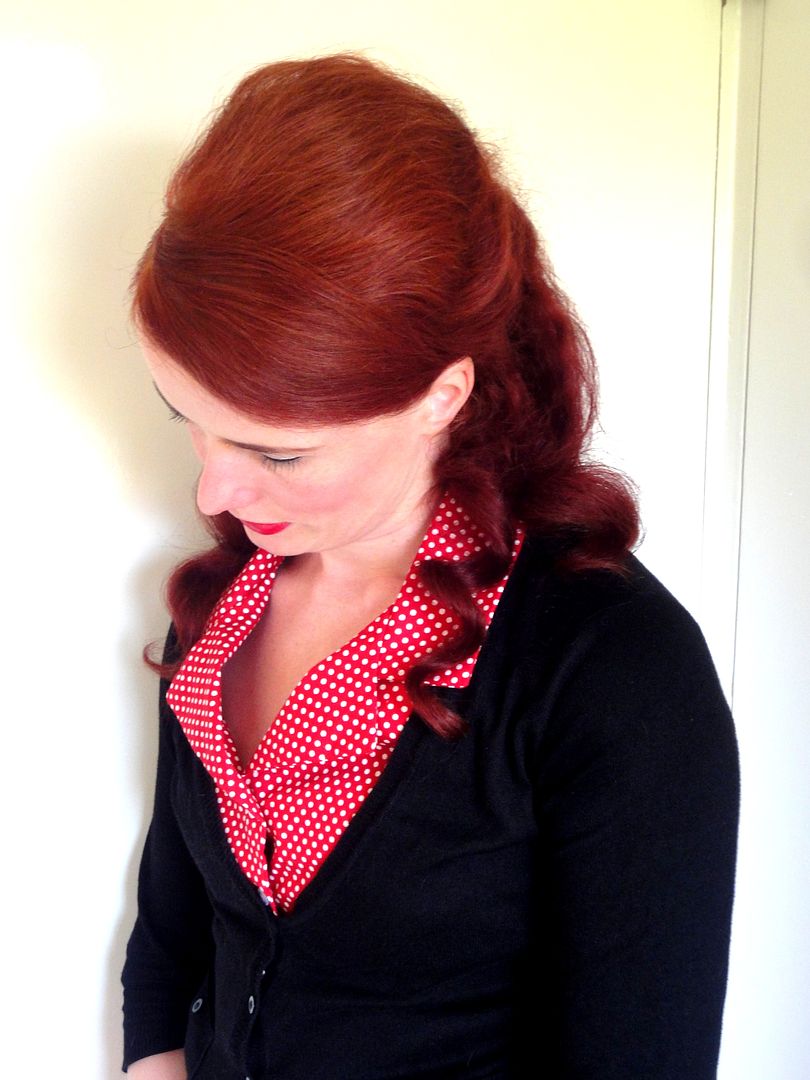
The third style is a 1960s Bridget Bardot inspired beehive. I love this style but I'm not sure it suits me that well. I haven't got layered hair so I had to tuck the front of my hair to the sides.

The Amazings model, isn't she gorgeous? source

and this is my version


My verdict: I really like the idea of The Amazings. I would like to try a real life class in the future and see what they are like. The online class format reminds me a bit of the Craftsy courses. I have never taken a craftsy class so I wont know if they actually are similar or not but the concept seems to be. If The Amazings keep doing what they are doing and add to their repertoire, I can't see why they won't become as popular. 

As far as the online class goes, I think it is a great class for people who want to try out some retro hair dos. The ways they are styled are very much geared at all girls and women who like a bit of a hair do that stands out from the mass, not necessarily just for vintage and retro enthusiasts.  The video tutorials are easy to follow and guide you to a satisfying result. Beginners might have to have a few goes at using the hot rollers and maybe each hairstyle won't be perfect straight away. But with time and practise, they will get there in no time. I like that you will learn techniques, little tips and tricks on how to do it by yourself (not with a wonderful hair stylist, styling your hair for you) and what products to use.

I would have liked to see an alternative to hot rollers for those people who don't own a set and don't want to buy one just to have a go. But maybe Michael will have an alternative if you contact him via the website for help. I didn't use the interactive possibilities. I also hope the prices will go down with increasing interest. I don't think £12 is too much for a class like that at all but with countless free tutorials on youtube and vimeo etc. there is a lot of competition.

Now go and check out The Amazings for yourself, try out a class and see what you think. There is anything from knitting to sewing to diy cosmetics etc.

Disclaimer: I got to try the online class for free however all opinions are my own.


4/04/2013

Making the most of your fabric. A quick scrap project.

 
This is a great project for everyone, who hoards all their fabric scraps like me in case that one project comes around where you can use them. This is one of those projects to literally use every last snippet.

 
I recently bought 2 packs of fat quarters at my local Fabricland (Reading branch) because I liked the patterns so much and because I'm impulsive like that (I'm not a quilter). The prints in the pack came in two different colour options each so I decided to use one print for the main cushion cover part and the other to make a bow detail. I reversed the colours on the other side. You can use bigger scrap fabric pieces instead of fat quarters for this project if you like.

 
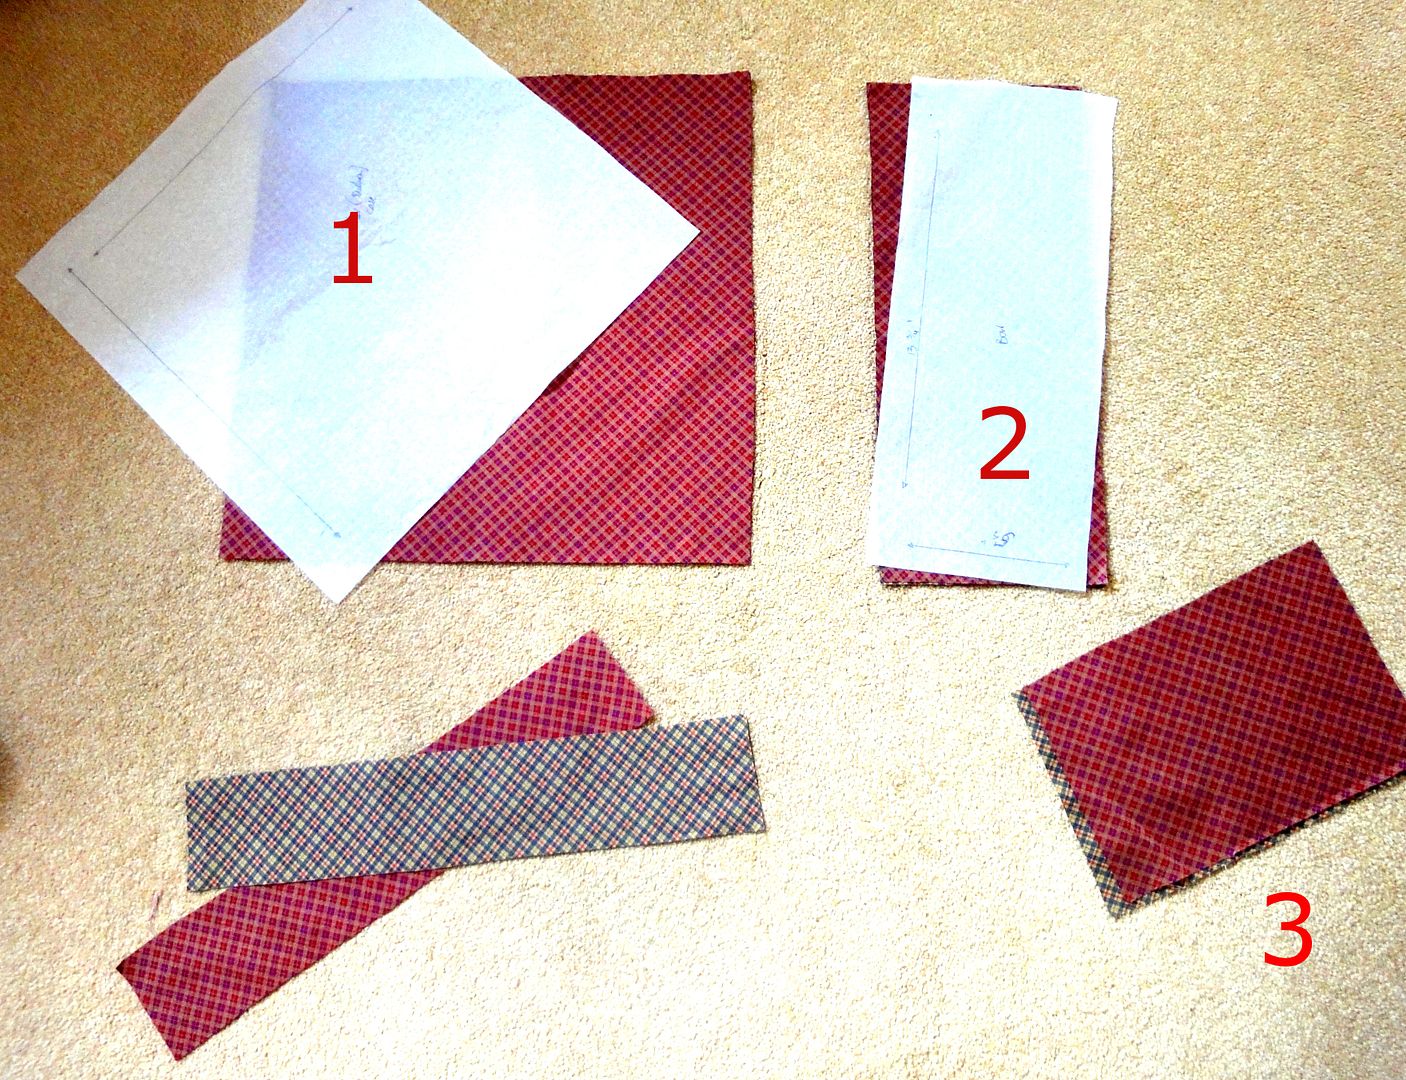
The pattern is super simple and can be made in any size. Since I had fat quarters I wanted to make the most of the fabric and cut the following pieces.
1. The main cushion piece is 13 1/2x13 1/2" (cut 2 one in each fabric)
2. The bow part is 13 1/2"x 5 1/2" (cut 4, two in each fabric)
3. This is a bit of the scraps left for the middle bit of the bow that cinches it together (one in each print). You can make that as wide or narrow as you like or whatever your scraps leave you with. Mine was about 7"x 9" or close to that. You will also need a zip that fits your cushion size. Mine is a 9" zip.


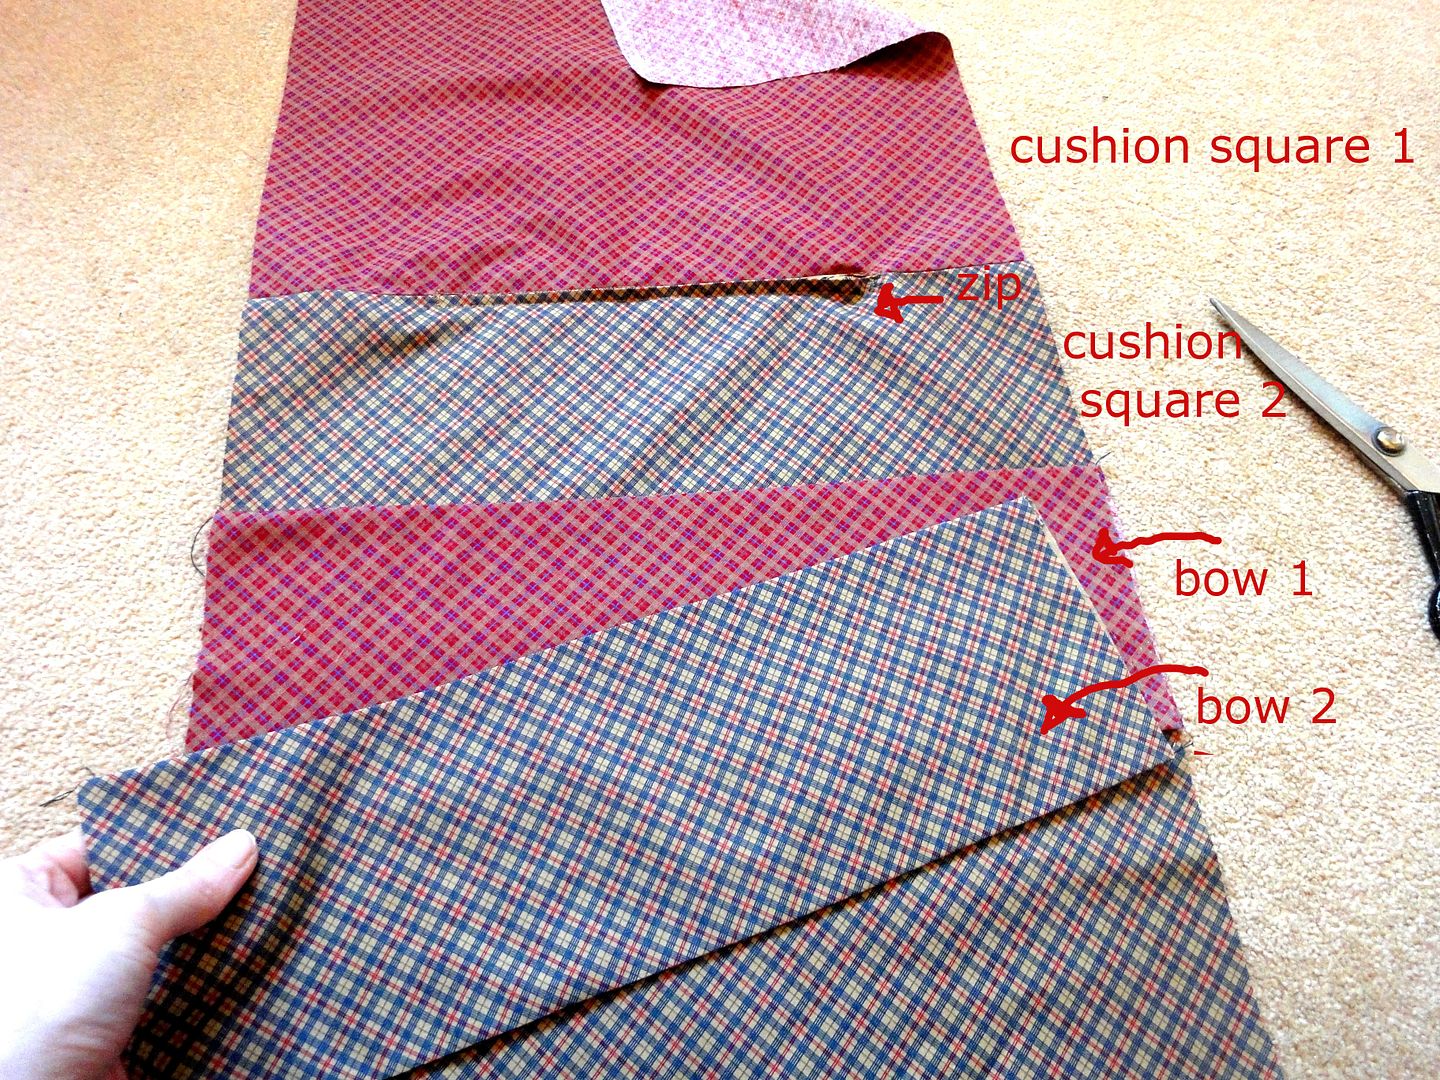
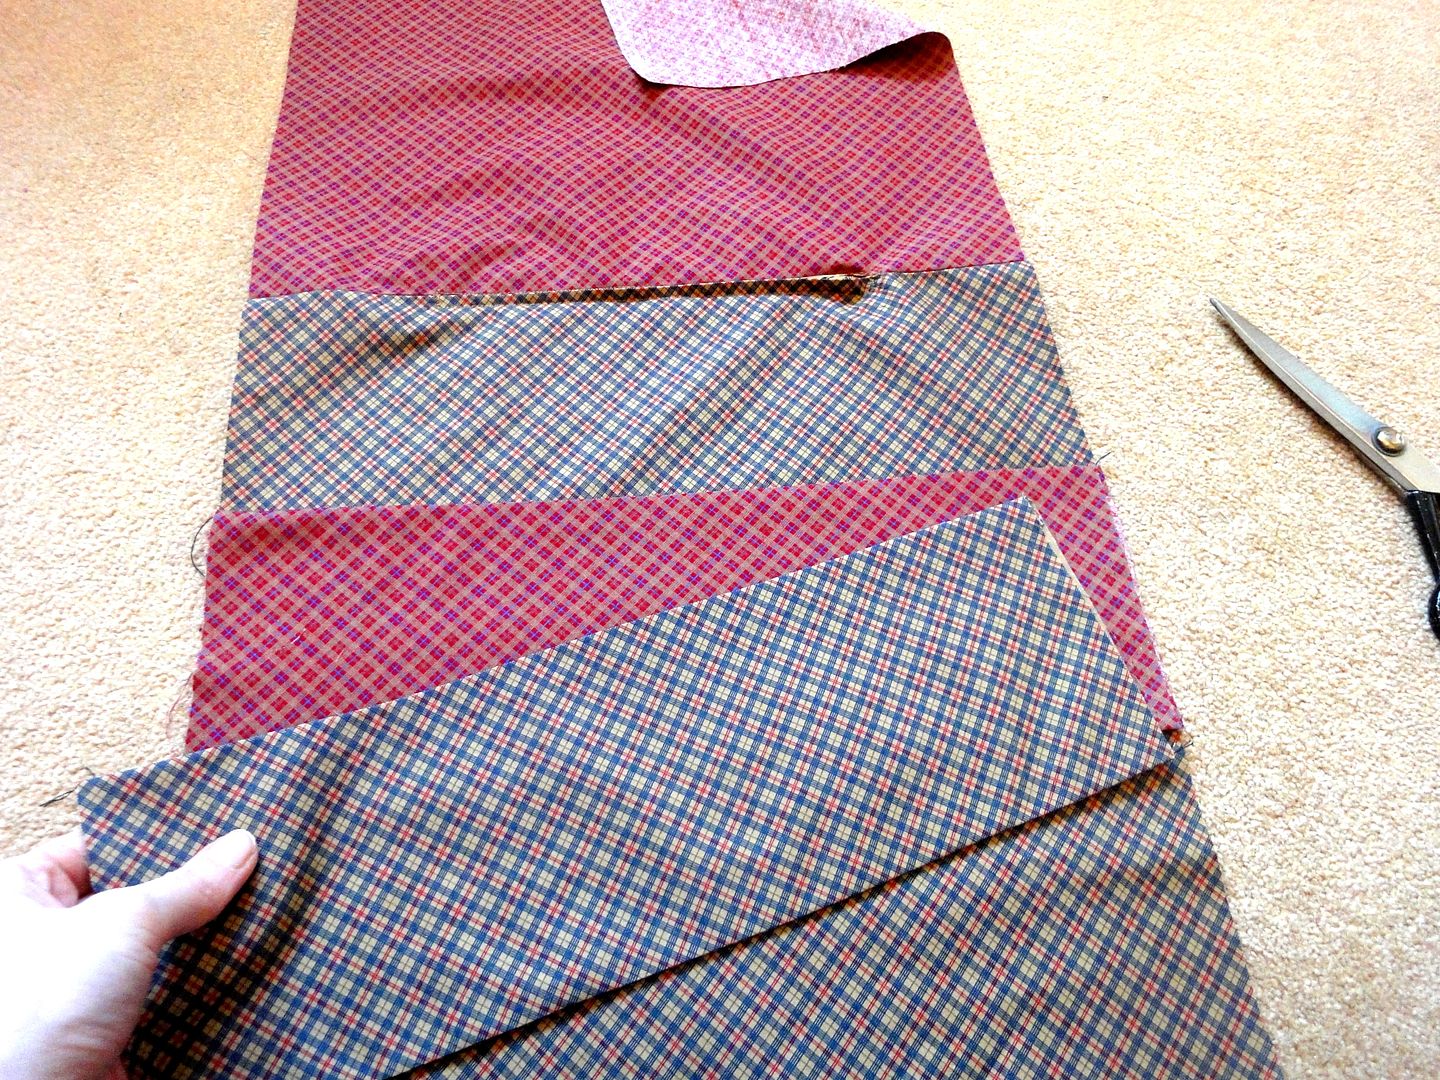
I insert the zip before sewing up the main cushion part as I find it easiest that way. Also sew your bow pieces by putting right sides of the same print together and sew along the long edges. Turn inside out and press. Then lay both bow pieces on top of each other and place them in the center of one of the main cushion pieces (see picture above) Make sure to put down the contrasting fabric first, then the other one. Top with the other cushion piece, right sides of the cushion pieces facing each other, sandwiching the bow pieces in between.
Sew all along the sides, finish seam edges if you want, clip corners and turn inside out through the zip opening and press.
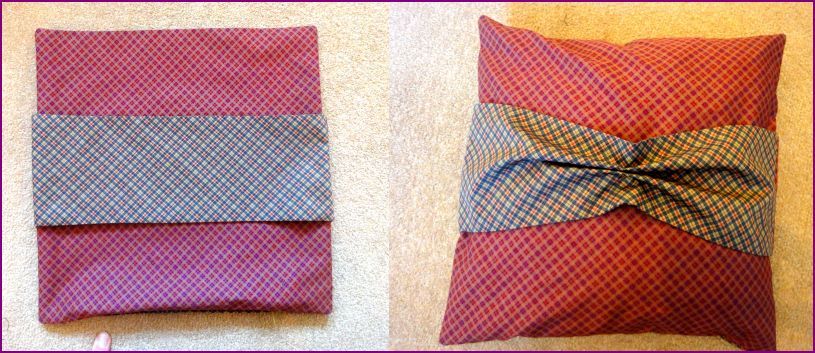
You should end up with a cushion cover with 2contrasting stripes across either side of it. Cinch each stripe in the center and secure with a few stitches.

 
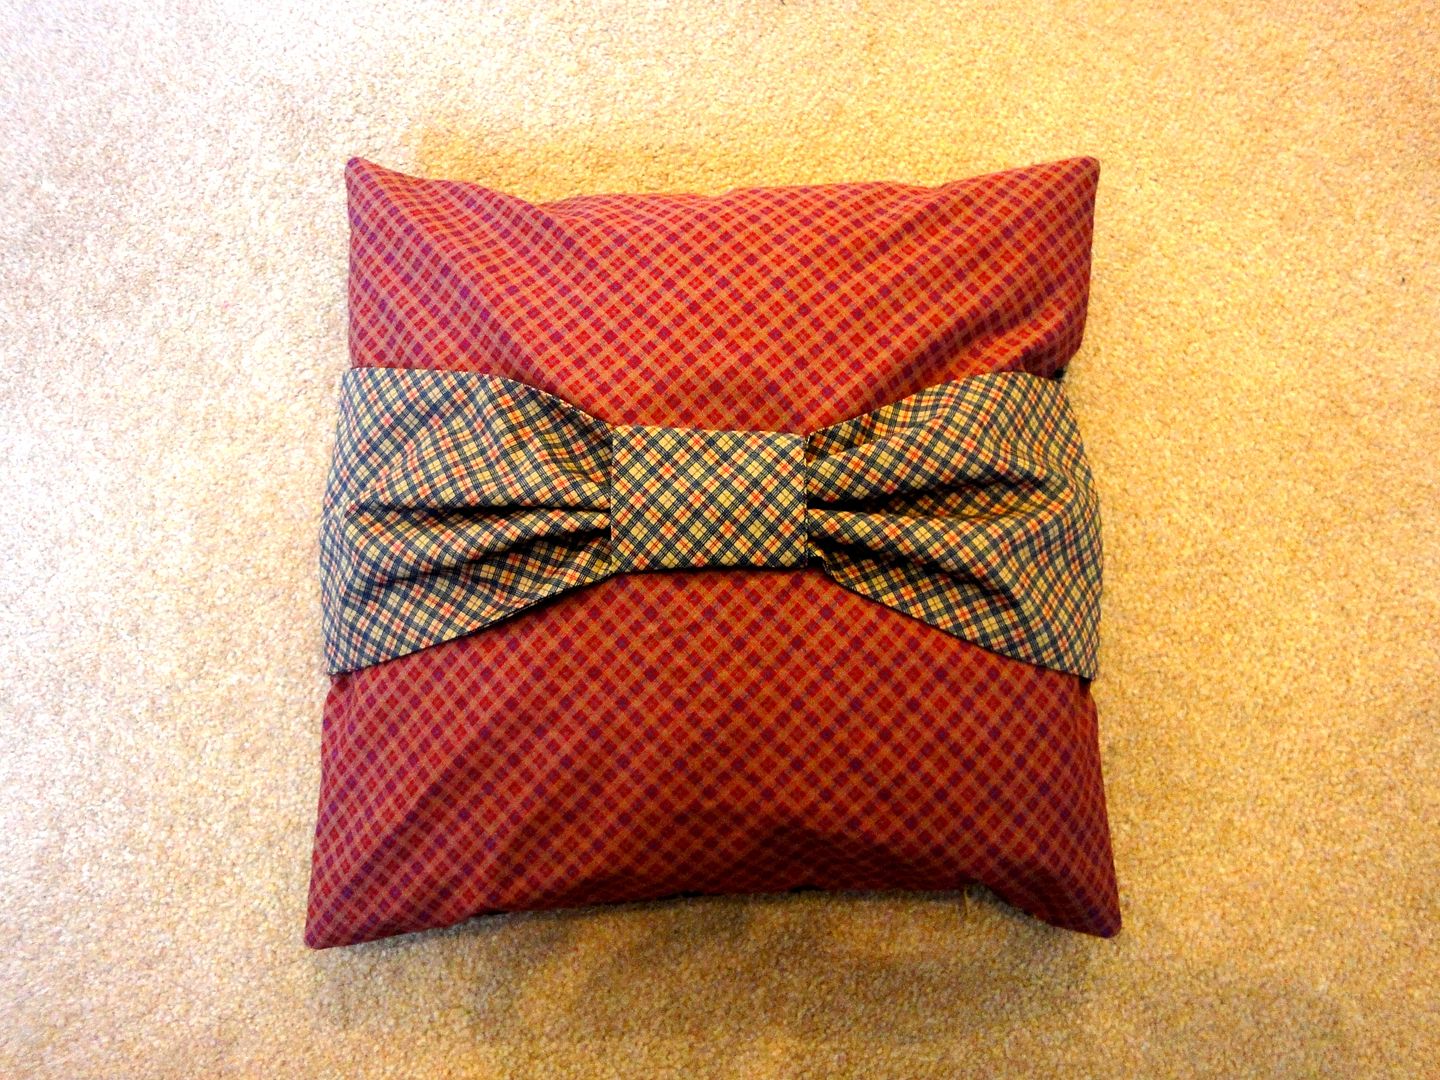
Fold your center bow piece (right sides facing) and sew along the edges, leaving a bit open to turn it inside out and press. Fold the piece around the chinched middle of you bow and stitch the ends together, hiding the seam on the back side of you bow. I also stiches the loop to the main cusion in a few places to secure in in place.

 
This is where your scraps come in handy now. You can either stuff the cushion cover directly or make a separate one which can also be made from larger scraps as it doesn't matter what it looks like. It'll be hidden inside your cushion cover. I made mine just 1/2" smaller (13"x13") than the cover to make sure it's not too squished in. Fill your cushion cover and you're done. Display your cushions wherever you like and if you get bored flip them around for a little change.
 
I hope you liked this little quick project. I hate throwing scraps away and think this is a nice "recycling" idea. The cushions turn out less fluffy this way and make better display cushions than functional pillows.

11/13/2012

The Judith apron (including tutorial), cute little Christmas gift idea

 
My friend Judith started sewing a little while ago and really got into it. I am always excited when any of my friends pick up sewing as a hobby as I love to see what ideas other people come up with and the things they create.
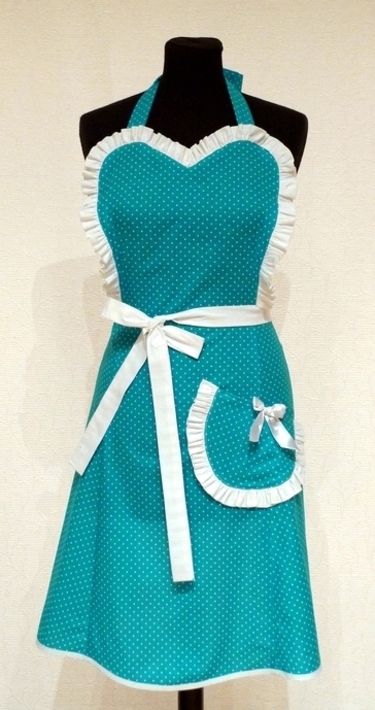
A couple of weeks back Judith asked me if I could help her figure out how to recreate an apron she had seen, for her friend. She would like to make it as a Christmas present for her and didn't know where to start. I thought that was a very sweet idea and I liked the look of said apron myself which led me to making myself one, taking a few pictures along the way for Judith.
Since Christmas is sort of around the corner for anyone planing to make any presents by hand, I thought I'd share her "tutorial" here. I hope this is helping a few of you readers who are still thinking about what to make for Christmas. It's a good beginners project.
 
This is the picture of the apron Judith wanted to recreate. 
 
I used this opportunity for some fabric stash busting and went for a yellow and black colour combination.
 
my version. I hope you can read the measurements. Please adjust where necessary.


I am not very good with fancy computer stuff, so I hope a picture of what pieces to cut helps. I think the original apron is cut as one piece or a middle piece and two side pieces but this layout was the most economical for my fabric scraps and the end result looks the same.
The measurements I used
Top:
 12.5" long at center fold
5"wide at waist (for a total of 10")
6.5" wide at the top
I drew the sweetheart free hand

Skirt:
12.5" wide at waist
18" wide at hem
19"long

I drew the pocket free hand, the size I wanted it to be
 
 
I cut the top on the fold, as well as the "skirt" piece. Not pictured in the pattern are the straps I made from the same fabric. I cut 5cm wide and 50 cm long rectangles (two for the waist strap and one for the neck strap that I cut in half) for that but you could just use ribbon instead. It's less work and works just as well. I just ran out of ribbon.
 
I used about 1/2m (140cm wide) cotton drill, 2m of 2" satin ribbon (more if you want to use it as  and some black bias tape that I had left. This is a very inexpensive project (depending on the fabric you use).
 
Cut out your pieces.
 
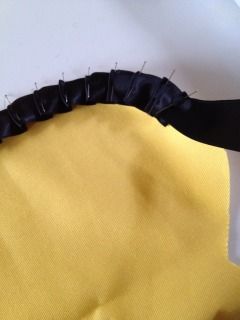
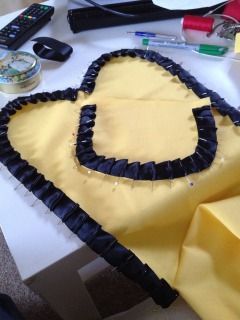
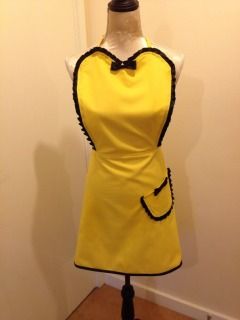
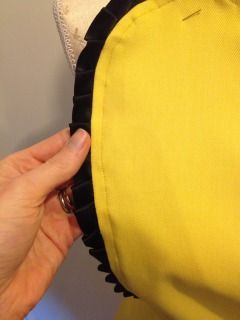
Top with pleated detail: Pin your ribbon onto the top piece around the sides and sweetheart neckline. The right side of the fabric is facing up and you pin all the way around the outside. You can buy pre-pleated ribbon for that. My shop didn't have any so I had to pleat it myself.
 
 
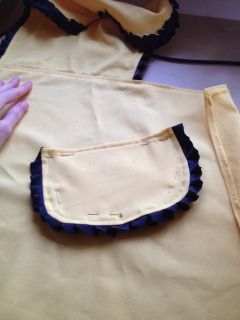
pleat all the way around the pocket, too
 
 
Stitch all the way around about 1cm from the outer edge. I also zig zagged the raw edges (you can do that before pinning the ribbon on, too. I find doing it after sewing on the ribbon reduces the bulk a bit and also secures the ribbon even more.
 
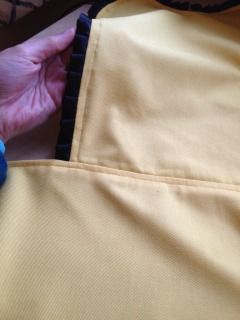
Then fold the ribbon edge around to the back and press. Topstitch all the way around et voila, you have a rushed finish.
 
 
 Now overlock or zig zag the waist line- edge of your top piece and also the upper edge/waistline of your "skirt" piece.
Pin the top piece to the skirt piece along the waistline (center lines matching, right sides of the fabric facing) sew both pieces together and press seam allowance toward the skirt. Top stitch along the waist of the whole "skirt" for a nice finished edge.

Now you are almost done.

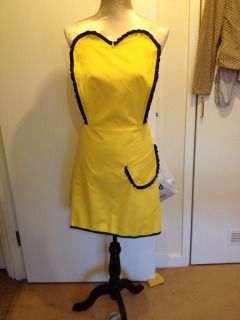
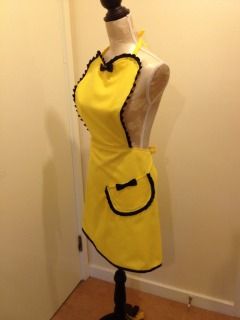
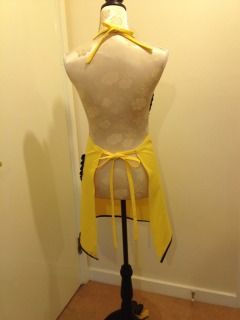
Place your pocket where you would like it to be, pin in place and sew. Hem the sides of the "skirt" and the hem. I finished my hem with bias tape in black to pick up the fabric one more time. You can also apply the pleating as on the bodice to add any other trim.


All that's missing now is the ties and a few finishing touches.


I made my own straps. You can either cut strips of fabric the width and length you want plus hem allowance and sew a double folded narrow hem all the way around.

Or you can cut the strips double the width of the strap plus seam allowance, fold then lengthwise (right sides of fabric facing) and sew along the long side and one of the short sides. Turn them inside out, press and ta da, you have a strap.

Attach to the top and skirt and you are done. Add bows and other details if you wish and you have your finished apron.


I am not very good at explaining things, hence I never do tutorials. I am lacking the teacher-patience-gene I guess. Thankfully this is a very straight forward project so I hope it all makes sense, especially to beginners, who have not made any clothing yet.
Please send me a picture or a link to your blog if you are making an apron like this. I'd love to see how they turn out.